


I am NOT a professional photographer, but I love taking pictures. I have been researching, watching, studying, and practicing, practicing, practicing so that I can capture better pictures of my family. This week I’m sharing tips and advice that I’ve learned on my journey to improve my photography.
In my first post, I talked about tips for just letting your children be themselves and for you to be yourself. If you missed yesterday’s tips, you can catch up here.
Today’s tips are all about
POSITIONING YOURSELF & YOUR SUBJECT for SUCCESS!
#1. SEE THE LIGHT
Any photographer will tell you that good lighting is imperative to a good picture (Even in super artsy pictures with huge shadows, they are still relying on lighting).
There is so much a person could say about lighting, but for a short and simple version: your subject needs to be facing the light or having the light reflected onto them. If they aren’t in the light, you won’t see them. Also, you want to see that little twinkle in their eyes, and that only comes from the light reflecting in them.
Pros often use reflectors, usually silver, to help balance the light coverage on their clients and minimize shadows. I’ve used a piece of white posterboard or foam board, my silver car windshield sun shade, or – my favorite – a piece of foam board covered in a thin, silver, thermal “space” blanket from one of Brad’s half-marathons. Haha. You just have someone angle it to catch light and bounce it back onto your child’s face where you see the worst shadows. Of course, this isn’t something I’d do for every picture, just special ones.
I love using natural light, which means I do a lot of shooting outside. However, staring into the sun isn’t pleasant. You end up with squinty-eyed subjects, and bright sun can actually cause your picture to have major shadow issues or be overexposed.
So when you are OUTSIDE, look for open shade. Open shade is an area where the sun isn’t hitting directly, but that is also not so shadowed that it’s dark. Think of a place where tall trees or buildings cast a big shadow over the grass, instead of standing directly under the branches of a tree. Does that make sense? (Also, be careful of dappled light, where the sun is shining through the leaves or branches and creates spots of light and shadow over your children.)
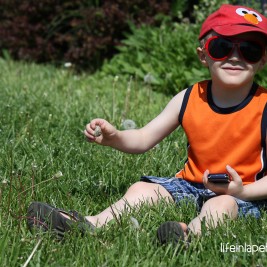
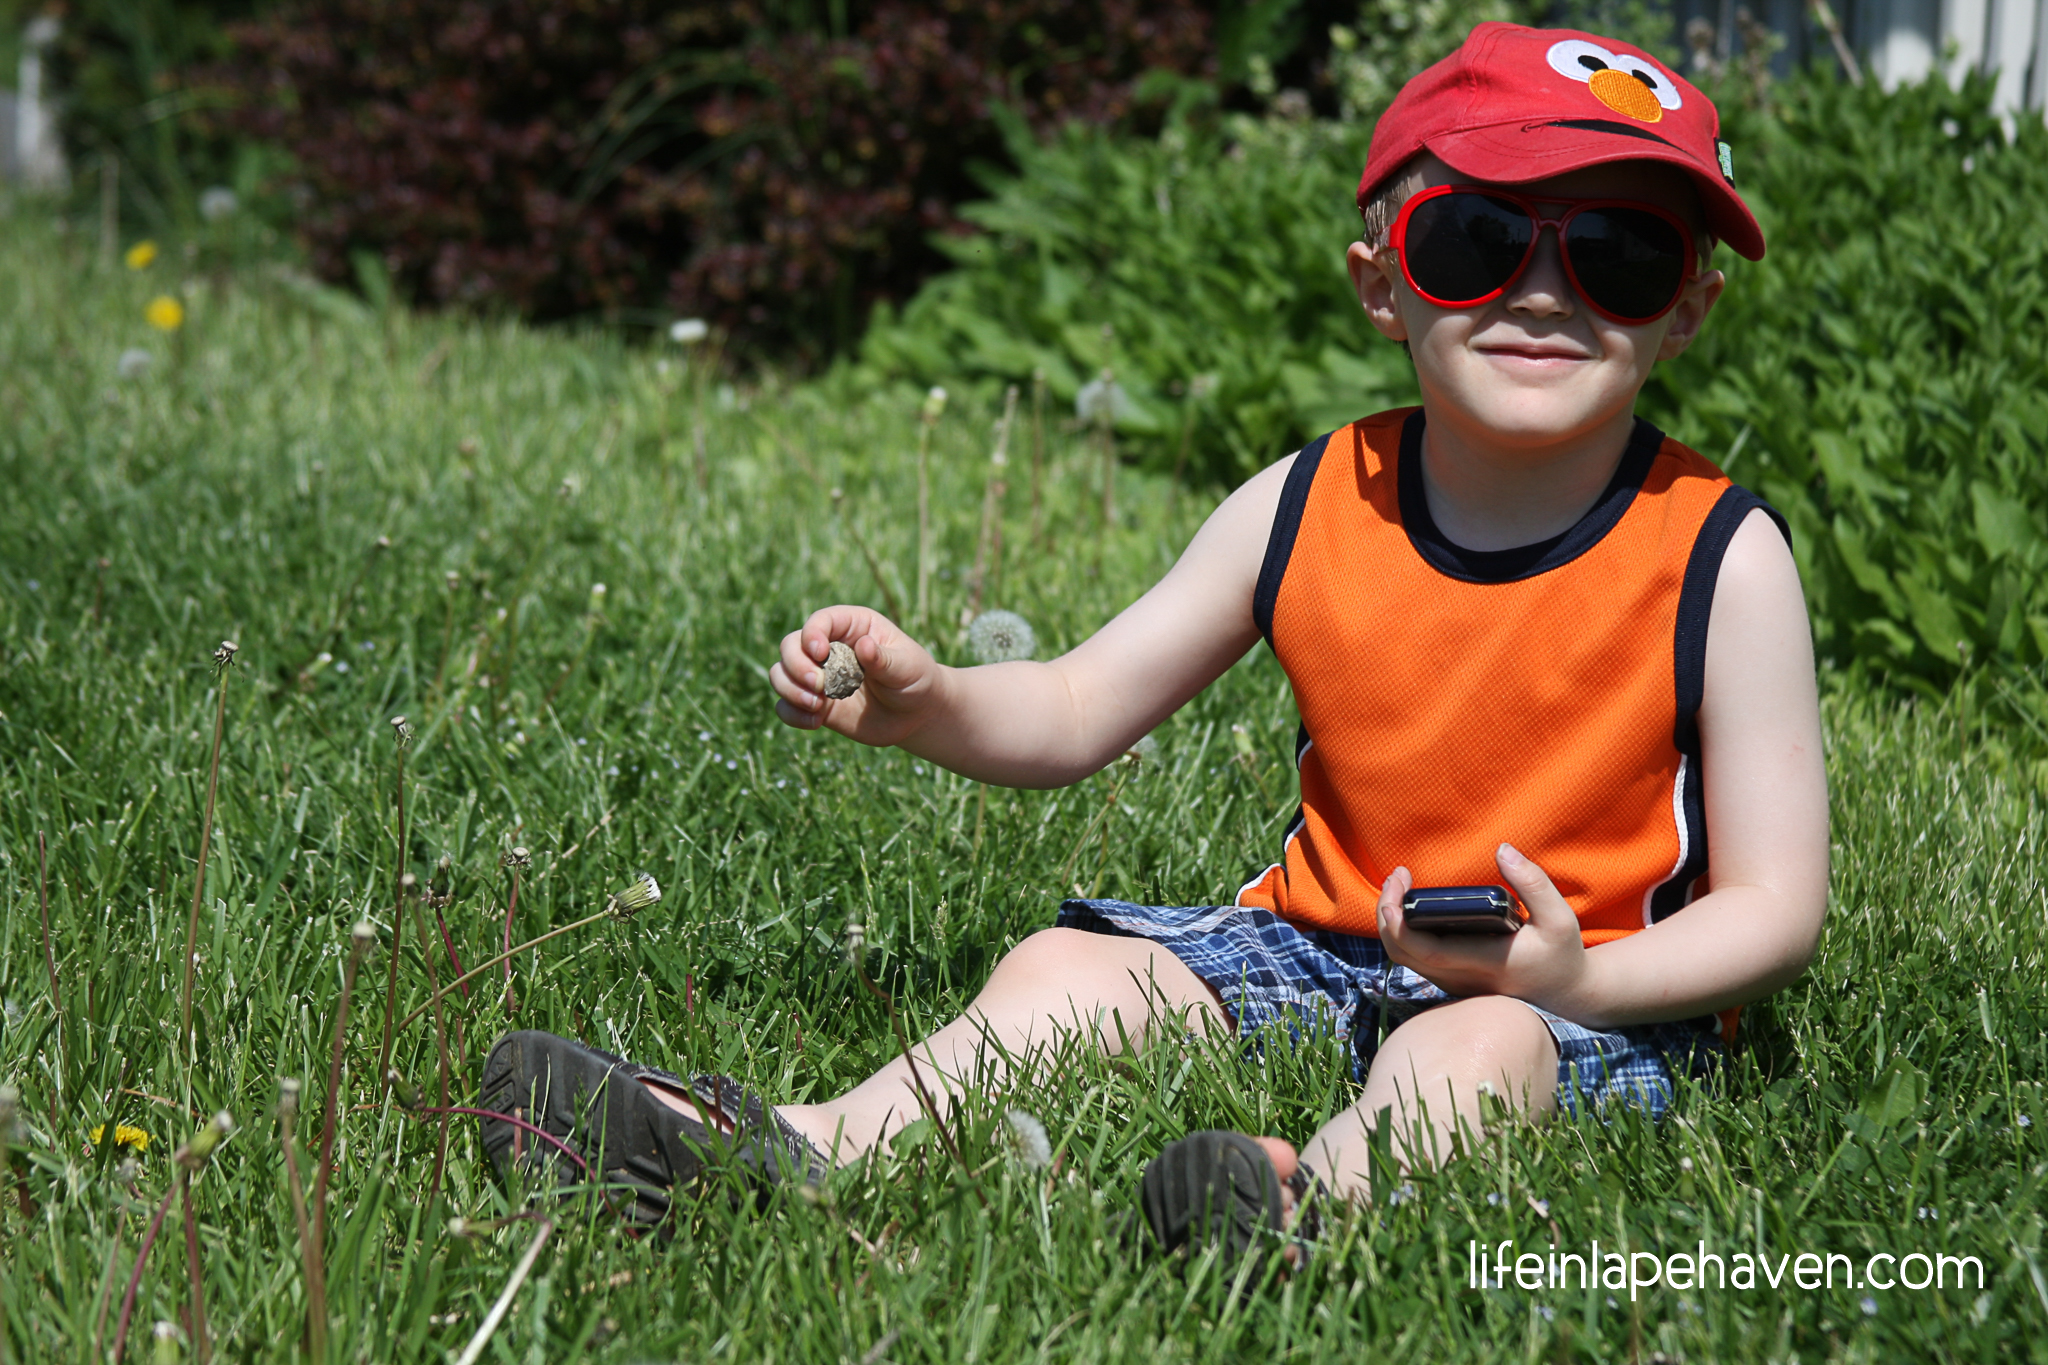
Below are some examples of pictures taken in direct sun versus in open shade. These were all taken one afternoon when we were playing outside with sidewalk paint. (Some of the pictures aren’t the best, but they do show the difference in the lighting.) 🙂
-
- Out in direct sun – Dark shadows
-

- Taken under an awning – open shade – more even lighting.

-

- Taken in direct sun, his face is more shadowed.
-

- Taken in open shade, even his hat casts less shadow.

This is why many photographers like an overcast day over a super sunny day and also why they tend to shoot earlier in the day or toward the evening when the sun isn’t directly overhead.
What about when you’re inside? Open the curtains and blinds, and let the sun shine in.
I have to say that I LOVE my living room window because it lets in such perfect light for a huge part of the day. I just have my boys face the window, and I’m good to go.
These pictures of my adorable nephew were taken in my living room, using the natural light through the window. I think I had my hubby holding the “space-blanket reflector” for me for those last two pictures, where Aiden was in the wagon.
-

- For this picture, I just used the natural light from my window.

-

- Light from the window and probably some reflected light.

-

- Soft, natural light is perfect for baby pictures.

And while I’m talking about light, I’ll go ahead and mention flashes…I guess. I prefer not to have to use my flash, honestly, and when I do, it’s only to supplement natural light, such as when the sun is behind my son, and I need some extra light in his face.
Indoors, I will turn on every light I can before I resort to the flash because it causes people to blink (and my family is plagued with “blinkers”), it can give you shadows everywhere, and it can overexpose your shot, especially if you are very close. Plus, flashes only go so far. If you are in a huge auditorium, trying to capture a picture of someone clean across the room, your flash is not going to do you any good.
Yes, you can get a bigger flash, such as the kinds you see pros using at indoor weddings and events. However, they usually have a diffuser (a white cover that softens the light), and most importantly, they know how to use the flash well.
Lack of light is easier to manage once you learn how to shoot in manual (if your camera allows you to do that), and we’ll get to that later this week.
#2. MOVE AROUND AND GET DOWN
While you don’t want your subject to move much during the shot, especially once you’ve got the lighting working for you, as the photographer, you definitely need to move around. Taking 20 pictures from exactly the same spot is just plain boring.
Try different angles, and with children, ALWAYS GET DOWN TO THEIR LEVEL at some point. You can shoot standing up, but I guarantee you that when you crouch down or even go belly-to-the-ground when they are playing, you will get better, more interesting shots.
When my boys are on the floor, so am I. I climb up the slide or get into the bounce house (if I’m allowed). I always take a step-stool with me when I plan on doing a lot of pictures because sometimes you just need to get higher up to get the whole story into the shot. And this summer, I even went wading in a creek to get some creative pictures for my cousin’s senior pictures (the results were so worth it).
Don’t be afraid to try a new angle for a better or more interesting picture.
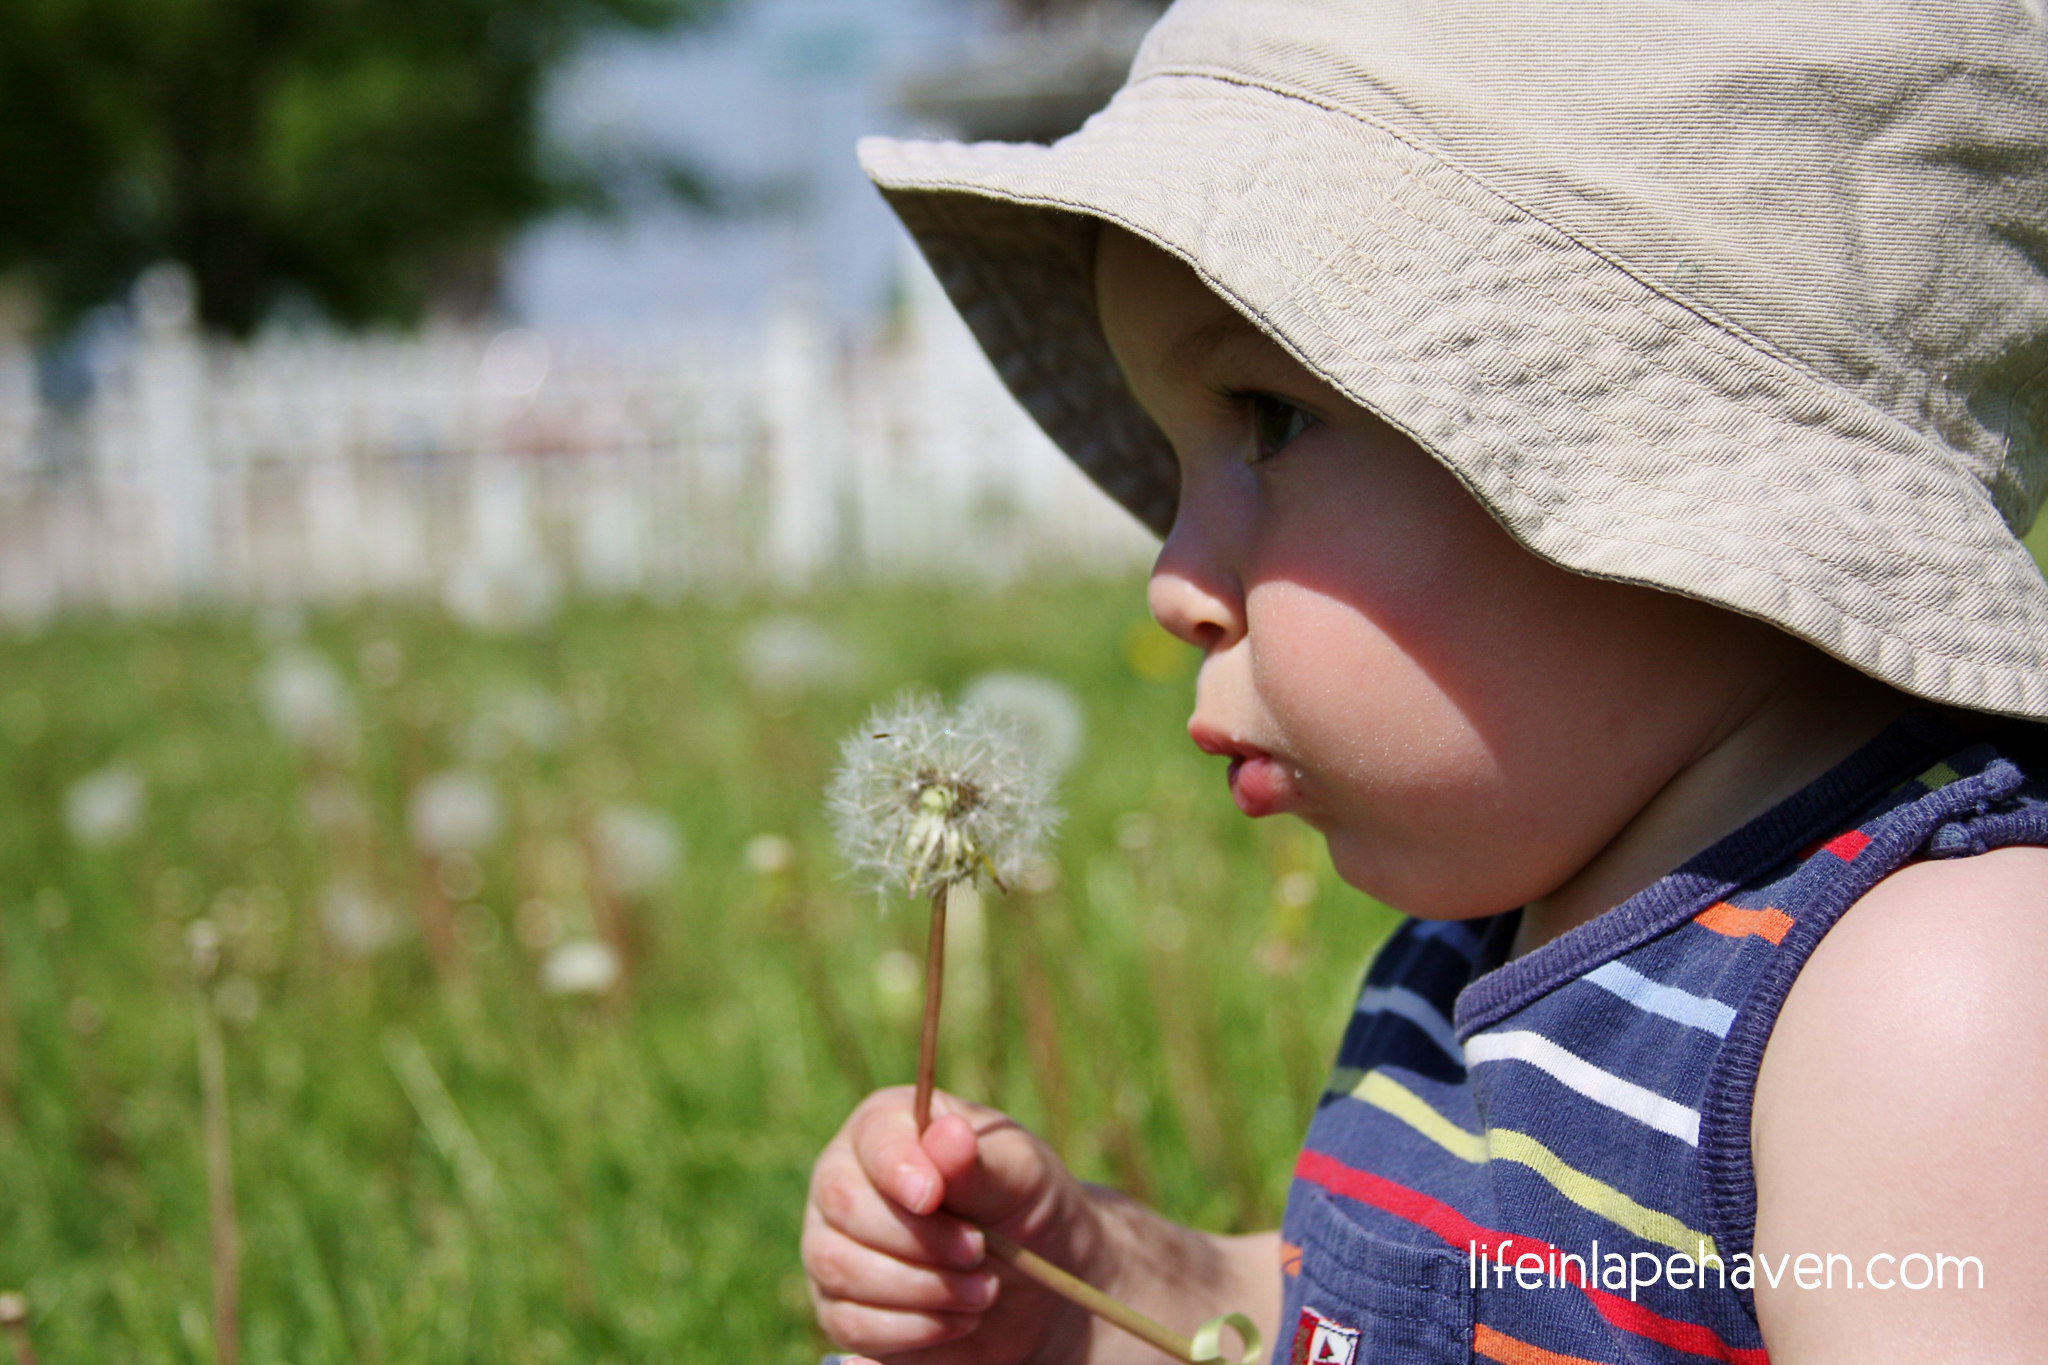
-

- Getting down low to the floor brings us into his world a bit more.

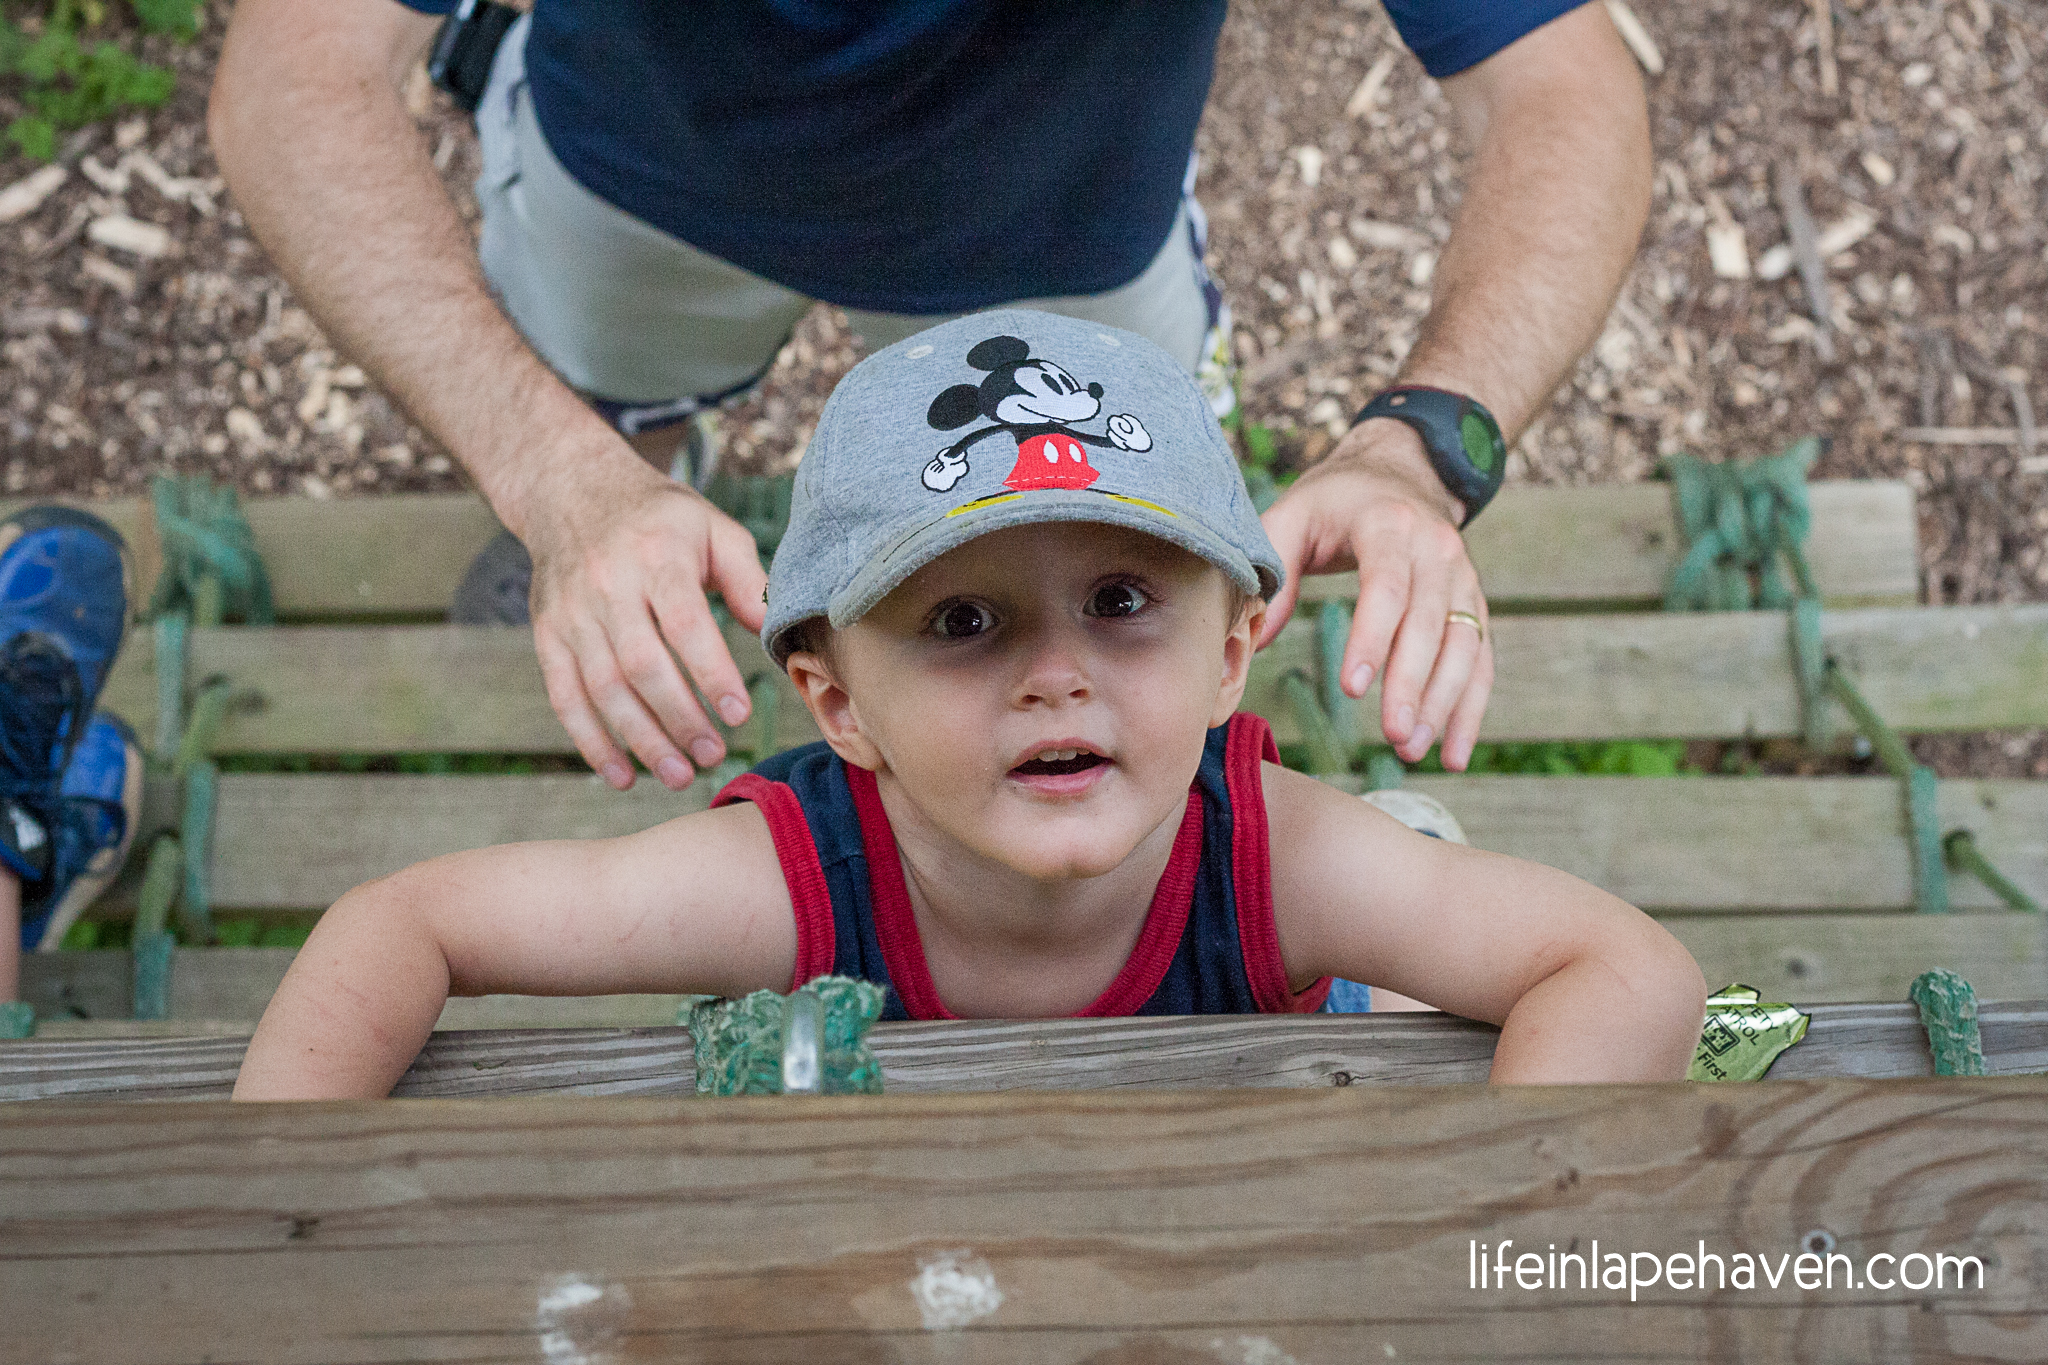
-

- I had to be belly-to-the-floor to be able to look them in the eyes.

-

- This is a “normal” angle, taken from standing below and beside the climbing wall.

-

- This angle, taken from the top of the wall, shows us his face and the height.
-

- Yep. I’ll even let the minnows swim around me while I work to get a picture.
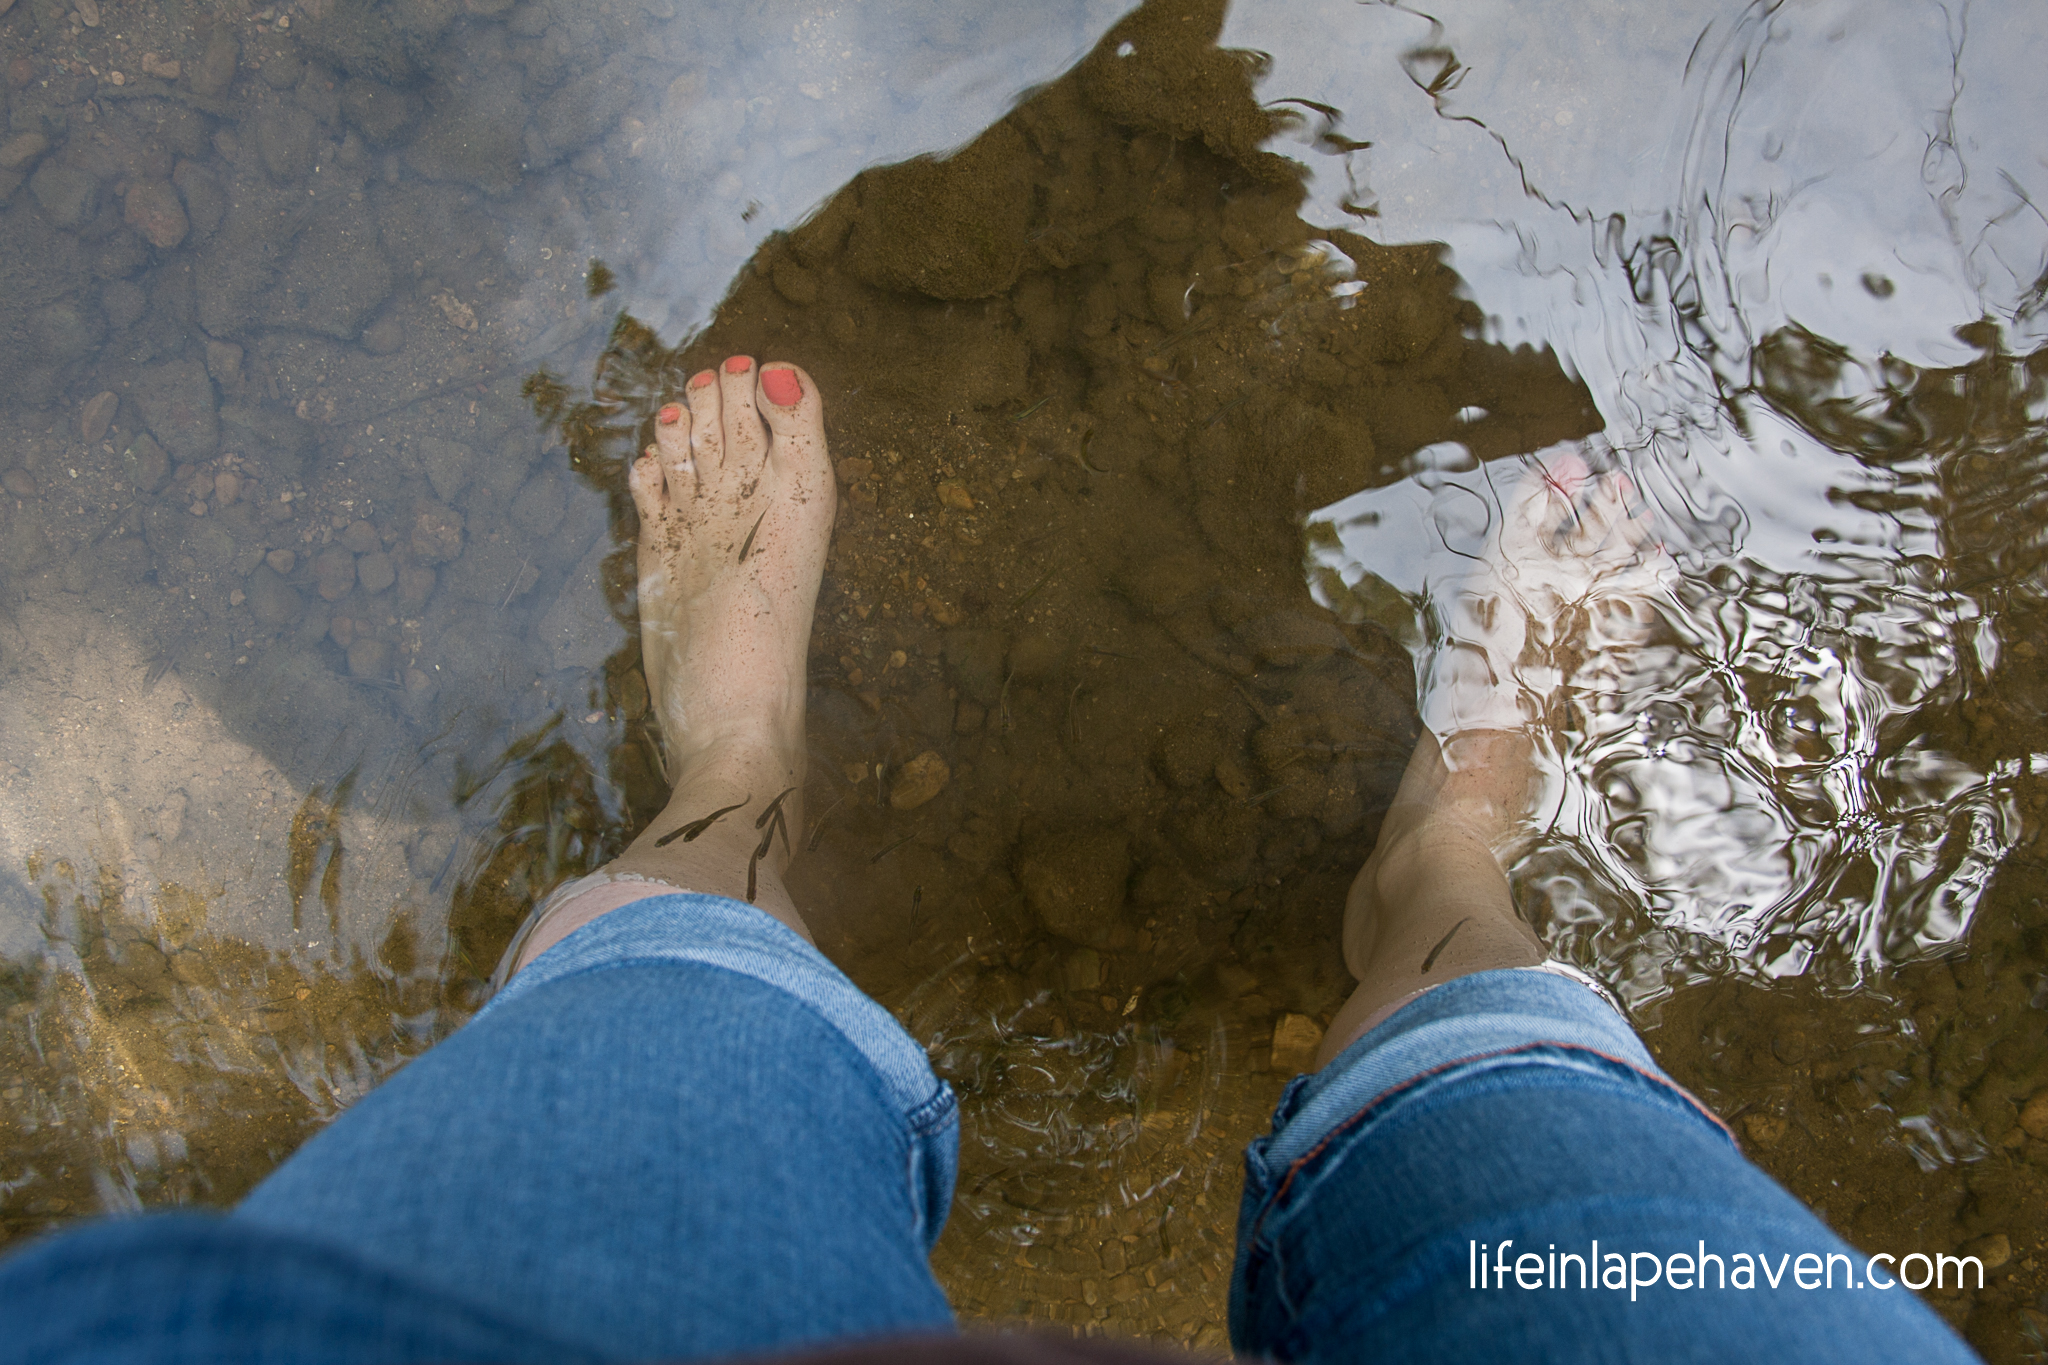
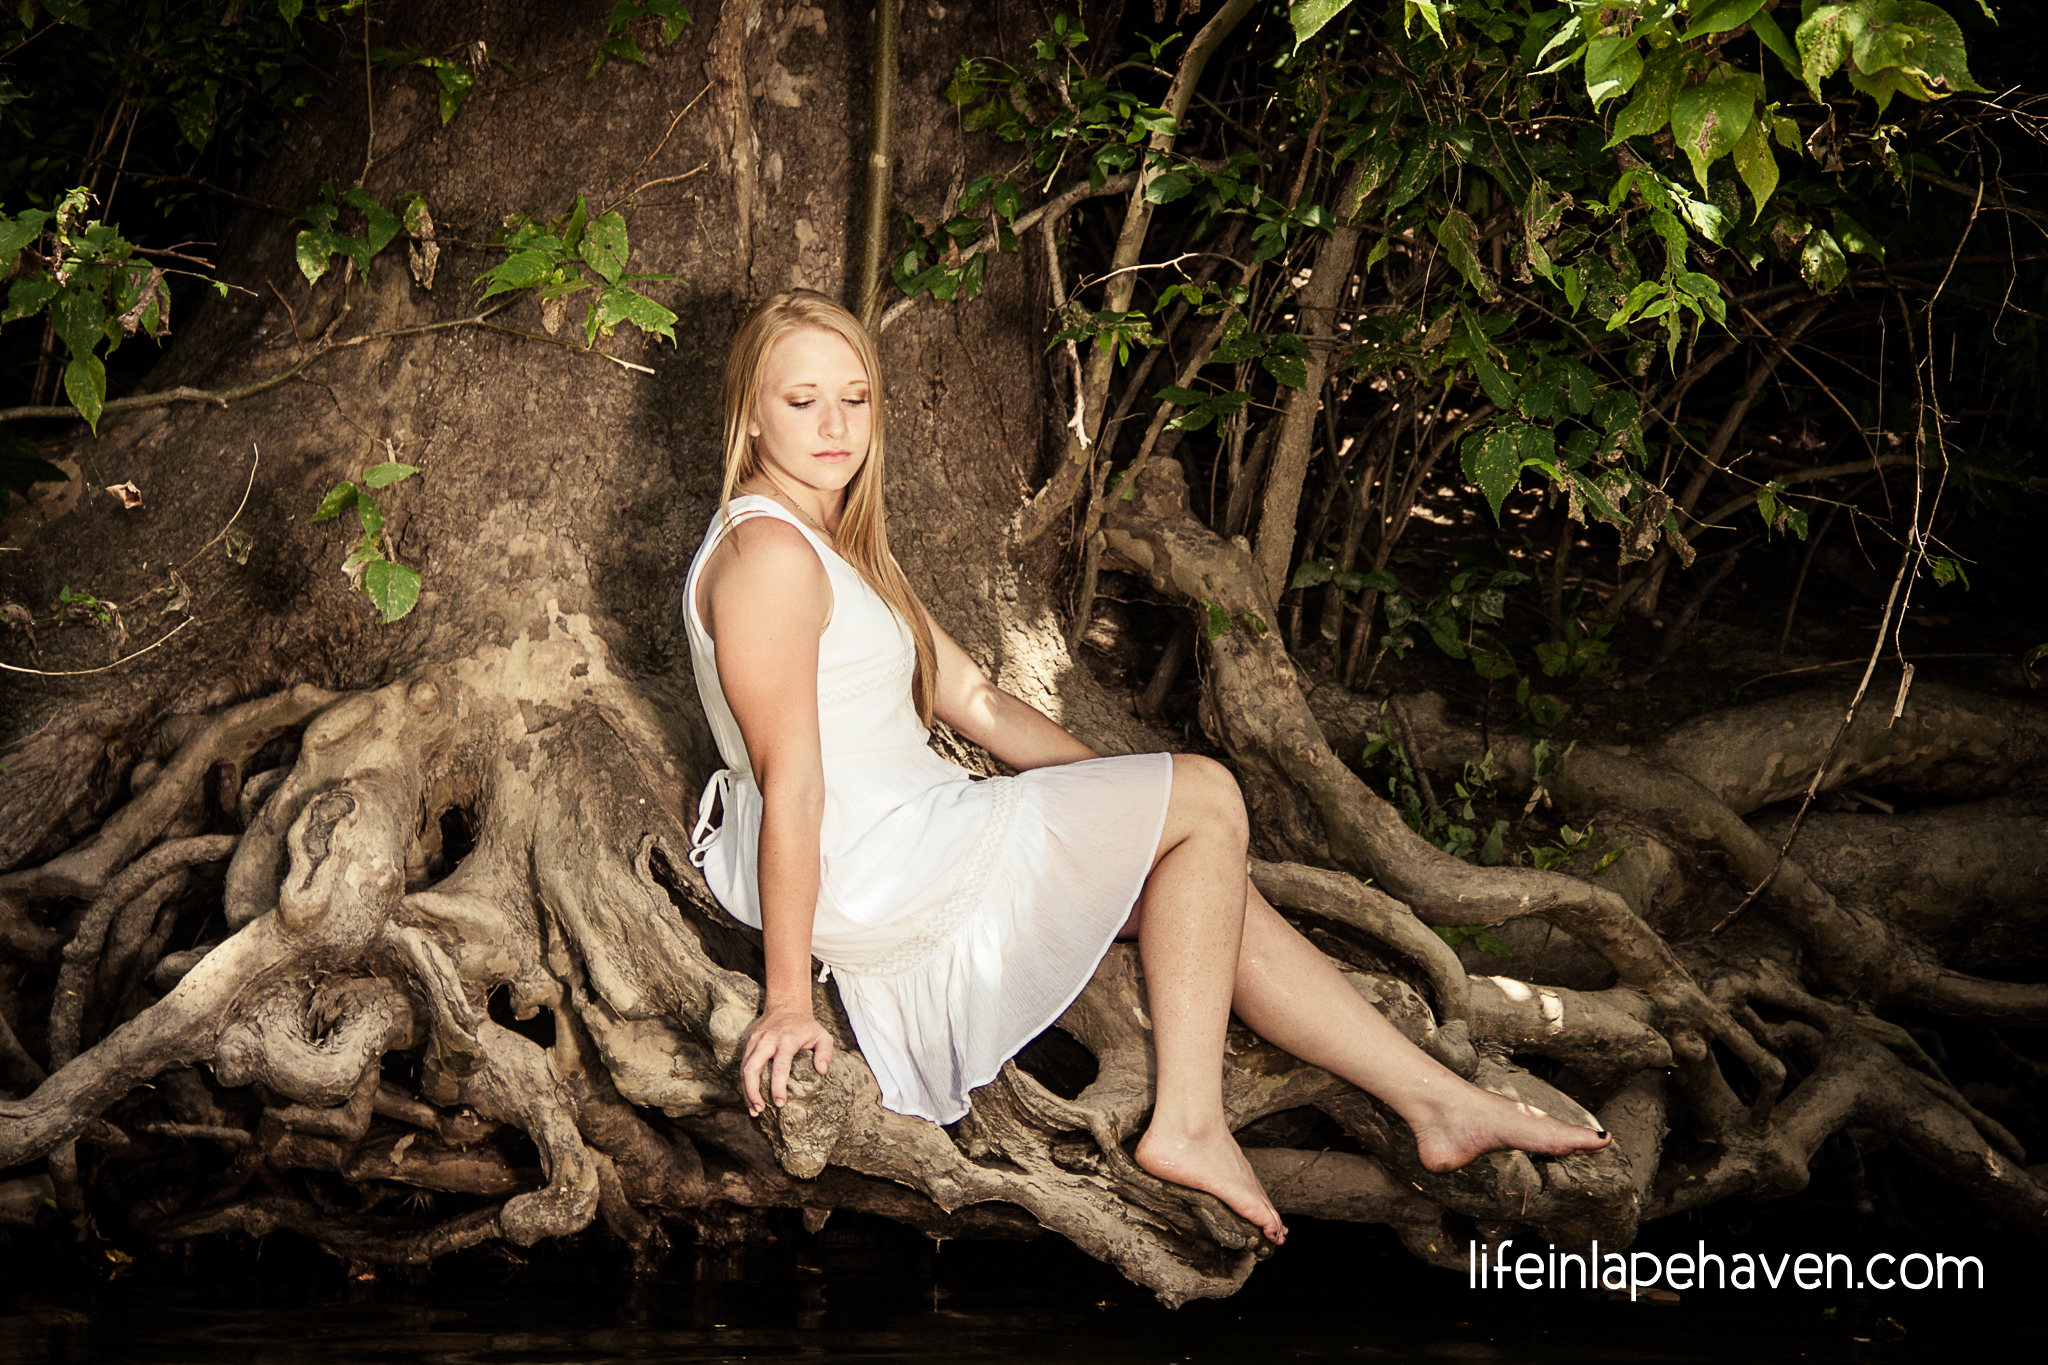
Sometimes when you go wading, you find a water sprite. To get this, I had to get into the water.
A note of caution: Be aware of what’s flattering. Some angles are just not great for pictures, such as “up-the-nose shots” from down below. People tend to look better when they look up into the camera or directly into it, rather than down.
#3. WATCH THE BACKGROUND
This is probably the first rule I was told when I started my job at the newspaper, and they were training me to take pictures when I covered a story.
It seems like such a simple tip, but it’s HUGE!
We’ve all seen those pictures online that become jokes because of something in the background. It might be a random photo-bomber (hard to help sometimes, and sometimes fun for a picture). It could be a branch or pole that seems to come out of your subject’s head. It could be a really messy counter or trash piles across the field.
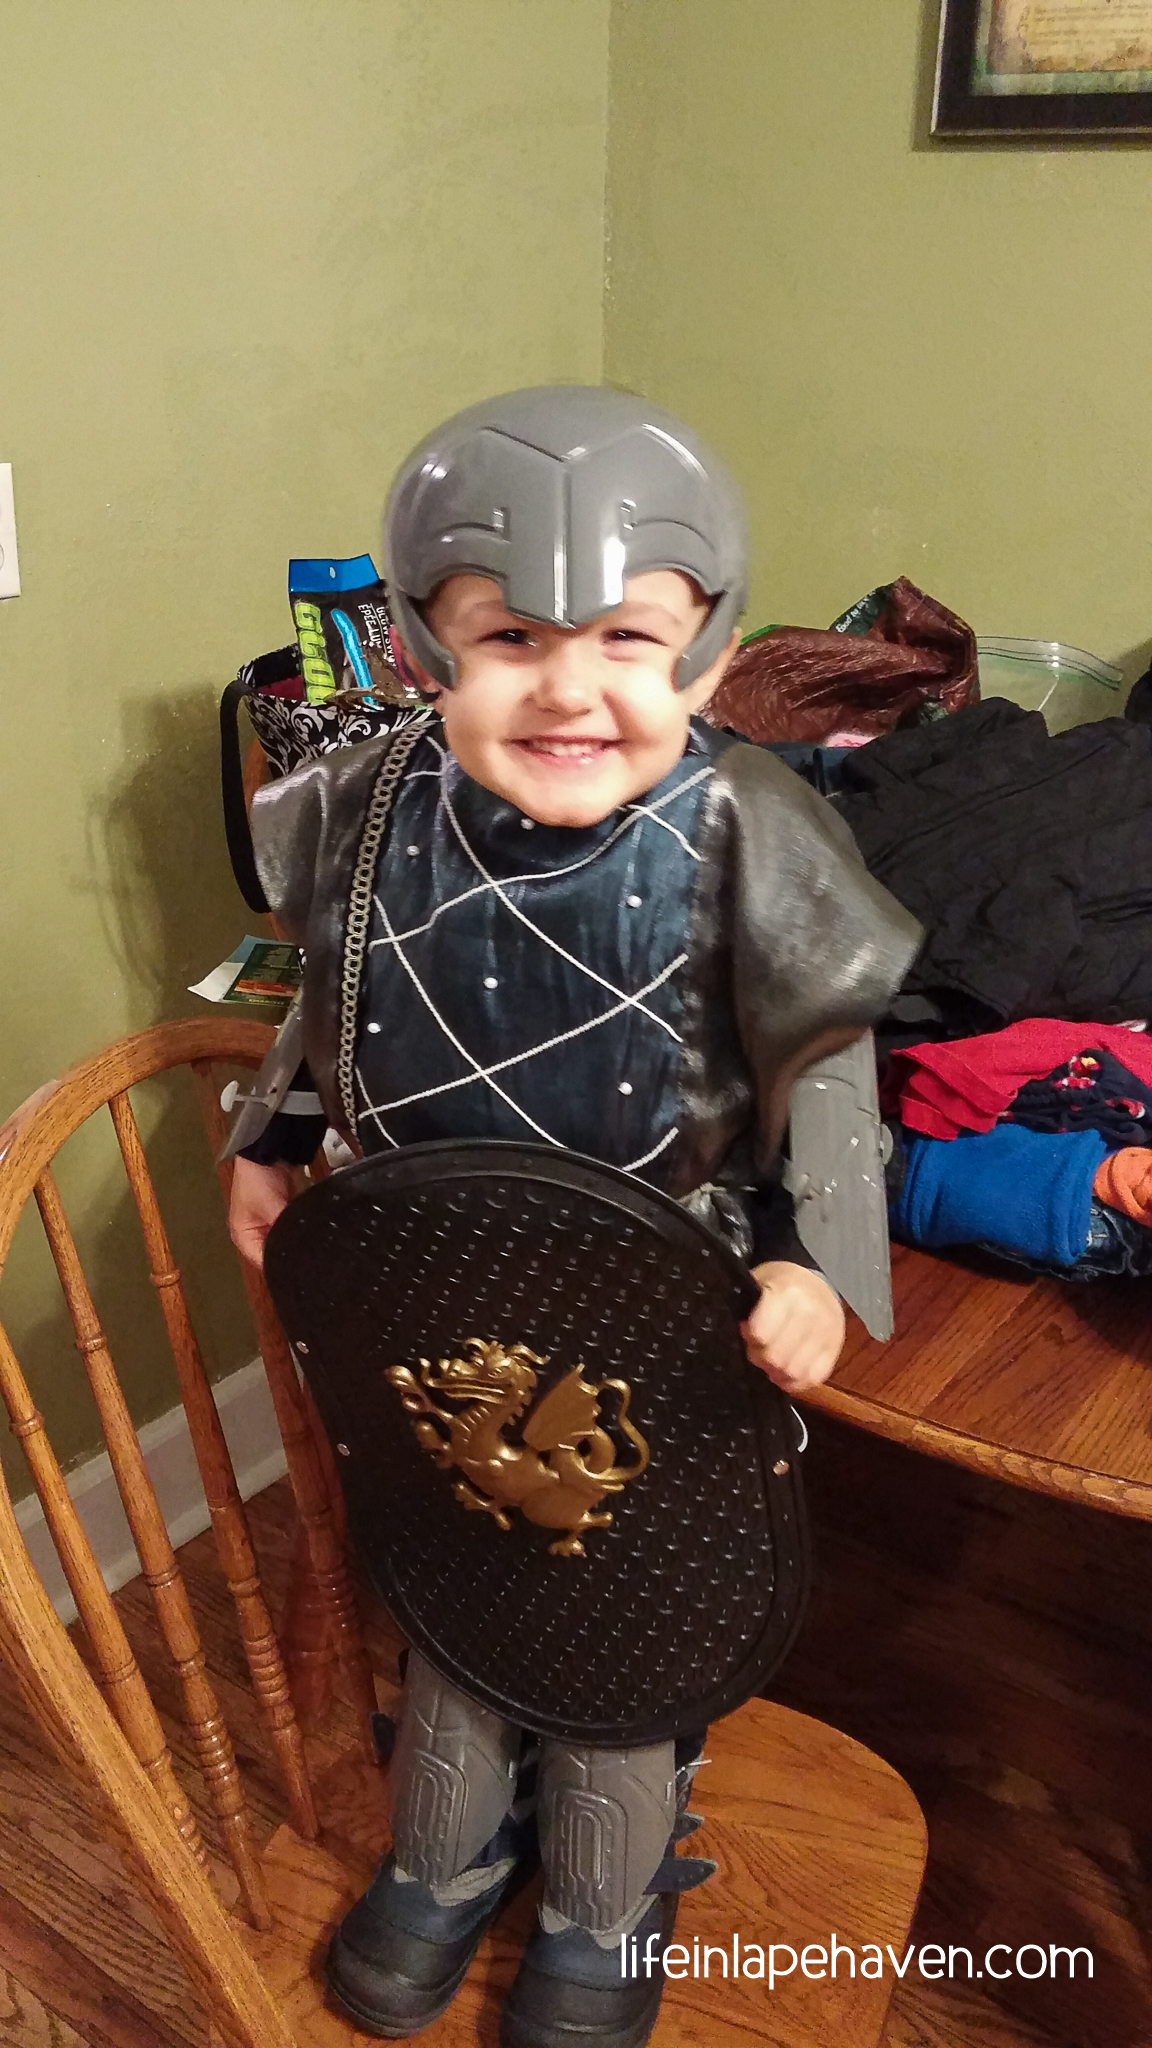
A few weeks ago, as we were hurrying out the door to a costume birthday party, I snapped a picture with my phone of Josiah in his knight costume. Unfortunately, he was standing on a chair by the kitchen table, and the table was covered with the remnants of costume-making. Since we needed to leave immediately, I didn’t have time to clear it all off, so I took the picture anyway, knowing that background was going to bug me. It does. Thankfully, we got some better pictures later in the evening where the background doesn’t take away from my sweet little hero.
-
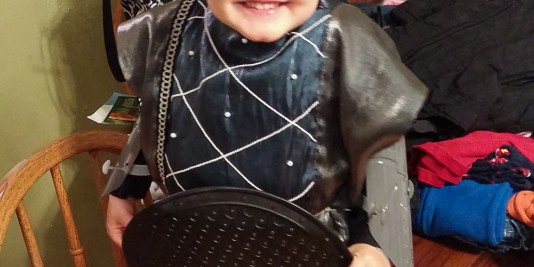
- My cluttery background takes away from my focus, which is our little knight.
-
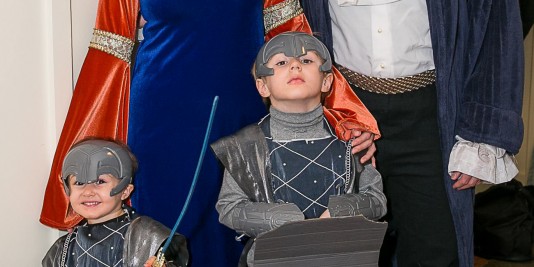
- Thanks to my sister-in-law, we got a much better picture.

Keeping an eye on the background will help keep the focus on your subject instead of random distractions behind them. If you need to, shift your shot a little bit (remember, you can move), or do a quick tidy-up. (I’m not saying don’t show real life, but if you don’t want it in your picture, move or move it if you can!)
Bonus: Other things that can be distracting in family or group shots: Watch pockets, cell phone holders, baseball caps, glasses, etc. Guys especially like to have papers, pens, and random items sticking up out of their shirt pockets, and I am always having Brad remove his cell phone holder from his hip. For hats, I just have my boys push it up a little bit, so their faces aren’t shadowed, and when someone has on glasses, have them tilt their chin up or down a tad to avoid possible glare.
So in review, good lighting is essential to a good picture, variety (of angles) is the spice of life, and beware of distractions, even in the background.
On Thursday: It’s all about what you’re focusing on in the shot.
Top feature picture (the “taking a picture” picture) courtesy of Picture Bliss Photography.