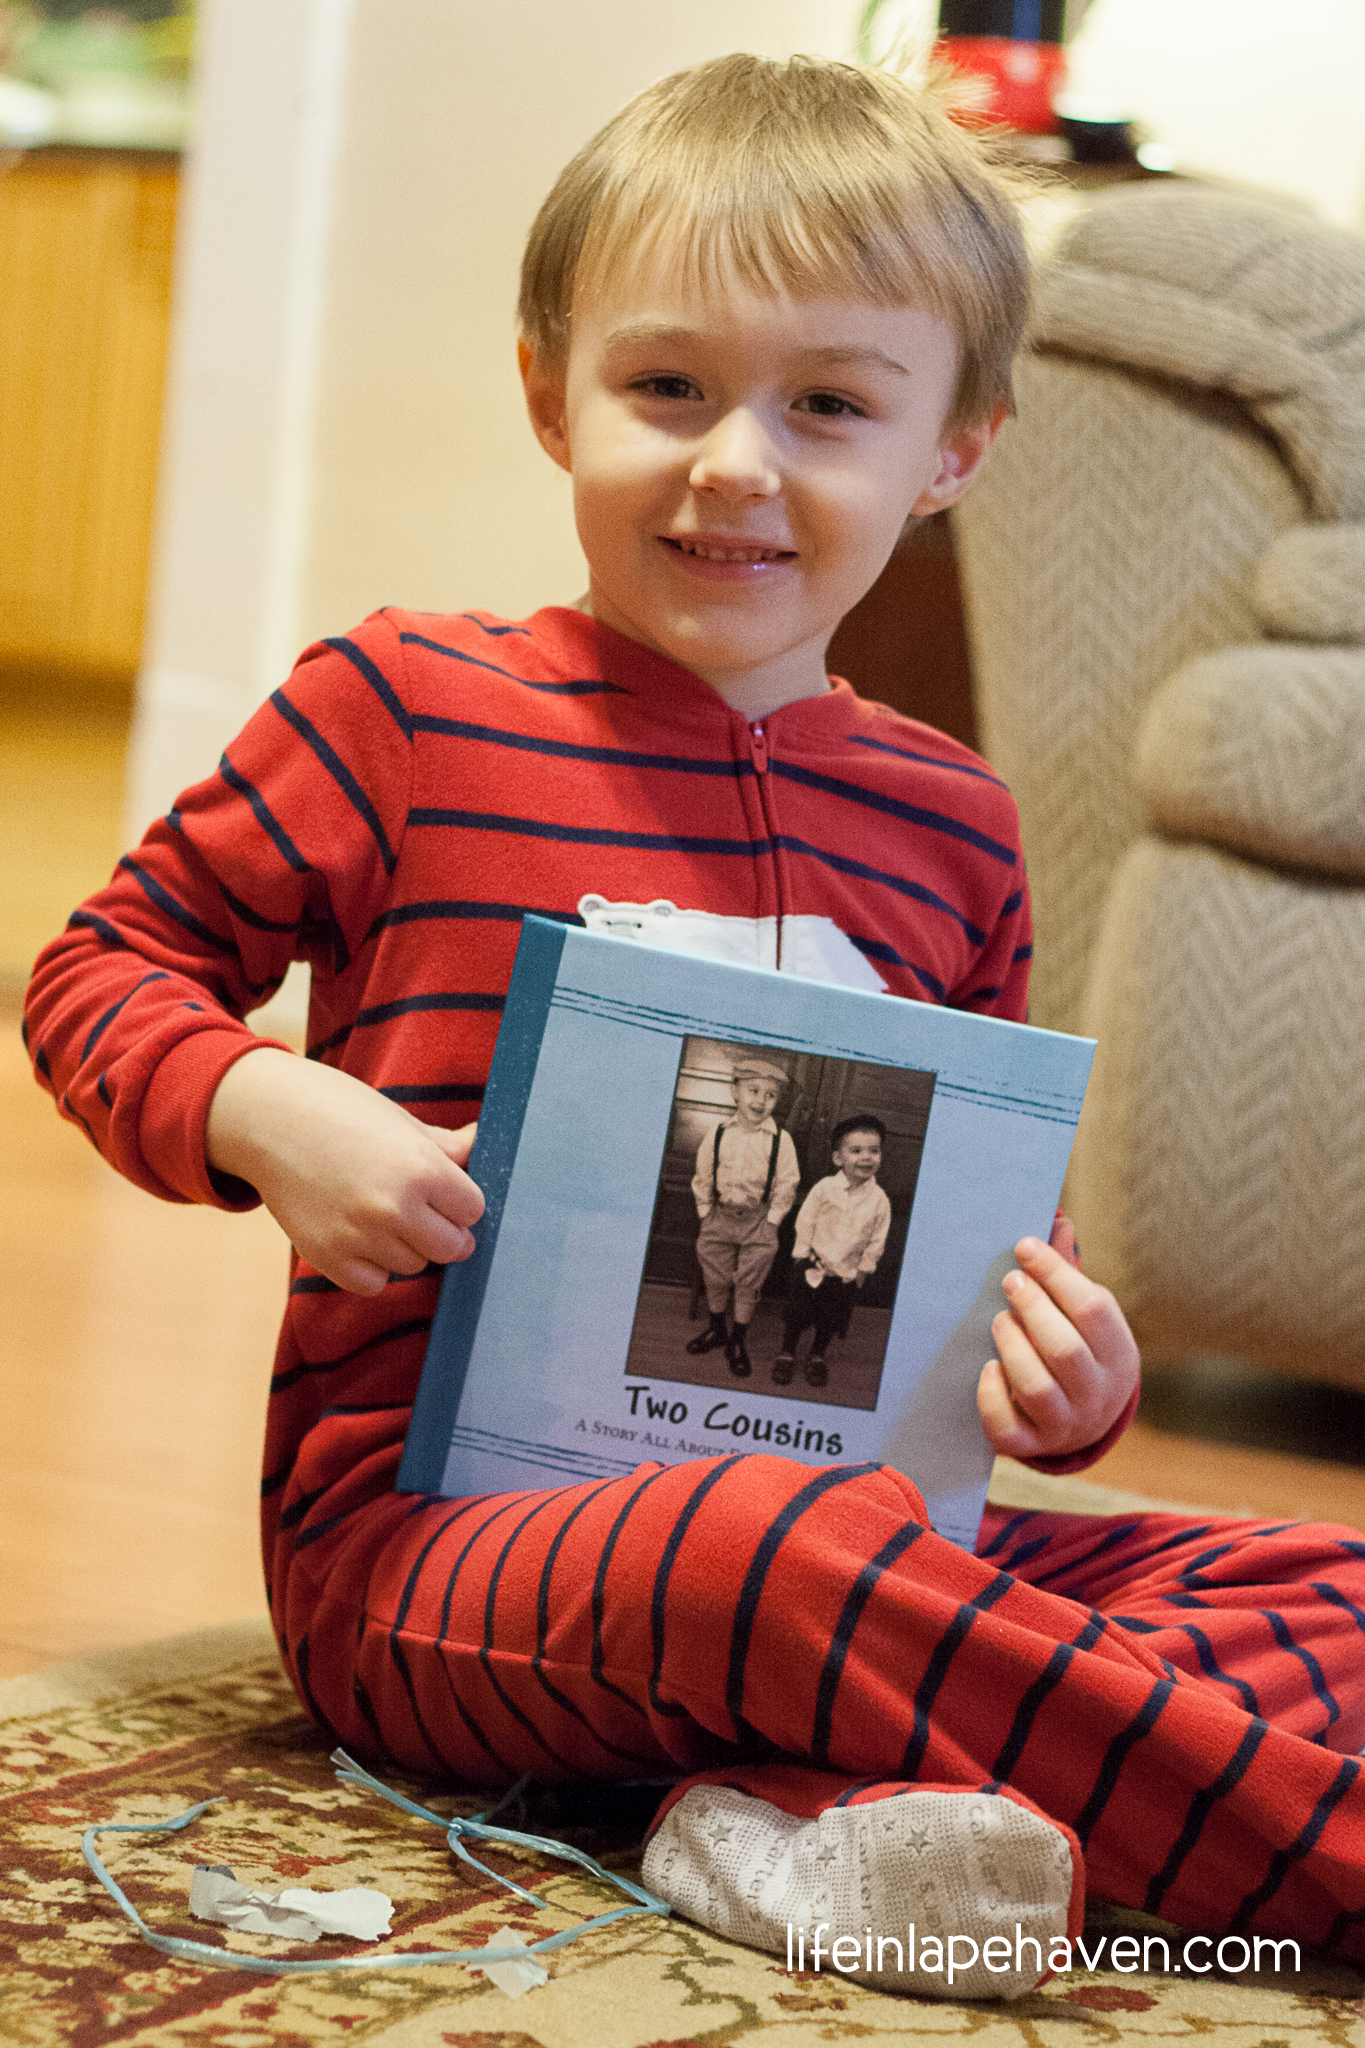

Earlier this school year, right about the time we were making plans to move Josiah out of the nursery and into Elijah’s room, I got a text from Elijah’s teacher about his school work for the day. She was very excited about something he had written on one of his papers.
While she had attempted to send me a picture of it, it never came through, so it wasn’t until later in the afternoon, once Elijah got home, that I saw what had made her day and what she’d tried to let me know about.
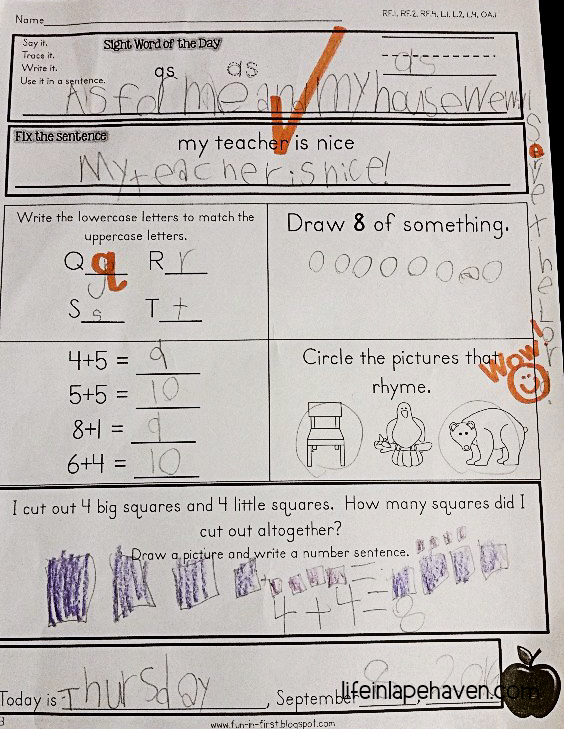
Each day the students have to use their “Sight Word of the Day” in a sentence on their daily review sheet. That day’s word was “as.” Elijah’s sentence was: “As for me and my house, we will serve the Lord.”
I was pleasantly surprised. I didn’t even know that Elijah really knew that verse. I’m sure he’s heard it before, but I didn’t know he’d memorized it. However, I knew immediately where he’d most likely seen it most often: on the wooden sign in our living room over our pocket doors.
When I asked him, he just smiled and nodded.
While I want our boys to be encouraged and know the priority that we place on God’s Word in our lives, I hadn’t really thought about whether or not our boys were really noticing or remembering the scriptures or sayings they see hanging on the walls throughout our home. His schoolwork was a nice little reminder of how much our children notice the things around them every day and how important it is that some of those things speak to their spiritual growth.
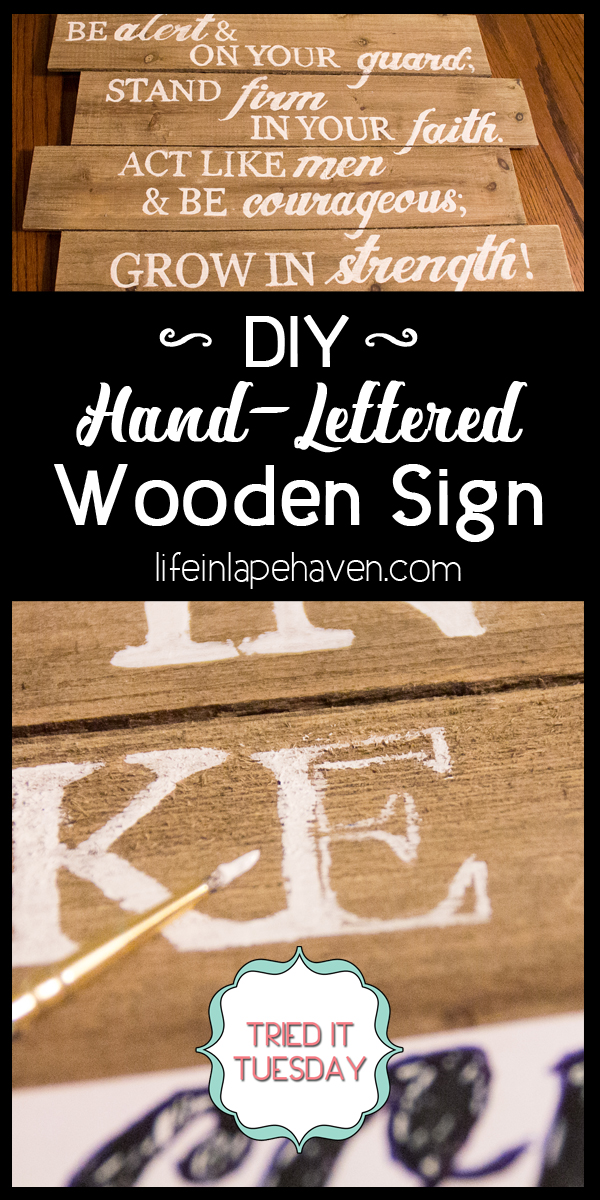
With that in mind, I was determined to make sure that as we made “Elijah’s Room” into the “Big Boys’ Room,” that the first big project I completed was a wooden plank sign I’d already saved on Pinterest. It featured a scripture that fit perfectly with the “adventure” theme for their new combined room. It is a verse that will encourage them in their walk with God and His calling on their lives:
“Be alert and on your guard; stand firm in your faith. Act like men and be courageous; grow in strength!” – 1 Corinthians 16:13
Unfortunately pregnancy and life in general pushed this wooden sign project to the back burner for a bit, so I didn’t get to do it as soon as I’d originally hoped.
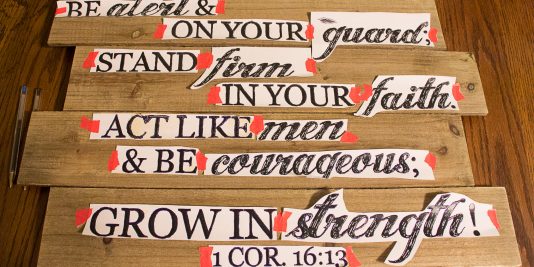
But over the past couple of weeks or so, I managed to work on it a little at a time, and TAH-DAH! It’s finally done and ready to hang up! (I knew I needed to get it done before Baby #3’s arrival, or it would have to wait even longer.)
So, how did I do it?
Well, it was easy…and it wasn’t. 🙂 Or rather, it was easy, but it was a bit more time-consuming than I’d expected because I had to change my approach a little after I started the project. However, I am still really happy with the results.
SUPPLIES:
Blank Wooden Sign (I got mine from Hobby Lobby with their weekly 40% off coupon)
Print Out of the Verse
Scissors
Tape
Ink Pen
Acrylic Craft Paint (I actually used some from my parents, so that saved money)
Paintbrush
Small plate or container for paint
Sealant (Rust-oleum Matte Clear Ultra Cover)
Hand sanitizer
INSTRUCTIONS:
1. PLAN – The first thing I did was type out the verse on my computer in different fonts and laid it out close to what I wanted it to look like on the board.
2. LAYOUT – Then it was a little bit of trial and error to find the right size that I needed it to be when I printed it out. I would print out the first couple of lines, cut out the words, and arrange them on the board. At first some lines were too big – too long for the board or too tall – so I had to play around with the font sizes and arrangement until everything fit neatly on the wooden sign.
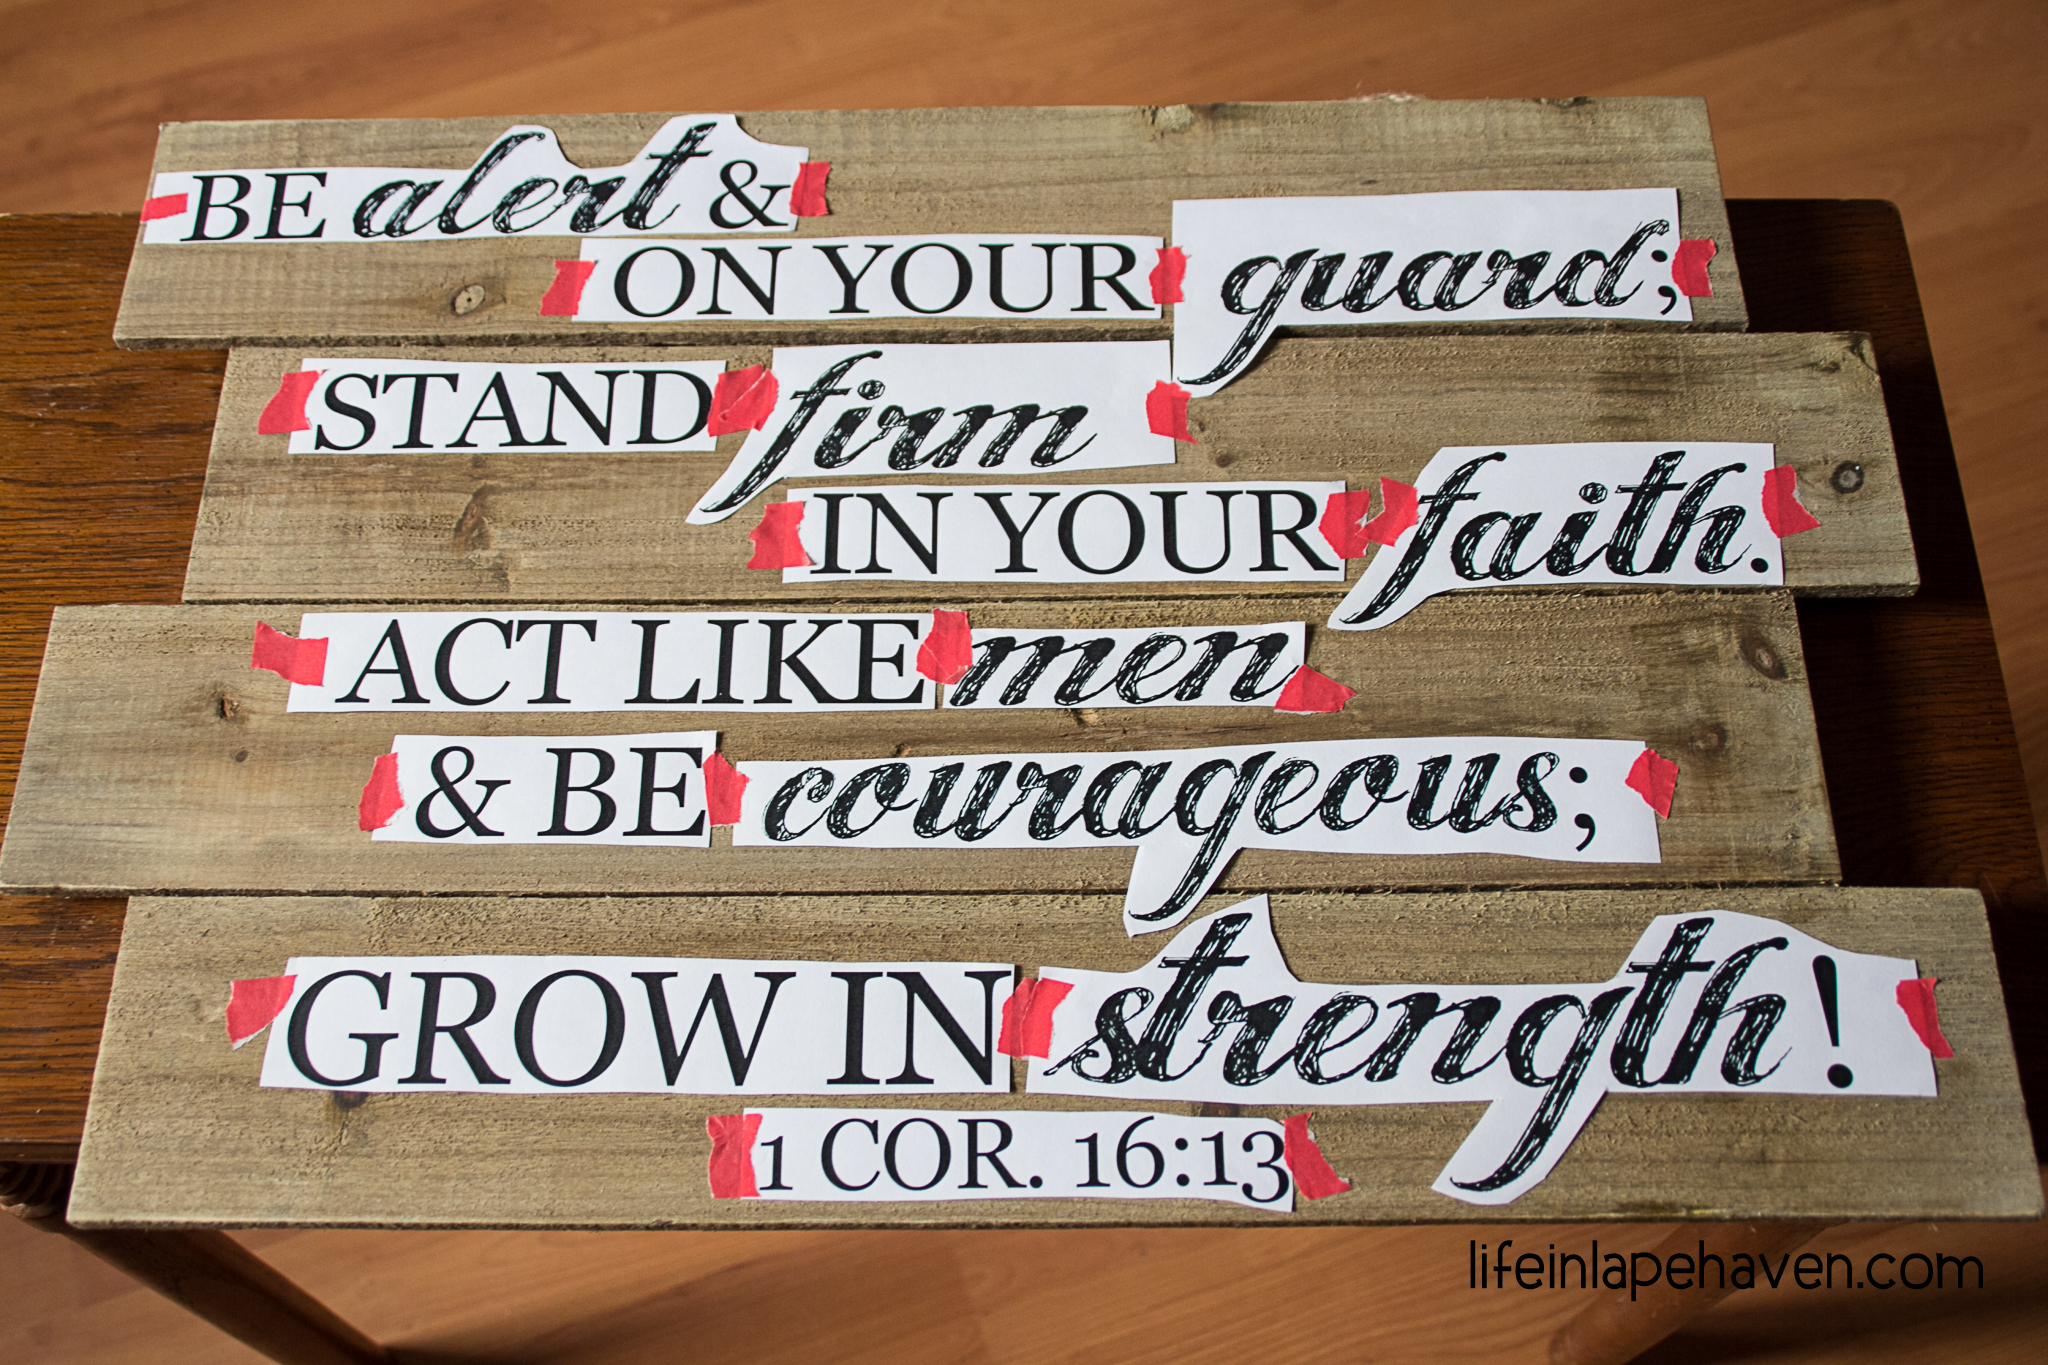
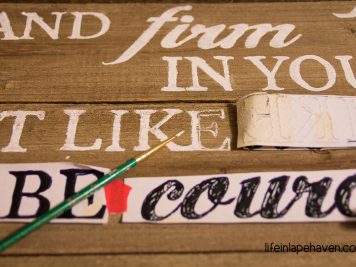
3. TAPE – Once I had the layout as I wanted it, I taped each section to the board so the words wouldn’t move around.
4. TRACE – Using an ink pen, I traced over each letter, FIRMLY, leaving an indent of the word in the wood underneath. This took a little bit of time, especially since I chose a long verse and fonts that were more ornamental. I worked on tracing the words over a few different days, as I could find time to do it. (I made sure to peek at the “tracing” I was leaving on the wood. I didn’t want to be missing a section when I removed the print out)
-
- Go over EVERY letter FIRMLY with a pen.

-
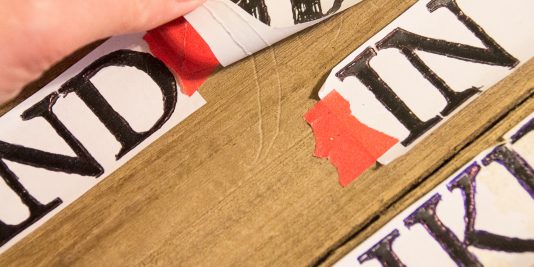
- This leaves an indent in the wood.

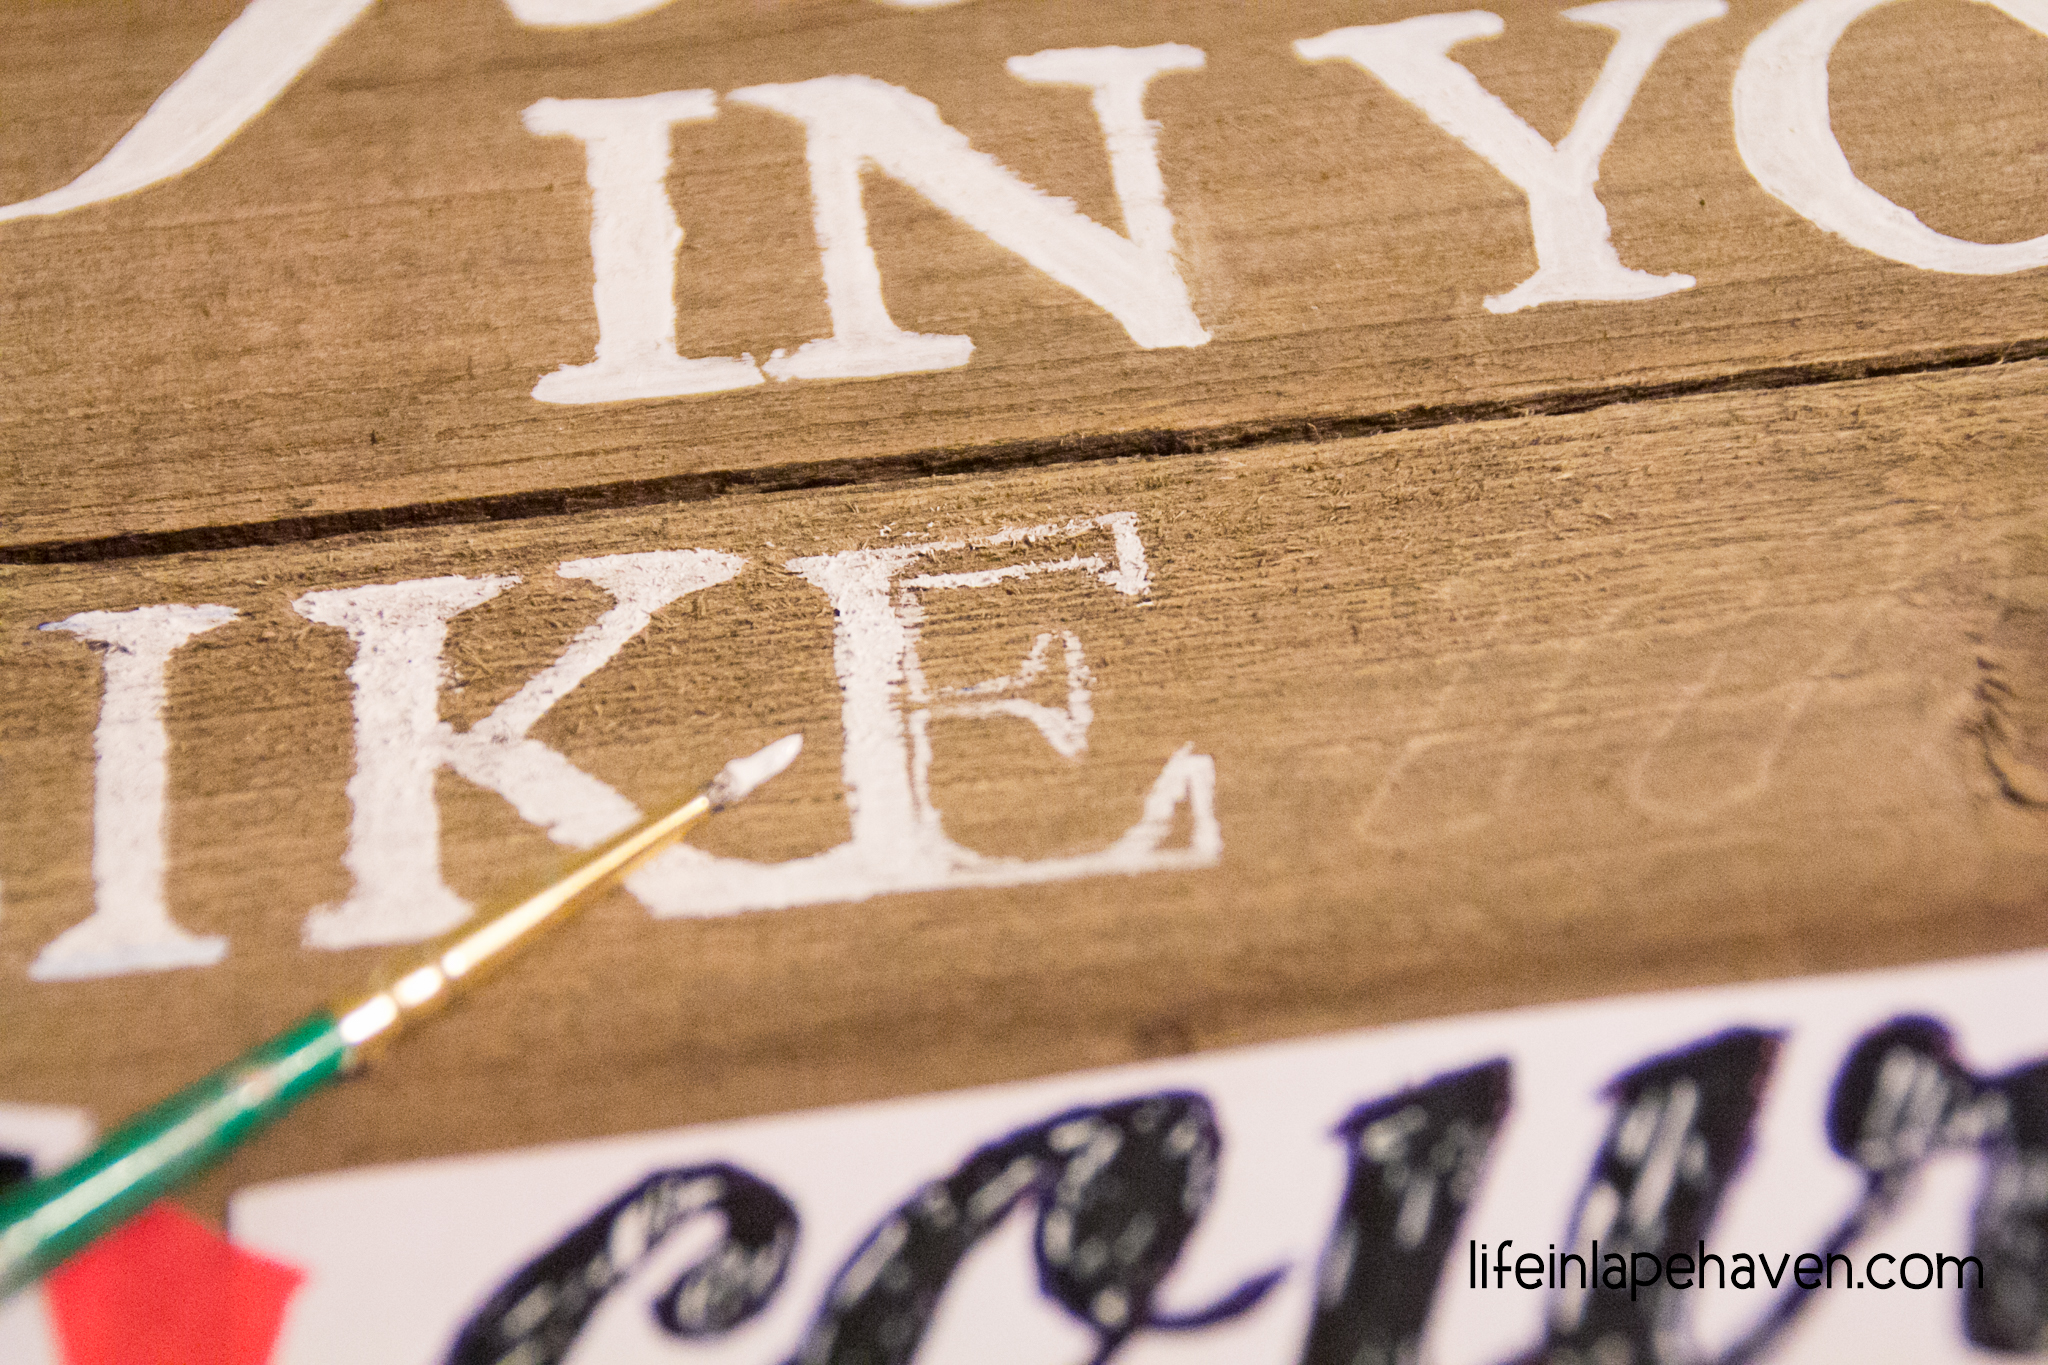
5. PAINT – With all the words traced onto the wood, I was ready to paint. My original plan was to use a paint marker, which would have saved a lot of time. However, those require a much smoother surface than the wood provided, and the tip was way too wide for fine detail. It just didn’t work. So, I went with a paintbrush and some acrylic craft paint. (Thanks, Mom!)
Starting at the top, I peeled back the first section of words, but left it taped on the far side, just in case I needed to retrace a letter or something. Then, using a very fine-tipped paintbrush, I first traced the outline of the letter, then filled it in. Some parts of the wood were really easy to paint on, but other areas were rougher or had little divots or more obvious grain to them. But that’s part of working with actual wood. A smoother plank or surface would have made the painting easier, but I really wanted that rustic look of real wood.
-
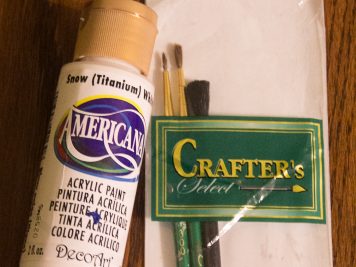
- I used craft paint and paintbrushes.

-
- Only peel back where you are painting…just in case.

-

- Trace the outline, then fill in.
Once I got a section painted, I removed the print out completely. Then I went on to the next section. The painting takes time and not having little boys bumping into the table constantly, so I could only work on it off and on. But a little here and a little there, and I managed to finish it all. 🙂
*FIXING MISTAKES – As I went along, a few slips of the paintbrush were inevitable, especially when the boys were running around in the kitchen as I worked on the sign at our table. However, thanks to all my work with various stains on the laundry, I knew that rubbing alcohol and hand sanitizer both work to get most paints out of things. So I kept a small bottle of hand sanitizer right by my paint. If a letter got uneven or I dropped my brush on the wood (it happened more than once), I used another paint brush with a little hand sanitizer on it to dissolve the mistake, carefully wiping it away with a paper towel.
6. SEAL IT – After the whole verse was painted on, and I was happy with it, I covered the whole sign with a matte clear sealing spray to protect all my work (spraying it outside, of course). I’m not sure that it’s entirely necessary, but since it’s going into the boys’ room, it can’t hurt to have a little extra protection against damage. 🙂
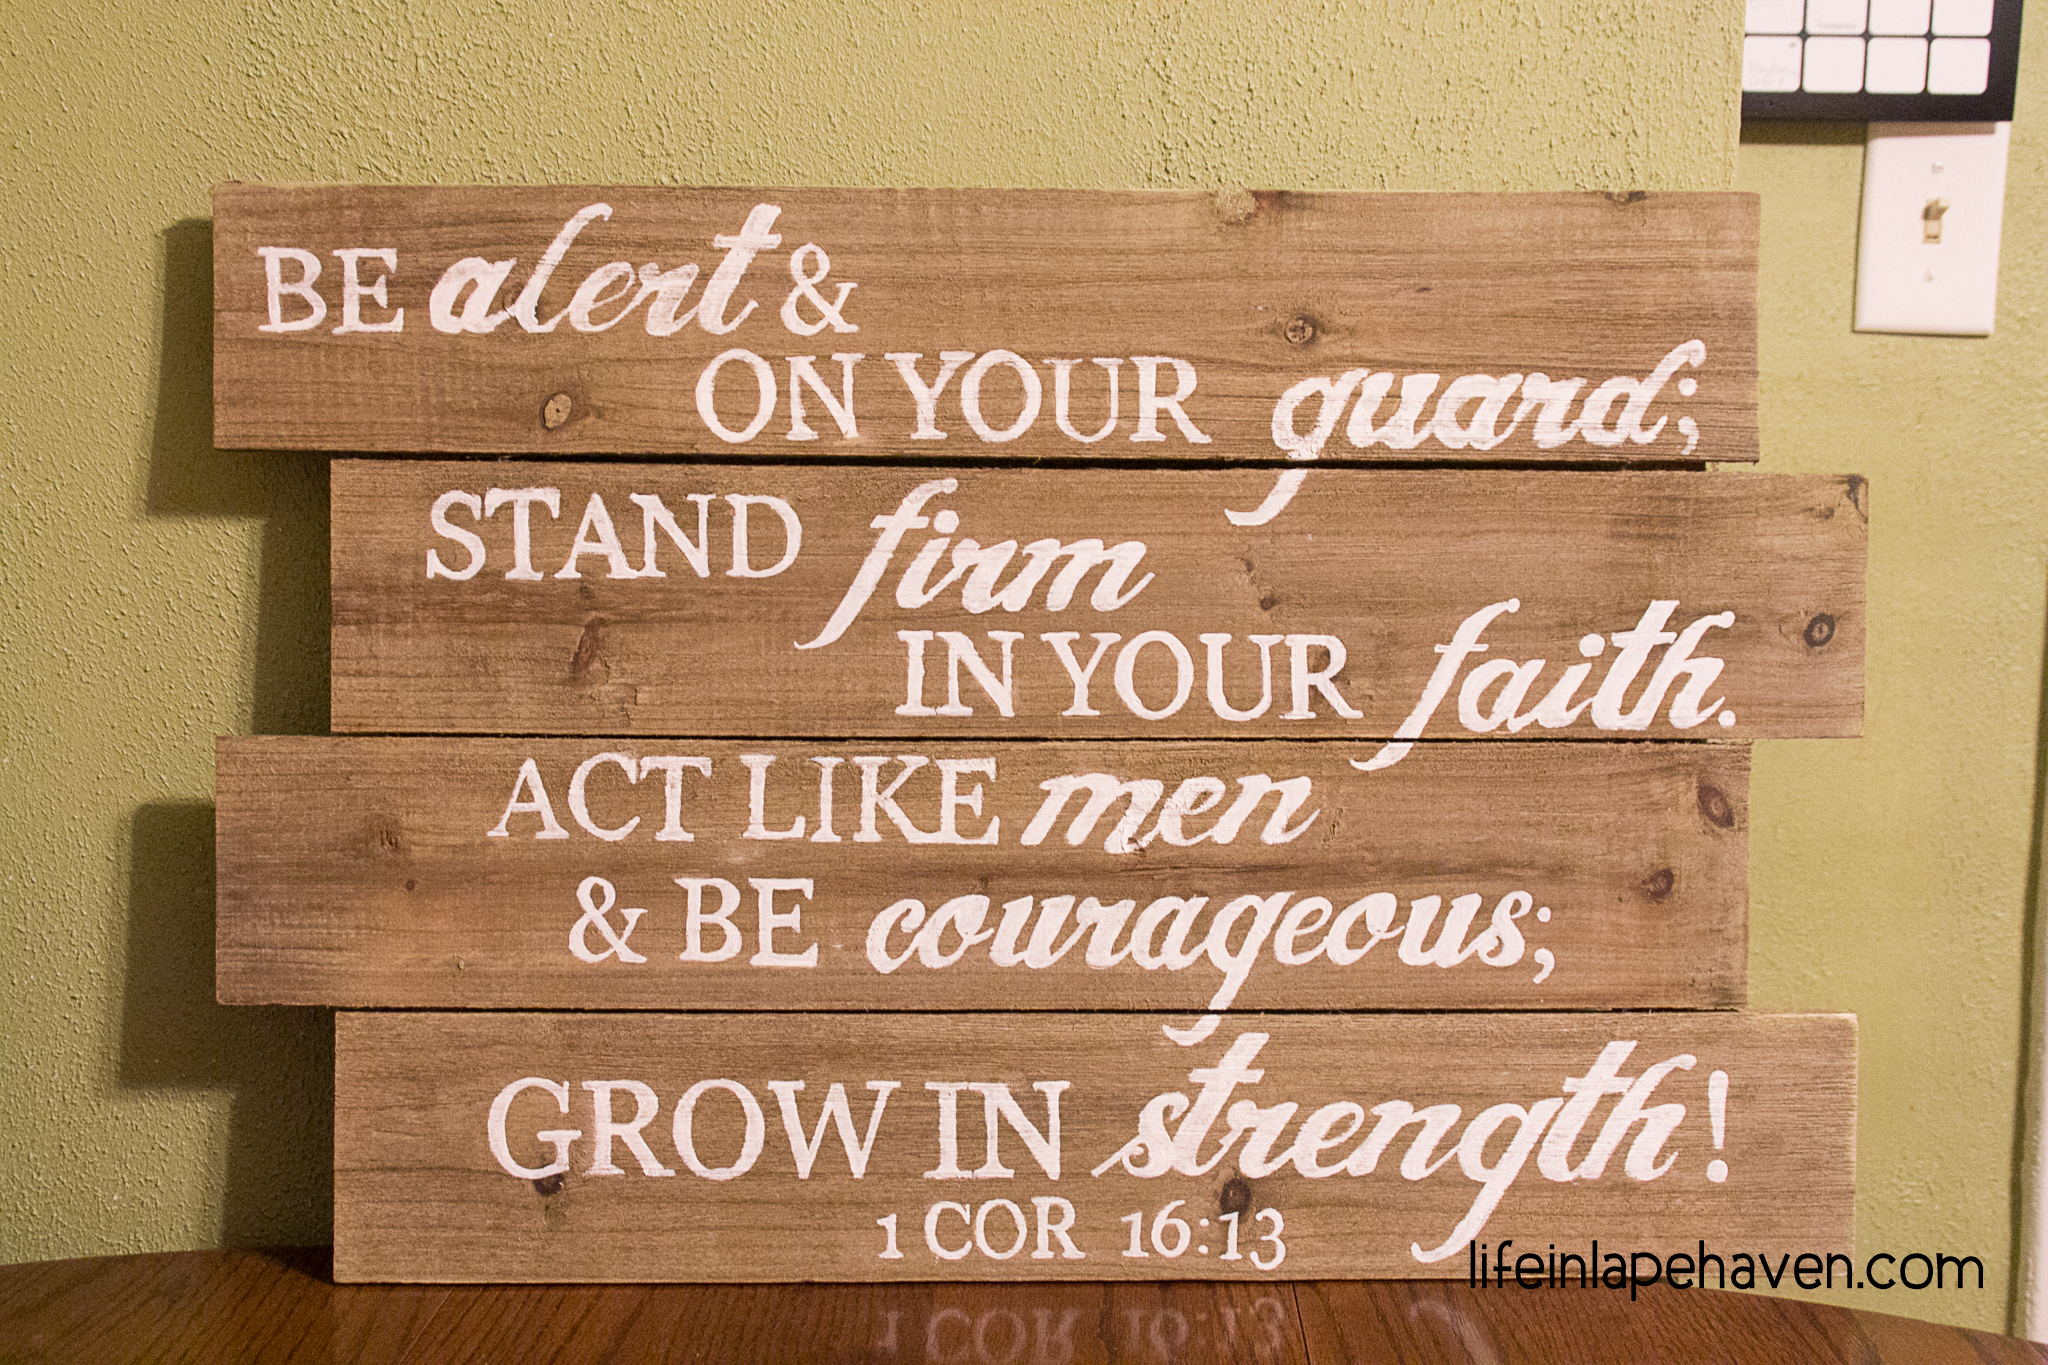
Is my wooden plank sign perfect? No. But it really wasn’t meant to be. It was hand-lettered, so imperfections are to be expected.
Will I be making more scripture or word art signs for our home? Probably. But not until after Baby #3 is here and a bit older (leaning over a baby bump as I traced and painted did NOT make the project easier). And next time, I think I’ll choose a shorter phrase and larger fonts. Haha.
Overall, this was a fun project, and I’m proud of it. Our boys were ecstatic when they saw the finished sign, and they can’t wait for it to be hung on their wall. Hopefully, the message on the wooden sign will find its way into their little warrior hearts and stay with them throughout all the adventures God has ahead of them.
YOU MIGHT ALSO LIKE:
How to Easily Create Beautiful Chalkboard Lettering
The Most Important Thing My Child Learned from His 1st Grade Teacher