This post may contain affiliate links, which means that at no additional cost to you, I may receive a small commission if you use the link.
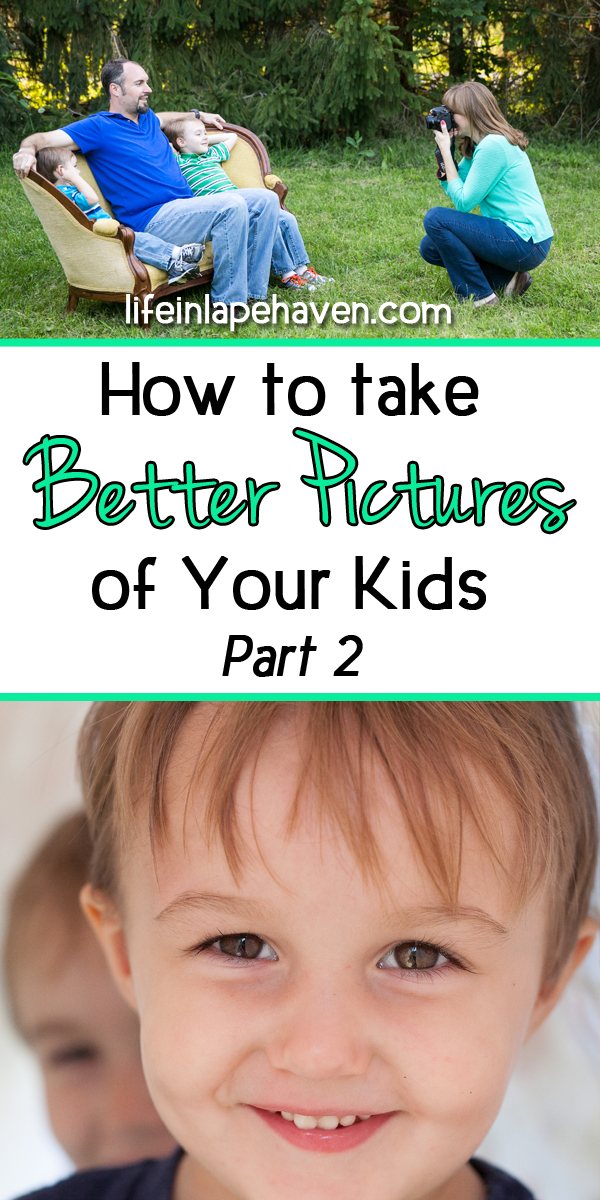
Here it is – the last of my tips and advice for getting better pictures of your family. Hopefully you’ve been trying some of them out and seeing a positive difference.
Now that we’ve got everyone acting naturally, situated where they need to be, and you’ve figured out how to frame an interesting shot, what else is left?
Just a FEW MORE POINTERS
(Sorry, no catchy title to pull these together)
#1. BE BRAVE & LEARN TO SHOOT IN MANUAL MODE
I know I said that you could use these tips no matter what camera you have, but this one, well, you kind of have to have a camera that allows you to adjust settings, such as Aperture, Shutter Speed, & ISO.
I understand that the technical side of photography can be intimidating, but once you have even a basic idea of what those things do, you’ll see that it’s not as scary as it seems.
Your pictures will never be the same again, and your confidence as a photographer will grow exponentially.
While every camera’s settings and how you adjust them are different (check your manual or look online for tutorials. Canon has a ton on YouTube), the 3 main exposure factors to your shot are the same. They each deal with how light enters your camera, but in different ways. When you adjust one, it affects the others.
For some very good technical definitions and explanations, check out Photography Life’s articles here: Aperture, Shutter Speed , and ISO.
In my mind, this is how I think when looking at my settings:
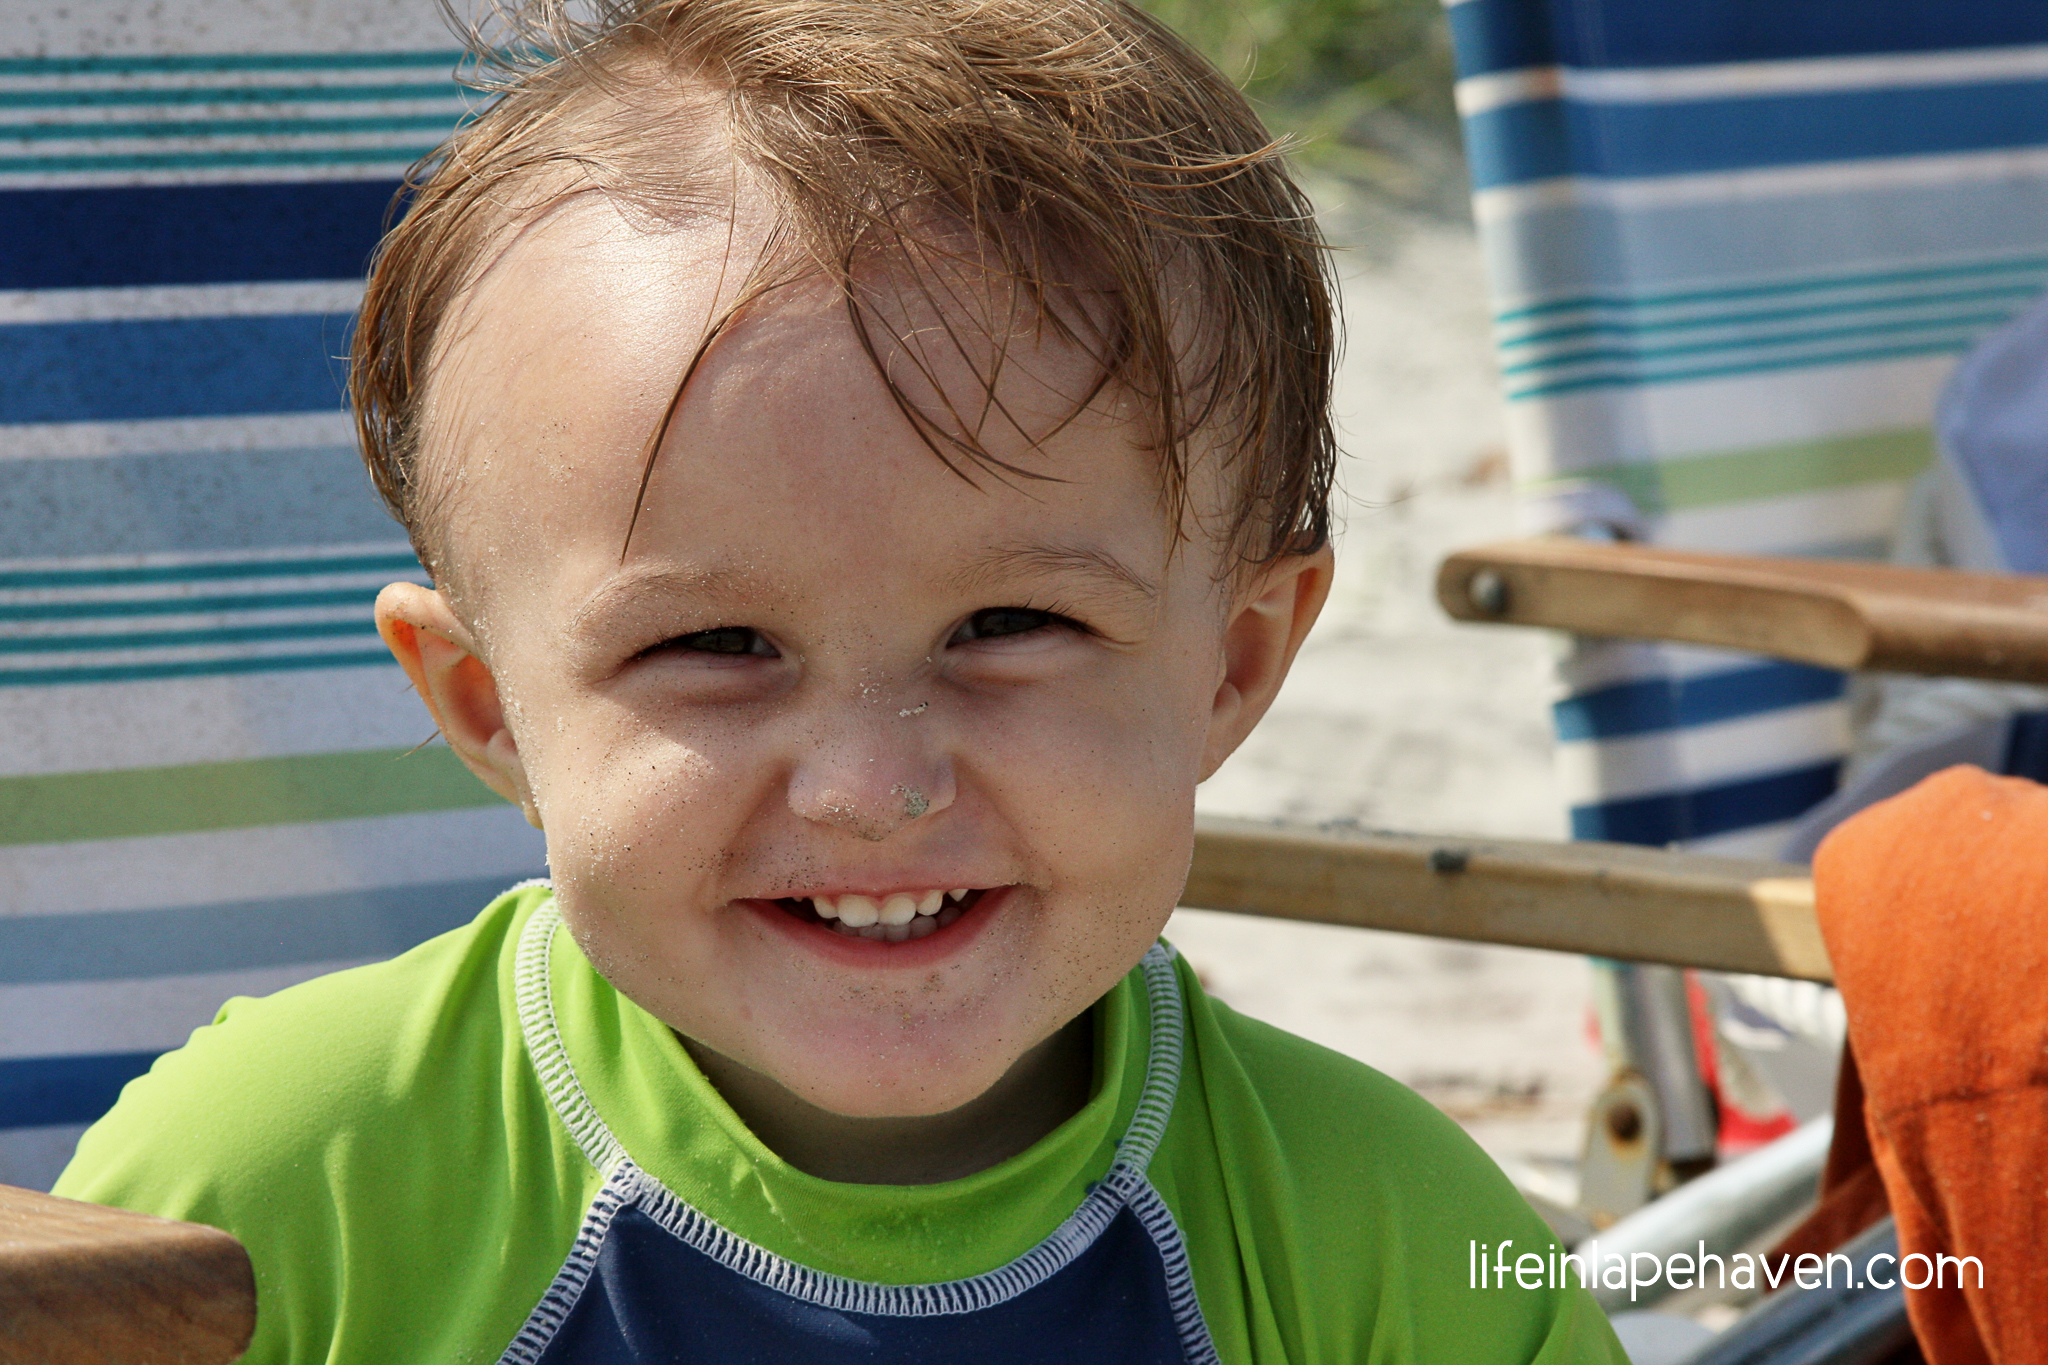
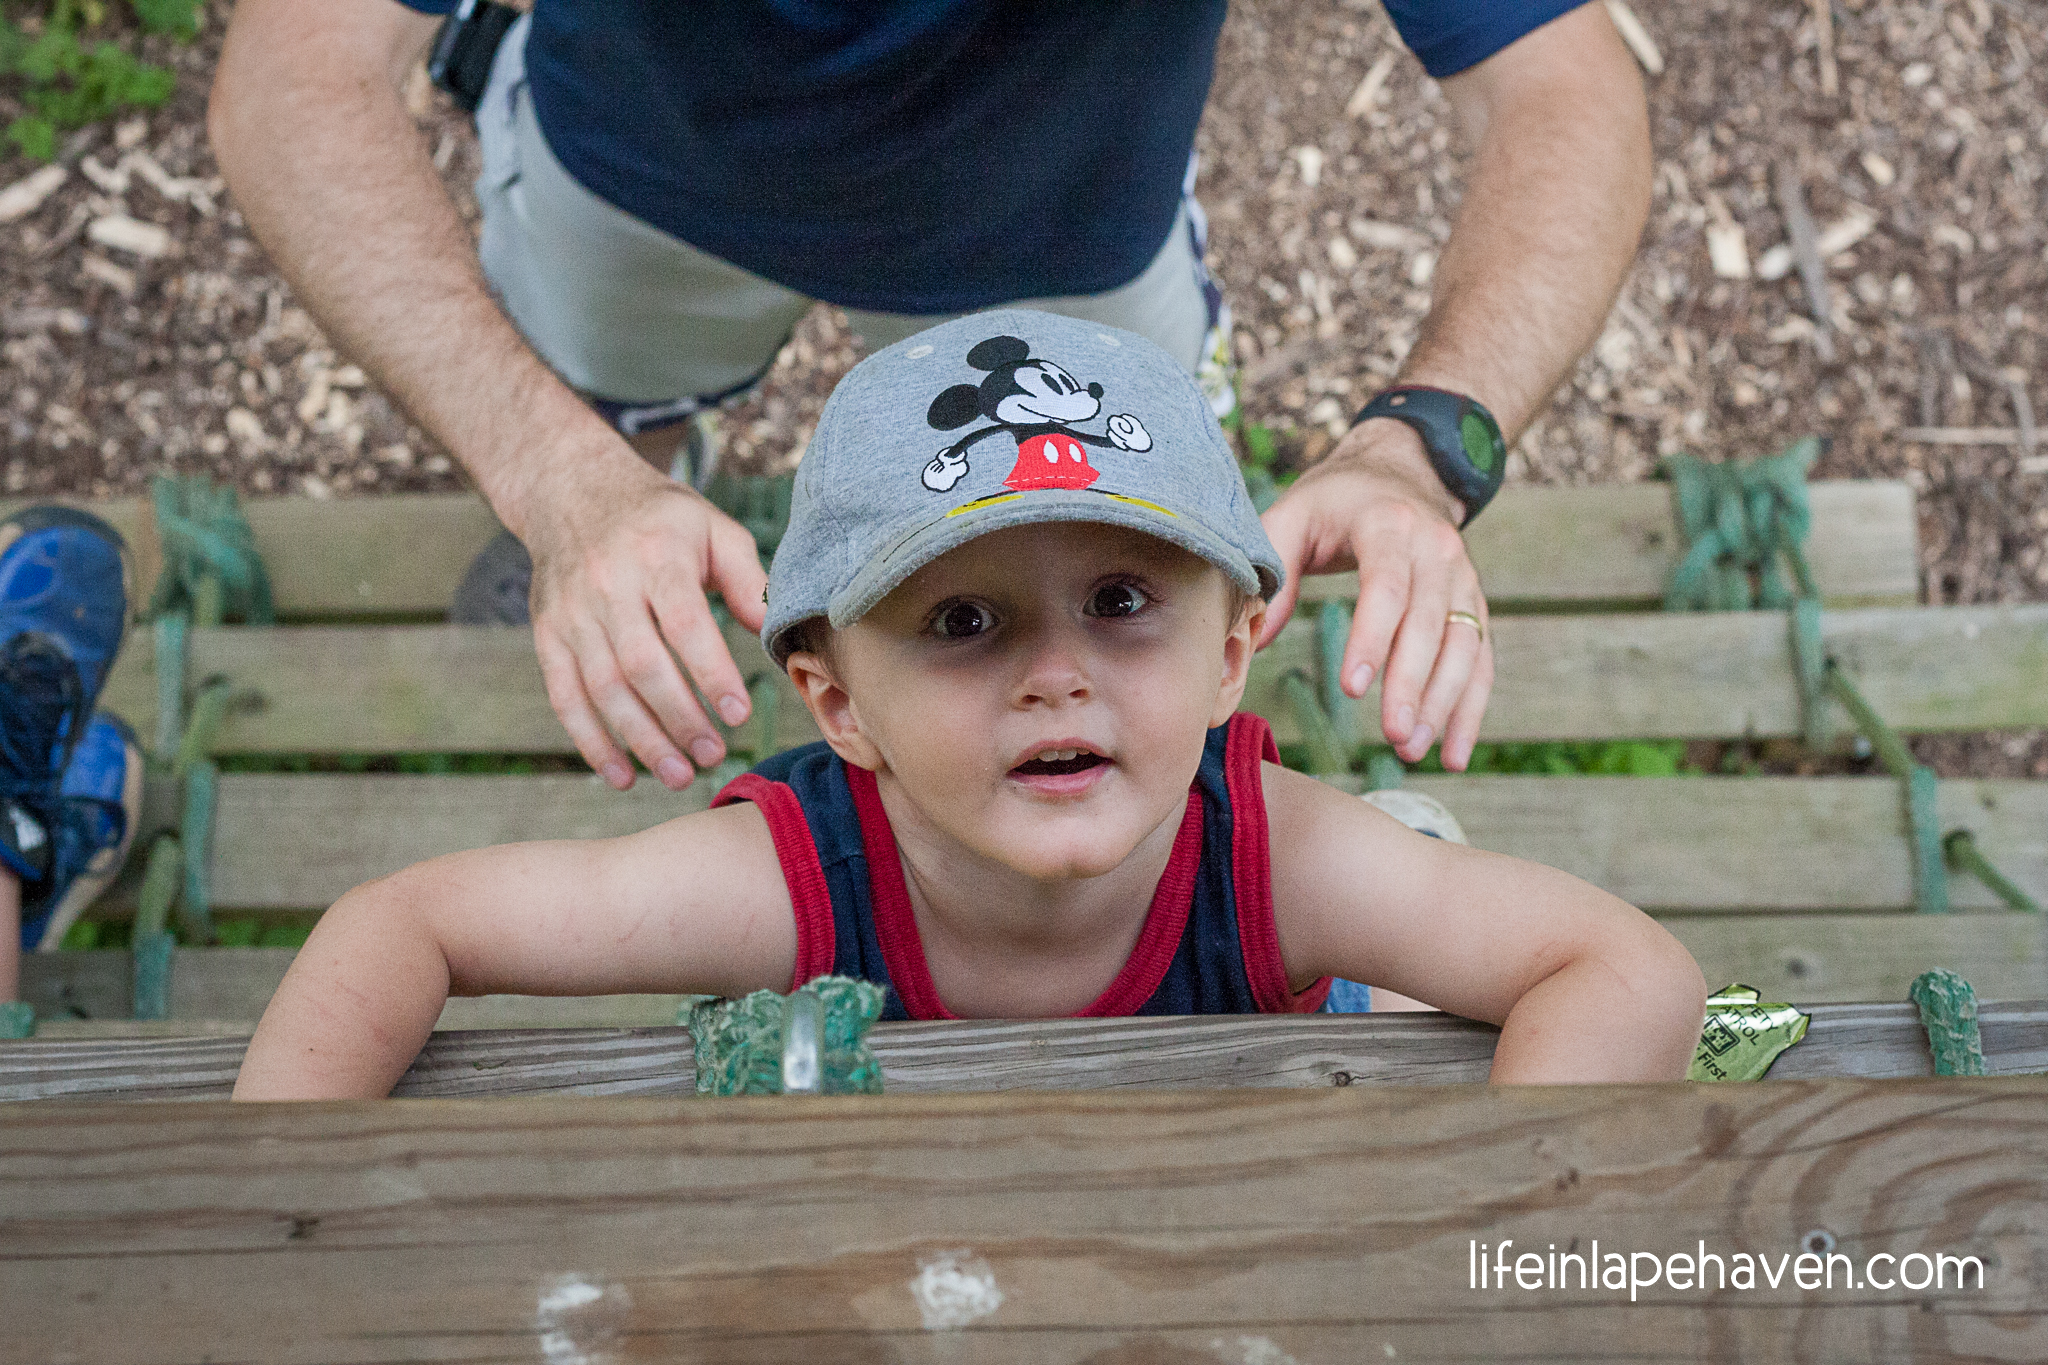
APERTURE: Controls my depth of field. Do I want everything in the picture to be in focus, or do I want just my child’s face to be sharp and the background to be blurrier?
You know that cool effect with lights looking like blurry circles, “bokeh”? That’s accomplished by using a higher aperture. The confusing thing to some people is that a higher aperture actually means a lower f-stop number on your settings.
A higher aperture (lower f-stop, such as 2.8) lets in more light. A lower aperture (higher f-stop, such as 10) lets in less. When I need just a little more light for my picture, I can adjust my f-stop to a lower number, as long as I know that the background may get blurrier the lower I go.
-

-
Shot with a low f-stop, Elijah is in focus, the background blurs away.
-

-
Christmas is fun for the bokeh effect because of all the lights.
-

-
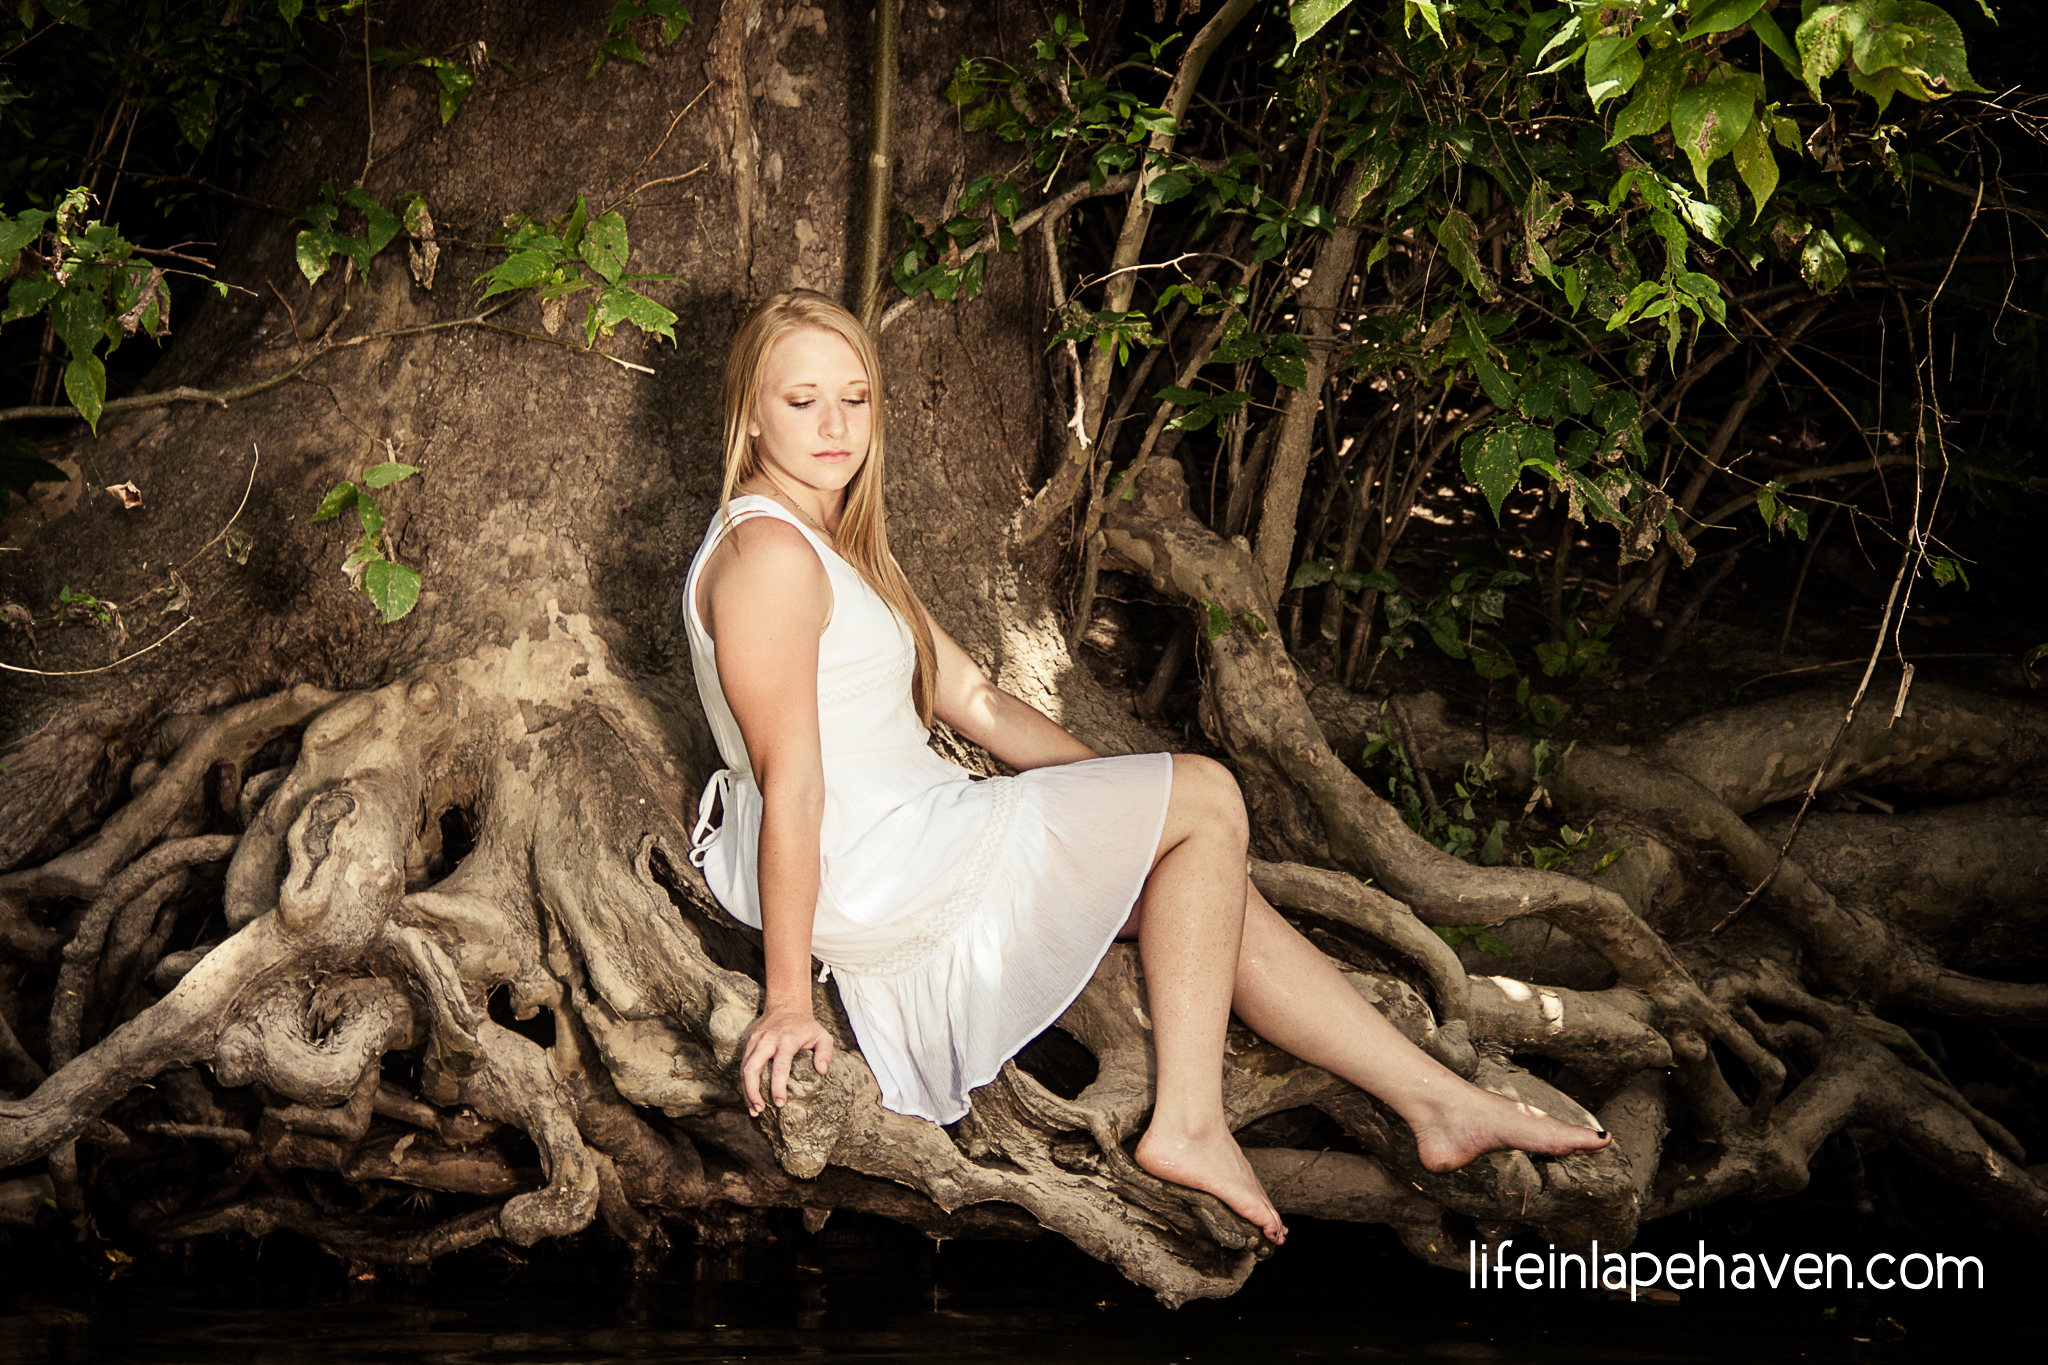
When you have a large group, you want a higher f-stop so that everyone is in focus, not just the front row.
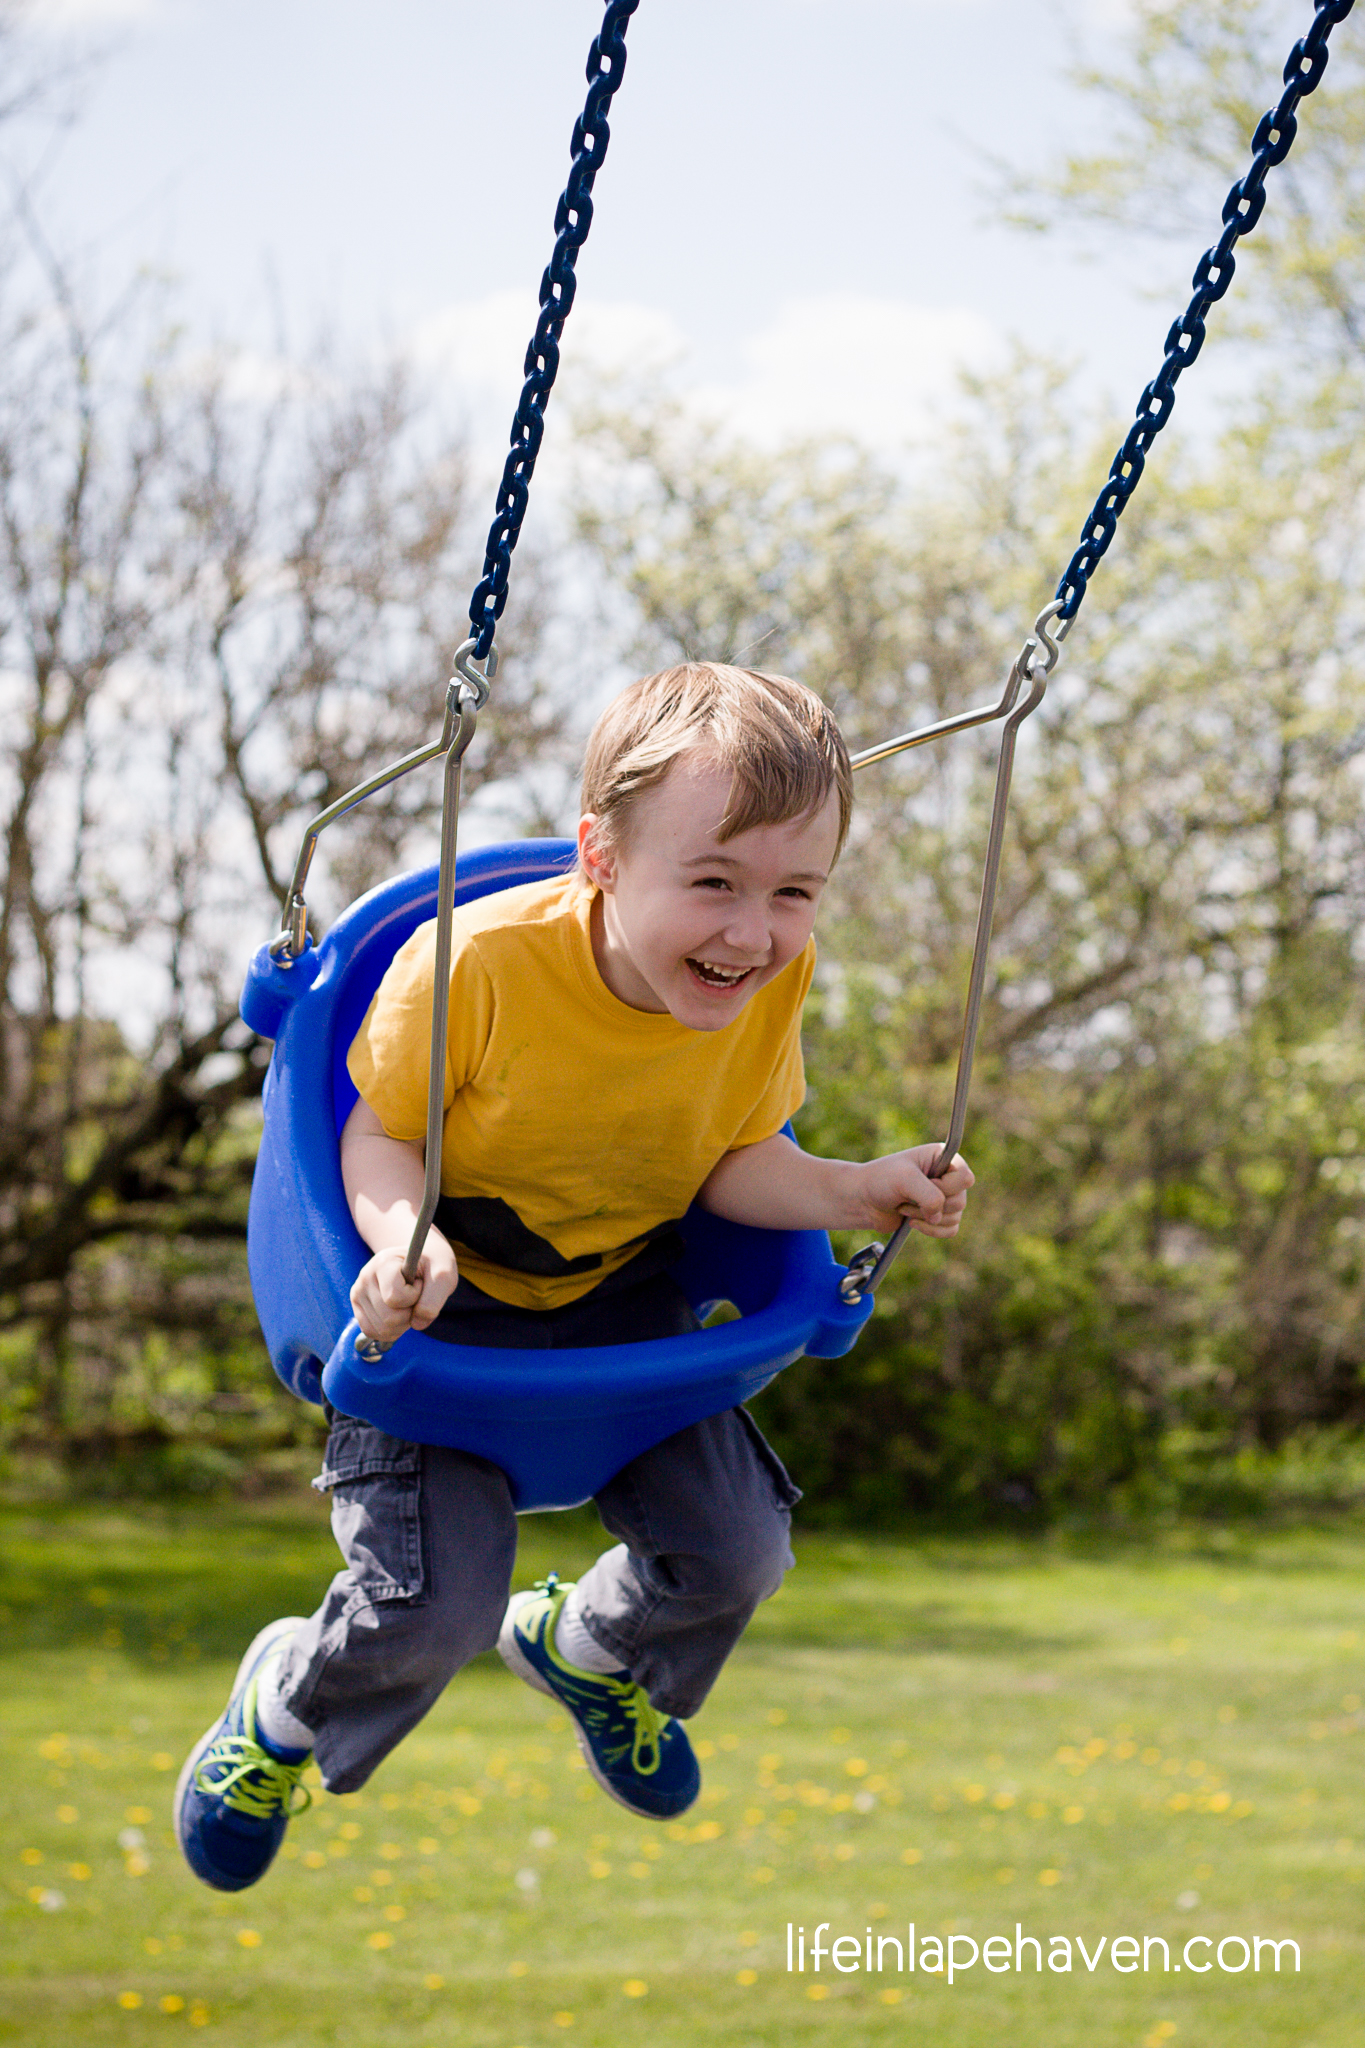
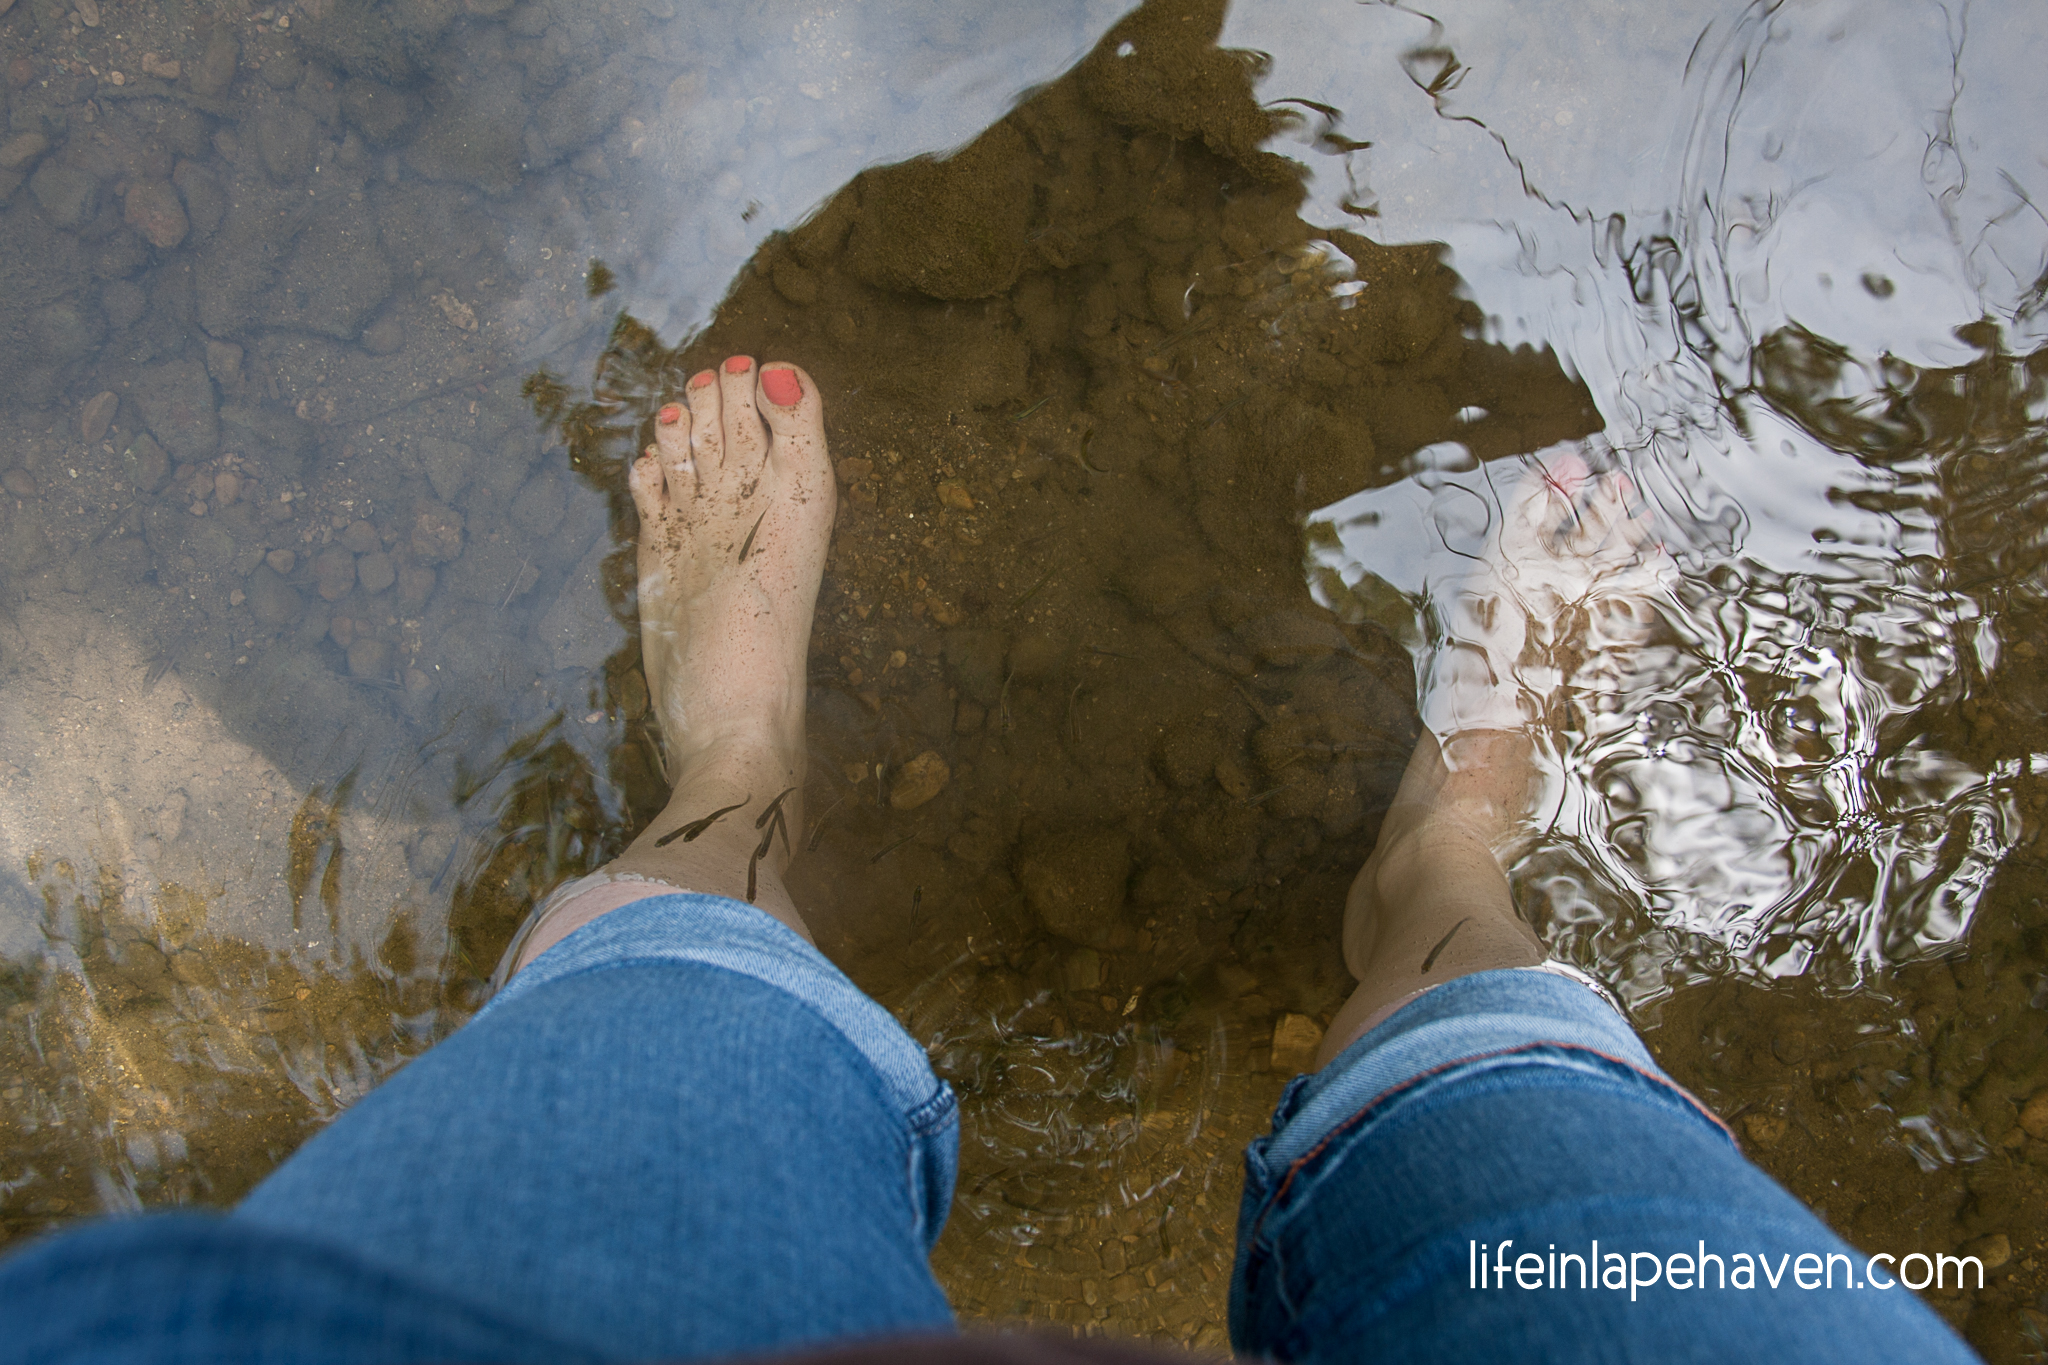
SHUTTER SPEED: Allows me to capture motion. The shutter is what opens at the front of the camera to allow light in. However long it’s open will depend on how much light and information get into your picture.
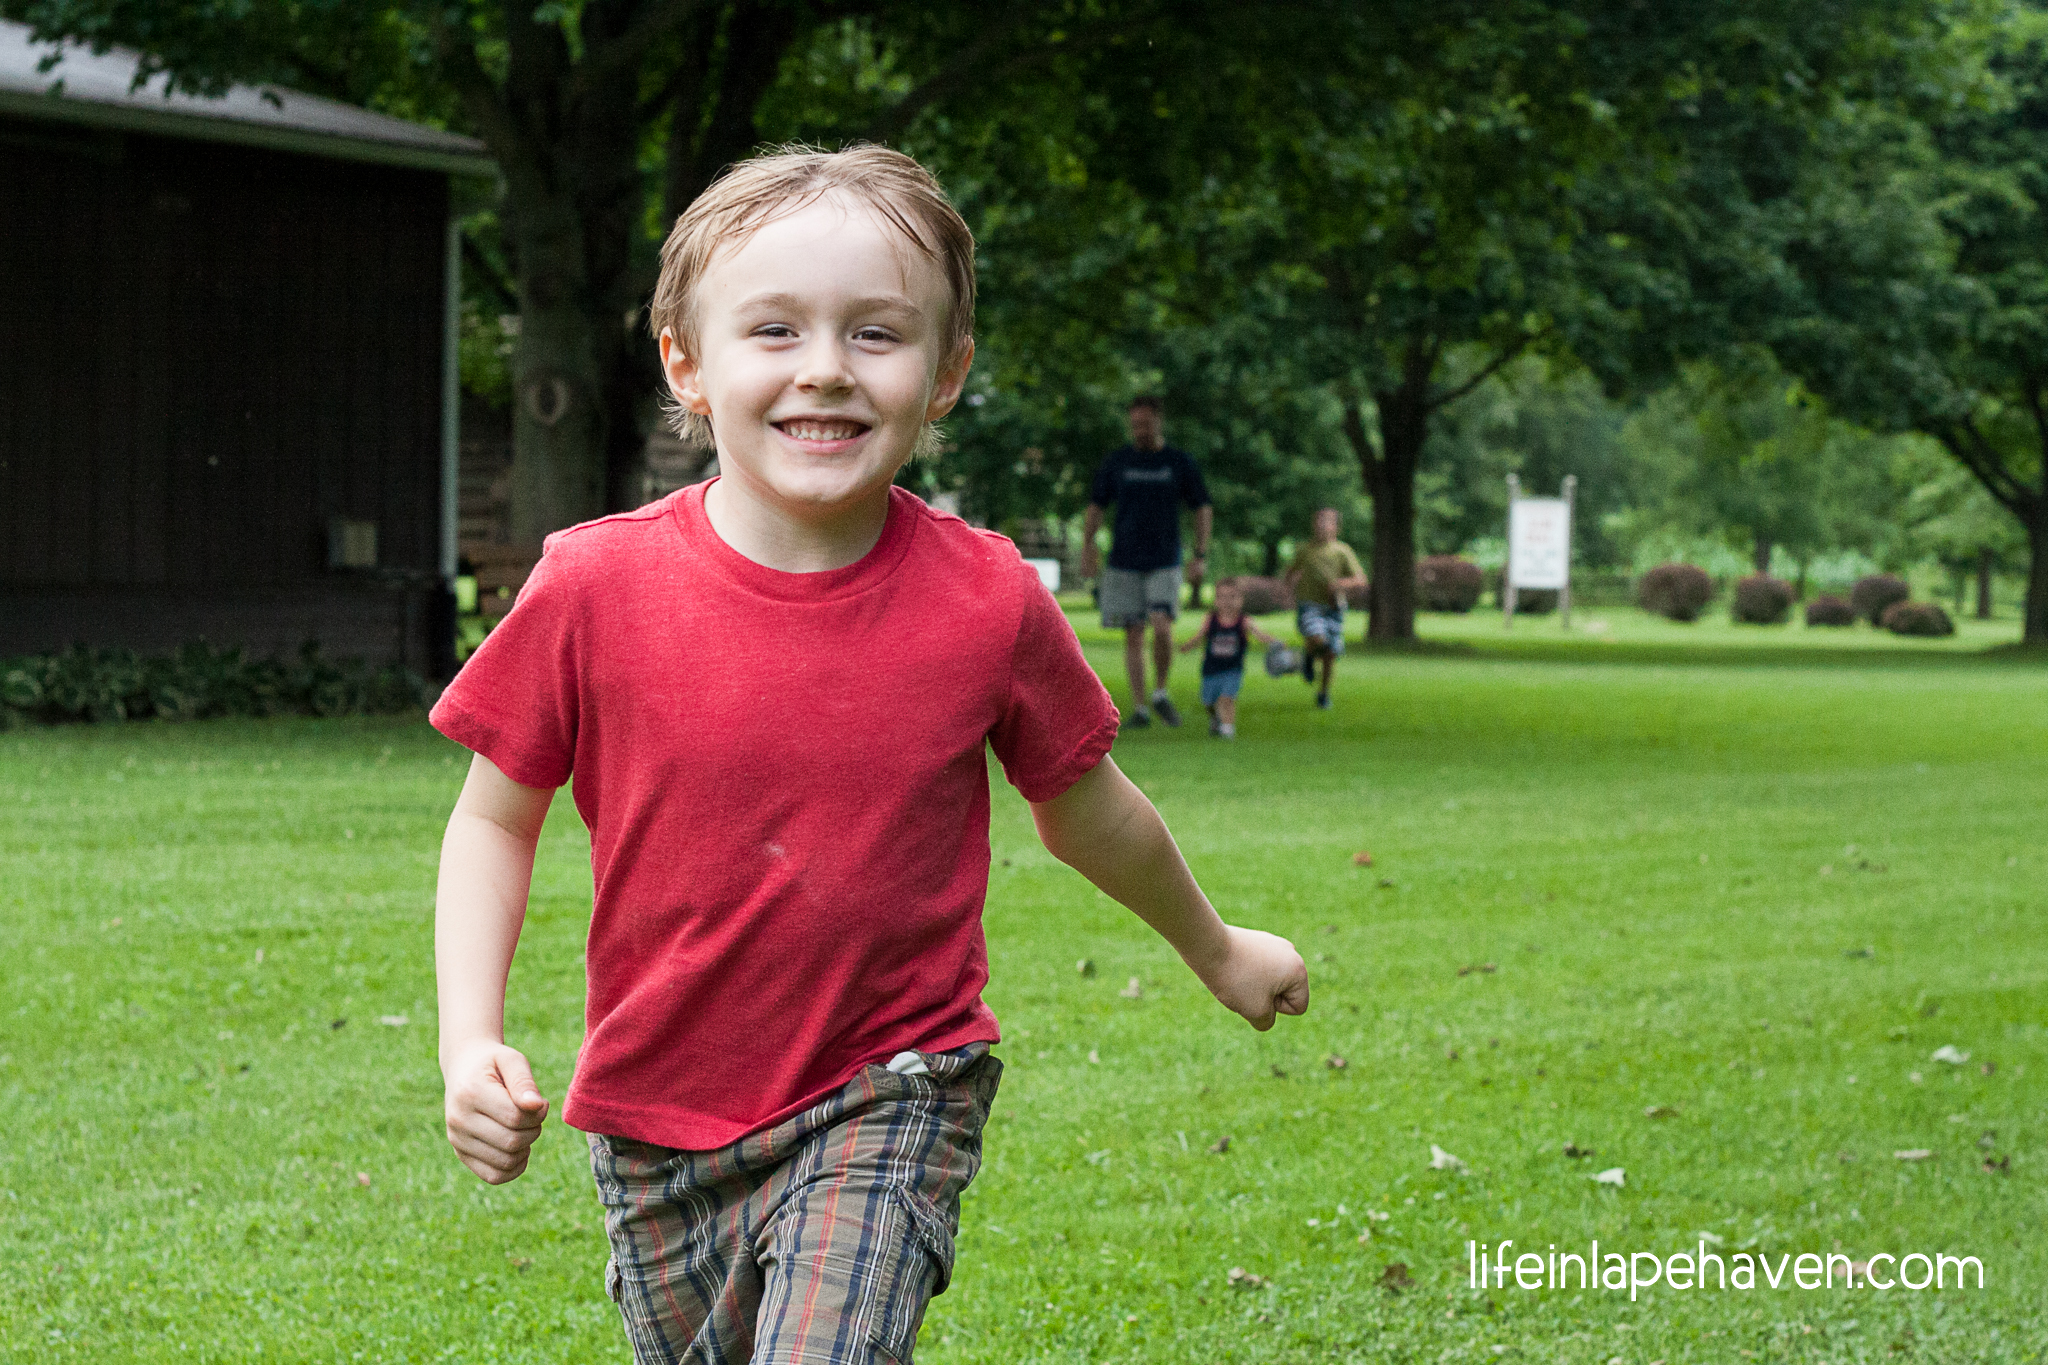
Shutter speed is measured in fractions of seconds to full seconds. When my boys are running around outside, I need a fast, short shutter speed to freeze their motion without blurring.
When you want to capture something in lower light, you need more time to gather more light, so you would use a slower, longer shutter speed. With a slower shutter speed, you may want to use a tripod because the slower shutter will also create a blur effect on anything moving or if you move the camera. It’s harder than you may think to stay perfectly still for a half-second. Slower shutter speeds usually don’t work well with busy children. Haha.
-

-
Running pictures require a fast shutter speed.
-

-
To “freeze” water, shoot with a fast shutter speed.
ISO: Adjusts the camera’s light sensitivity. Remember buying actual film for your camera way, way back in the day? (No? Well, then I feel old.) ISO is the number you looked for when buying your film – 100 to 200 for a sunny day, 400 for lower light, and 800 for sports.
Sometimes it was called the film speed. That’s because the higher the number, the more sensitive your camera is to light, so less light is needed, and you can capture the image in less time (faster shutter speed).
In low-light settings, you might need to up your ISO (800, even 1600) to give you more light so that your shutter doesn’t stay open too long, trying to allow in light. Changing your ISO to a higher number will allow more light but will also cause more “noise” or a grainier looking picture.
When you have a nice, sunny day or will be using your flash, you can use lower ISO (100 or 200) and get a higher-quality picture. In fact, generally it’s best to use the lowest ISO you can for the light you have.
All 3 factors – aperture, shutter speed, and ISO – play off of each other, so when you adjust one, pay attention to the other two. In most cameras, there are priority modes for adjusting only one of the three (with your camera automatically adjusting the other two) and a full-out manual mode, where you adjust all three. I tend to stick with the priority modes where I adjust the main factor that I want to focus on.
NOTE: Using manual settings is NOT the same thing as MANUAL FOCUS. You can use manual settings and still use the automatic focus on your camera, which is very helpful when your subjects move around a lot. It’s like the best of both worlds!
Rookie mistake – he has the lens cap on!
#2. PRACTICE, PRACTICE, PRACTICE
You have to. Just like anything else you learn in life, the best way to get better at taking pictures is to practice and experiment.
Not every picture you take is going to be a masterpiece. They can be poorly lit, blurry, have something distracting in the background, or just be off somehow.
That’s okay! Thankfully with digital photography, we have nearly unlimited shots. We can take pictures, delete them, and take new ones. Study your mistakes, practice some more, and keep learning.
#3. EDIT TWICE
Even the best photographers rarely use a picture straight out of the camera, and they don’t use every picture they take. So you, too, are allowed to edit.
Edit #1 – There are so many programs available today that are affordable and easy to use for photography editing. I’ve used several in the past, including Photoshop, the Windows Live Photo Gallery program that comes with Windows, and Lightroom. I LOVE Lightroom because it is easy to use, but you can do a lot.
And don’t worry. You really shouldn’t have to do a whole lot to your pictures. (Don’t neglect good lighting or adjusting your settings because you think you can fix it in editing.) Most of the time, pictures just need a boost to the brightness, maybe a tweak to up the blacks or contrast, and balancing out the colors to look more natural, and you’re done.
Don’t go CRAZY! Edit in moderation. Some editing fads are just that – FADS. Years from now, they will make your photos look dated. Go easy on the vignetting (that darkening of edges) and don’t make every picture of your baby one with selective color (besides, gray babies with intense green eyes can look kind of creepy).
-

-
Straight out of the camera, no edits.
-

-
Edited: Brightened, added more warmth, straightened, slight vignette
-

-
Edited: I don’t do a lot of black and white, but sometimes it’s fun.
EDIT #2 -EDIT HOW MUCH YOU SHARE – You don’t have to post every single picture that you take. (Oh, she looked to the side. Oh, now she looked to the other side. Oh, she kind of smiled.) Pick your best (“But he’s so handsome in them all.” Sure, but PICK YOUR BEST), share those – and only those, and people will think that you always take great pictures (Sneaky, huh? But smart!) They’ll also thank you for not overloading the newsfeed with pictures of your cuties. (I wouldn’t share every version of the above picture of Elijah – just one.)
Is every picture that I take fabulous? Hahaha! NO. Some are bad, and others are downright awful. I don’t share those. I delete them! And learn from my mistakes (see #2).
#4. PRINT SOMETHING!
Please! How many pictures do you have that you’ve never had printed? There are some that you’ve never looked at again once they’ve been offloaded from your memory card.
What good is taking pictures that you never enjoy again? That adorable shot of baby with auntie would be better in a frame or even on your refrigerator instead than sitting, forgotten in the virtual files of your computer or phone.
And I KNOW that grandparents love getting printed copies of their grandbabies’ pictures.
So order prints or a photo book. Make a mouse pad or throw. Put your princess on a mug or keychain. Do something with your pictures!!!
I watch Shutterfly for coupons on prints and get 101 4×6’s at a time for the just the price of shipping. There are tons of other online options for prints, or you can usually take your memory card to Walmart or a local pharmacy and have prints done.
#5. DON’T START A BUSINESS
One last point. As you get better and better at taking pictures, you may be tempted to think, “Hey! I could do this for a living.” Might I say that just because you do well at capturing pictures doesn’t mean you should start a business? Seriously.
I have had people tell me that I could be a professional photographer, and I always tell them, “Nope, that’s not going to happen.”
For me, it’s not my passion. Sure, I’ve always enjoyed taking pictures, but it wasn’t until I had children that I really began researching and practicing to get better. That tells me that my children are my passion, not photography.
I’ve seen how hard professionals work, the time they have to invest, and the frustrations and pressure they face. If it’s not 100-percent your passion, you won’t enjoy all that. Even if it IS your passion, some of it isn’t fun.
Right now, I enjoy taking pictures. I get tremendous satisfaction in seeing a picture turn out even better than I thought it would. But I am not called to be a professional photographer.
I will say this, though: Since I have some skill in this area, I have used it to bless others, as a way to minister and use my talents. I have done pictures for family and a few friends as gifts to them when I feel God’s nudging.
So use your talents and gifts, but unless you are completely certain that God is calling you to begin a photography business (Or any venture, really), don’t do it.
Just enjoy capturing your family’s everyday memories well.
-

-
At the bottom of the sledding hill
-

-
Naptime is a precious memory.
-
-
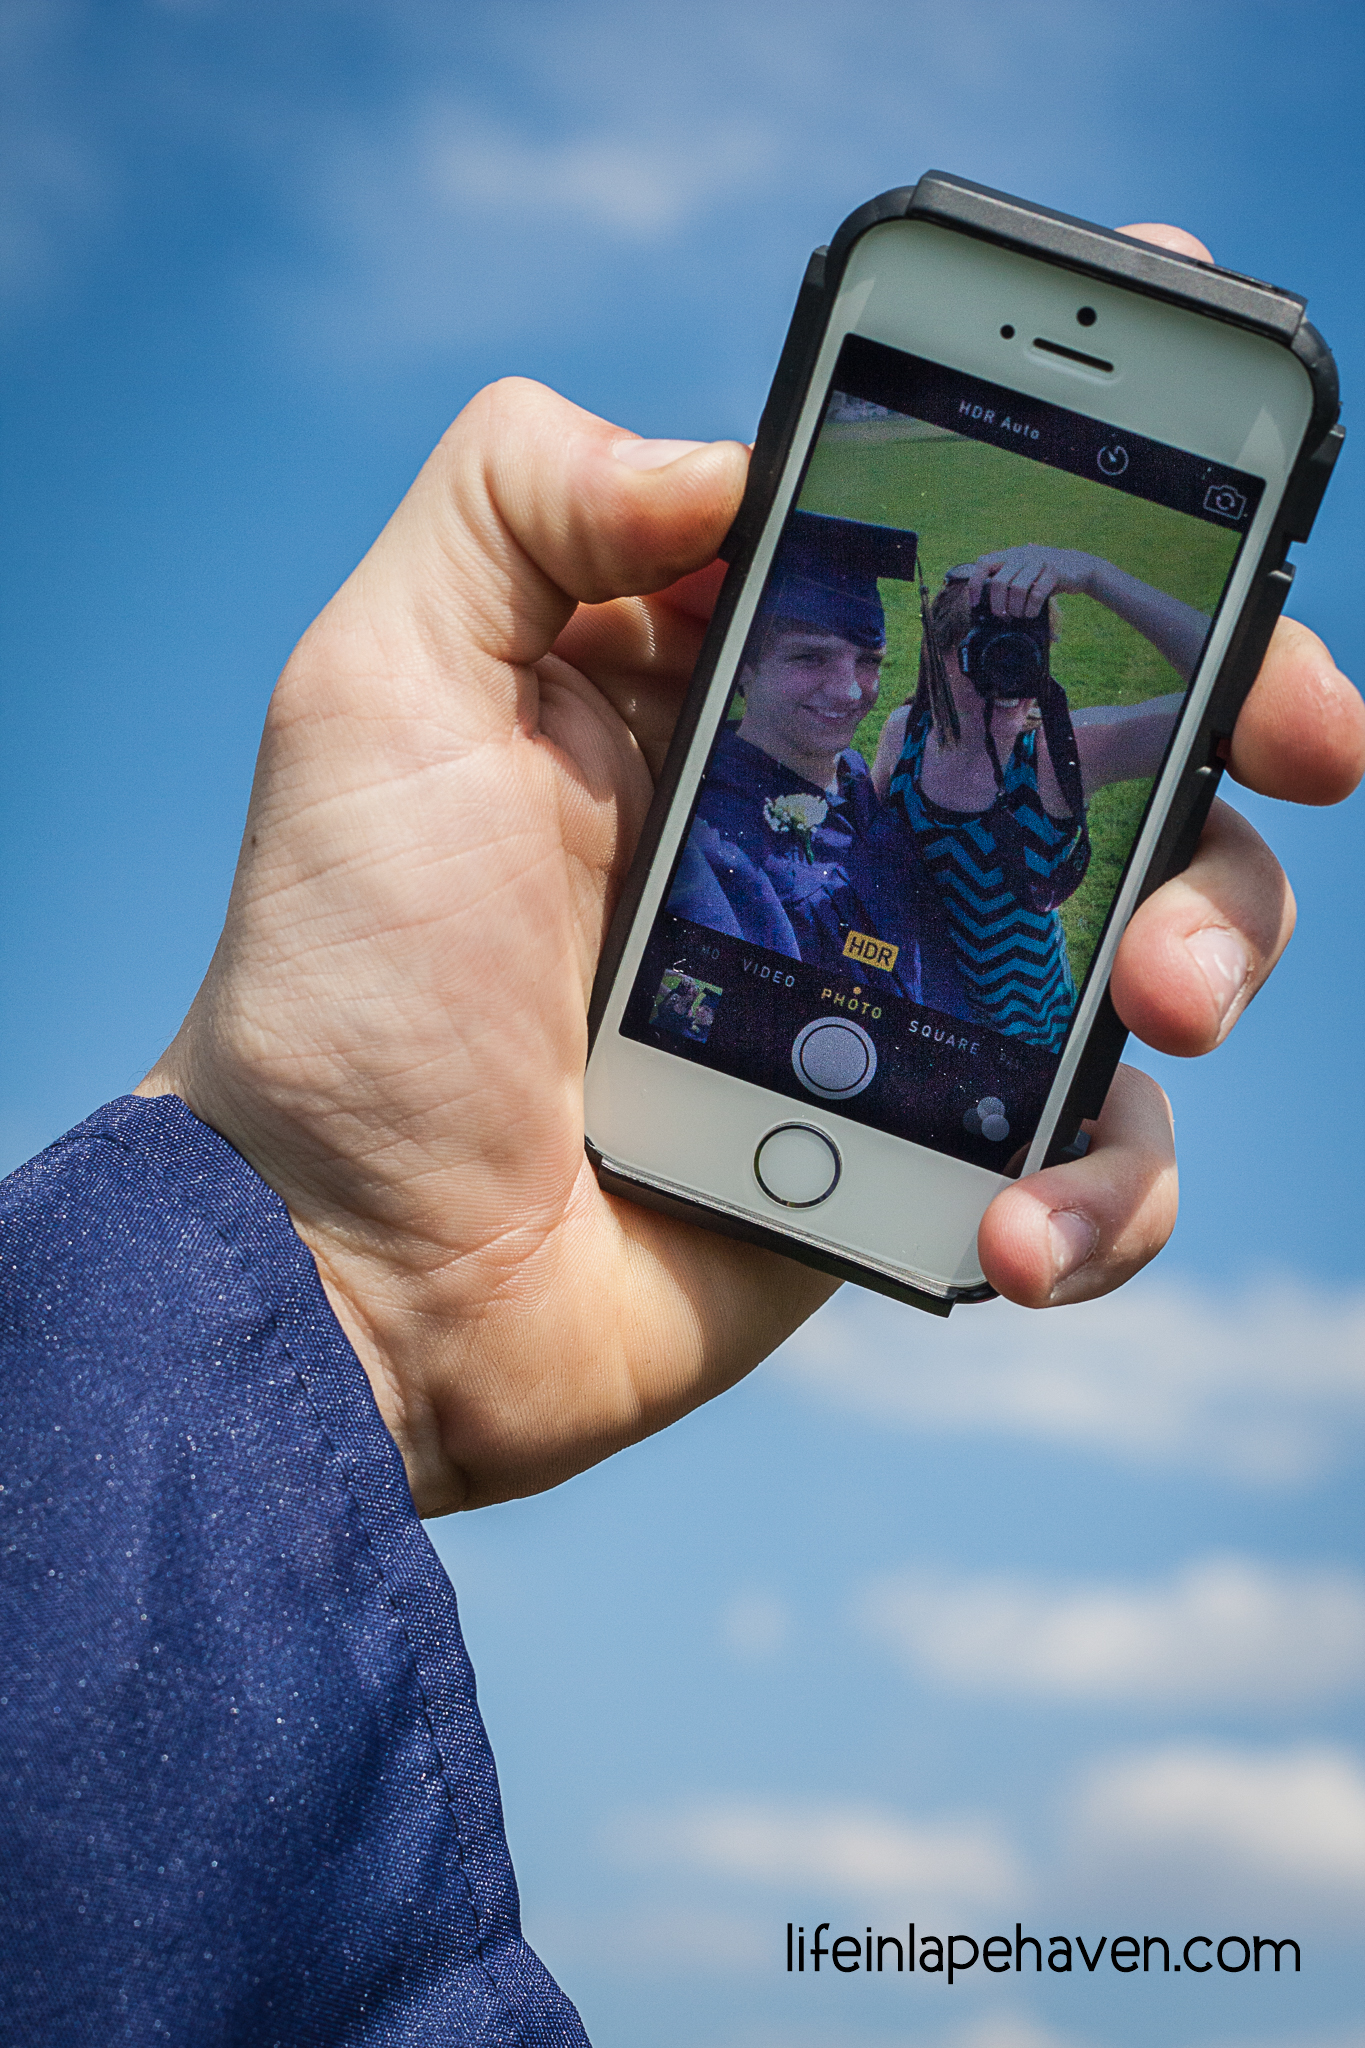
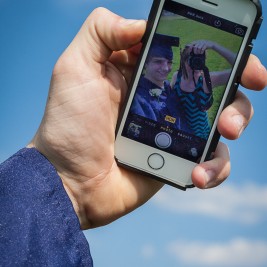
Got a little fancy with this fun shot at my nephew’s graduation. (Edited the screen to be a bit brighter.)
-

-
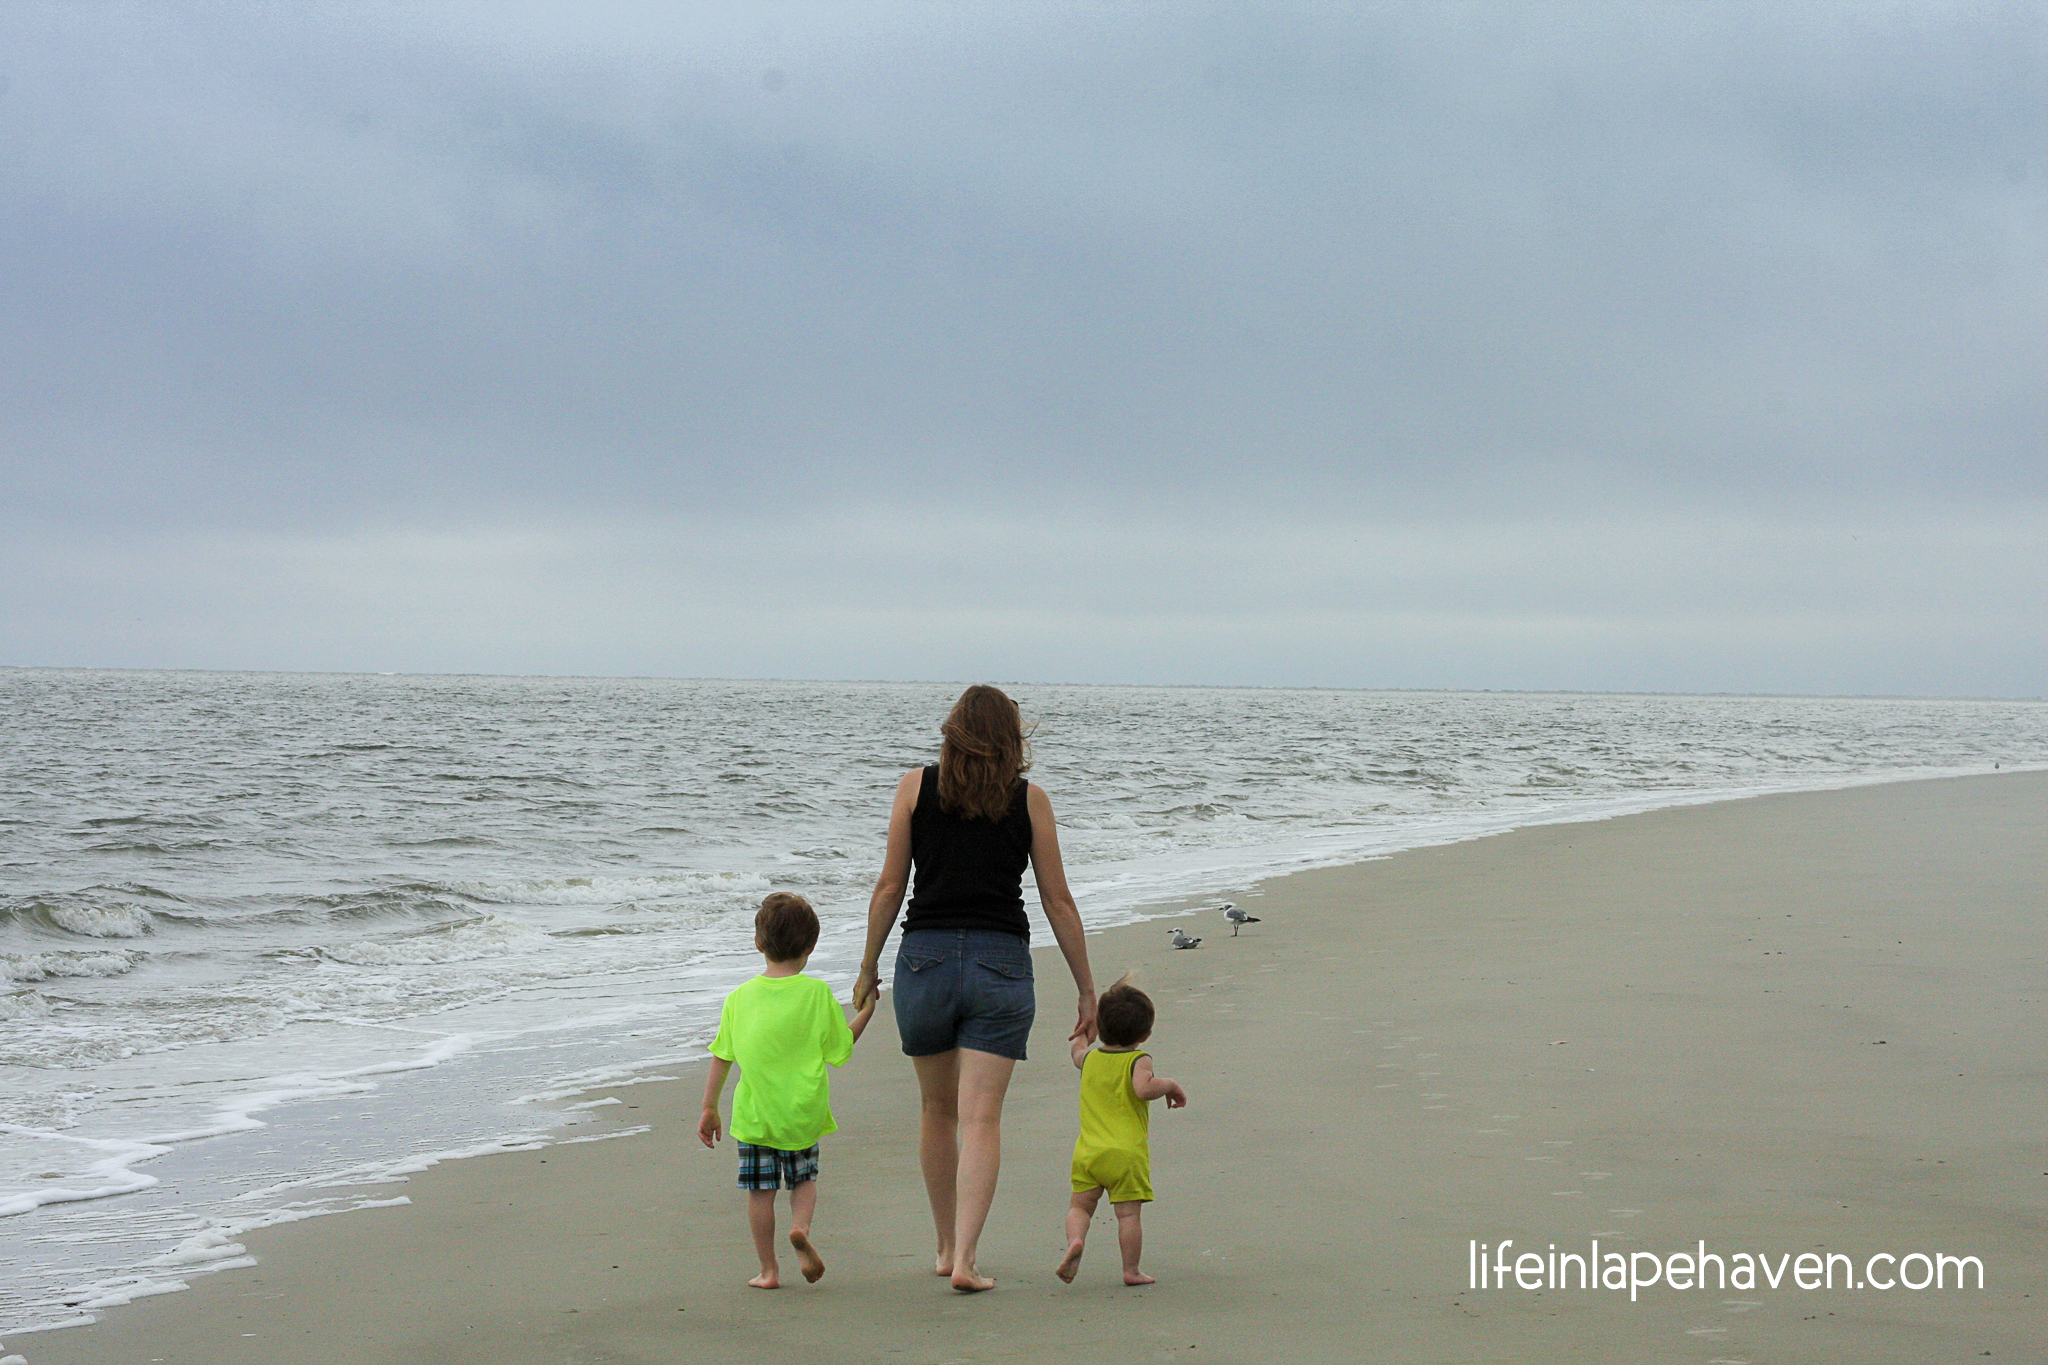
Family adventures are always great photo ops!
Okay, that’s it! Hopefully I’ve shared some helpful things that will improve how you’re taking pictures. As you start practicing with this new advice, and you begin to get some great shots, please feel free to share them with me. I’d love to see that what I’ve shared is being helpful. 🙂
Some of the resources in my learning adventure come from the following: Picture Bliss Photography (my sister-in-law is my go-to gal for tips), Photo Shop by Allison (she introduced me to my first Canon, and she’s a great teacher), and Photosanity.com (this photographer has free video tips for parents).
You can also check out my Pinterest board, Picture Fun, for more great photography blogs, tips, and ideas that I have collected over the last few years. It has everything from posing ideas, how to set up DIY backgrounds, more detailed info on using manual settings, and more.
Find out how we capture a great family picture – every time!
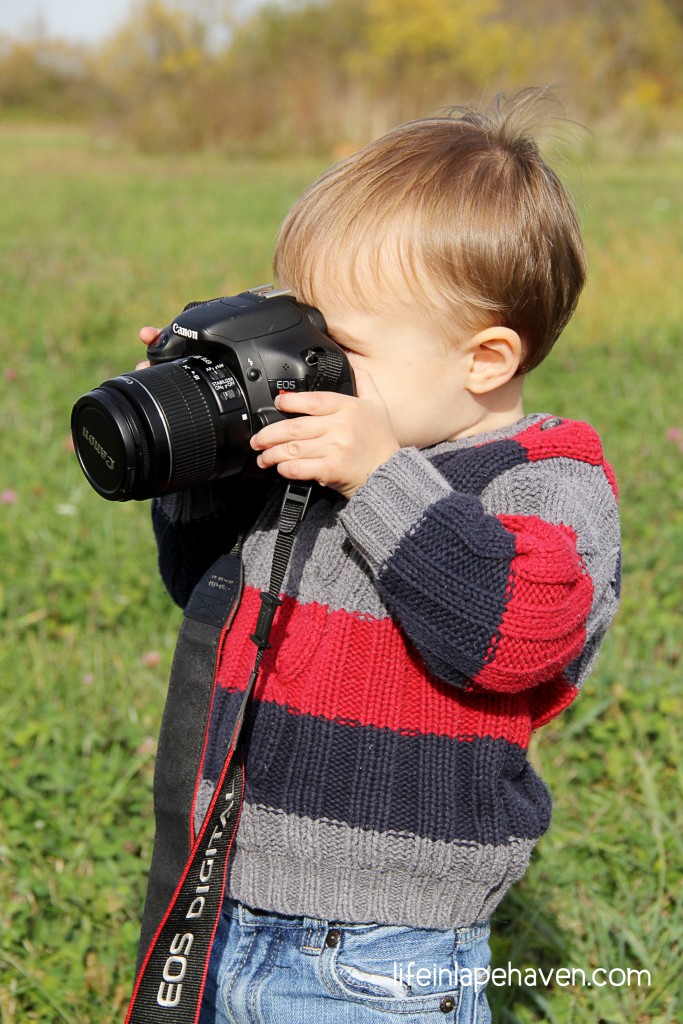
Top feature picture (the “taking a picture” photo) courtesy of Picture Bliss Photography.