

My hubby calls me nearly every day on his way home from work. (It’s something we started when we were dating…aww) Inevitably, after an update on the boys and how our day went, he’ll ask, “What’s for dinner?” He knows that he’s in for a surprise when I reply with, “I’m concocting.”
“Concocting,” for me, means that I’m not just following a recipe. I might have one that I’m referencing, but I’m not sticking to it too closely, either because I’m making substitutions for certain ingredients or because I’m improving. Usually I’ll end up with two or three different recipes for a certain dish that I pull from, and the resulting effort is bits and pieces of them all.
I know – It sounds scary. However, you can ask Brad, and he’ll tell you that I have yet to make something horrible or totally inedible. (I’m not a food expert, but I do watch Food Network on TV.) I’ve made some okay meals this way and some super fantastic meals this way.
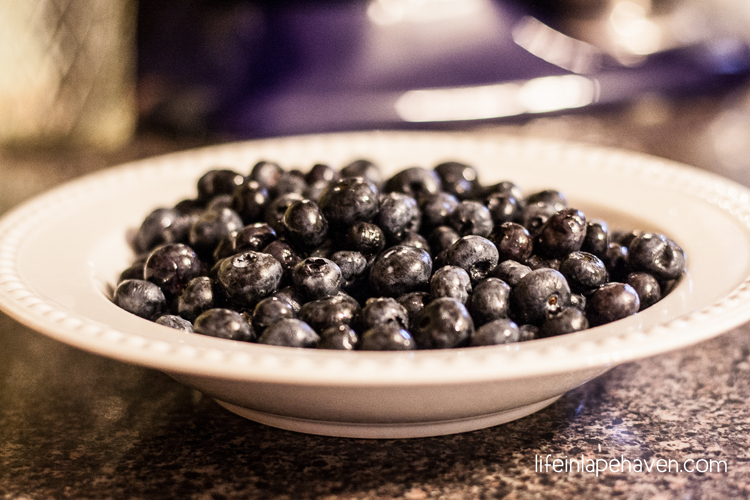
So when I found myself with a couple of pints of blueberries that I needed to use up quickly (they were on sale, and my boys love them, but they don’t have a long shelf life), I started looking for a new recipe that I could use them in.
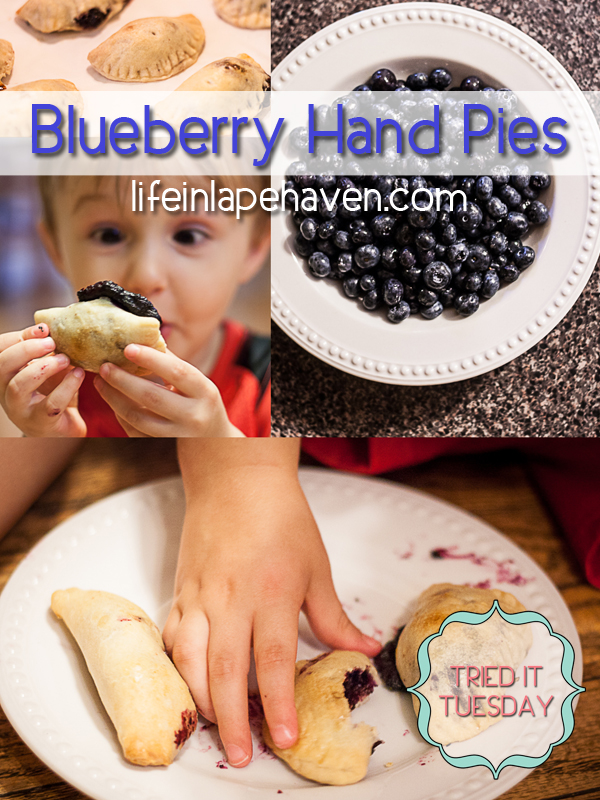
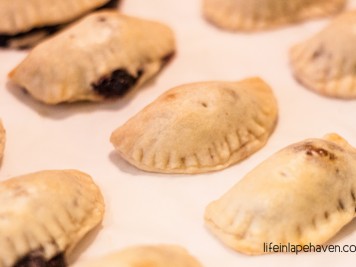
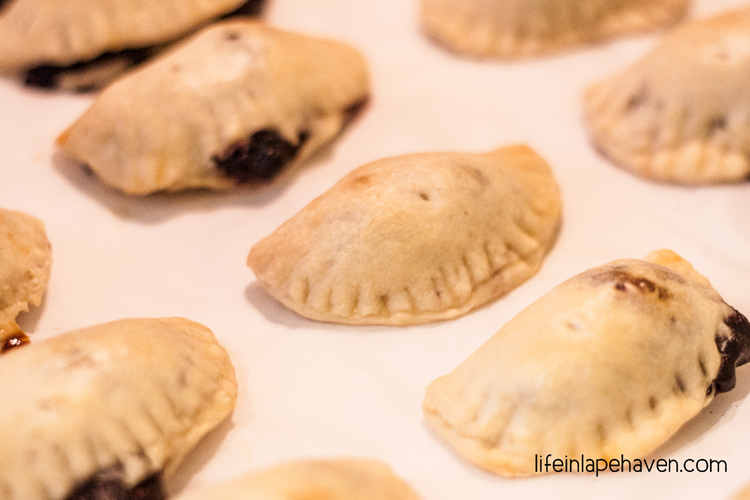
Having recently added this rather yummy recipe for beef empanadas to my repertoire, I was curious about using the dough from it for blueberry “pie pockets” or hand pies. Of course, I wasn’t going to use the beef filling with my blueberries, so I needed a good blueberry pie filling. After searching for a while, I found a simple one and adapted it for what I wanted.
The results were delicious, and those little pies were gone within two days. The tweaked recipe mash-up has become a new favorite around our house, and I’m going to share it with you today.
Now I will say that the pie dough is not your average flaky pie crust. You could use any pie crust recipe or even store-bought crust with this filling. The reason I didn’t is because I like the flavor of this dough and its elasticity. I don’t have a problem with it tearing or breaking apart, and I can fill each pocket pretty full. Also, you can always change up the filling. Do your own concocting, and make it an adventure!
-
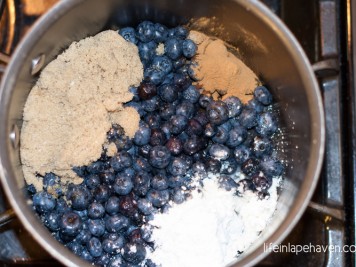
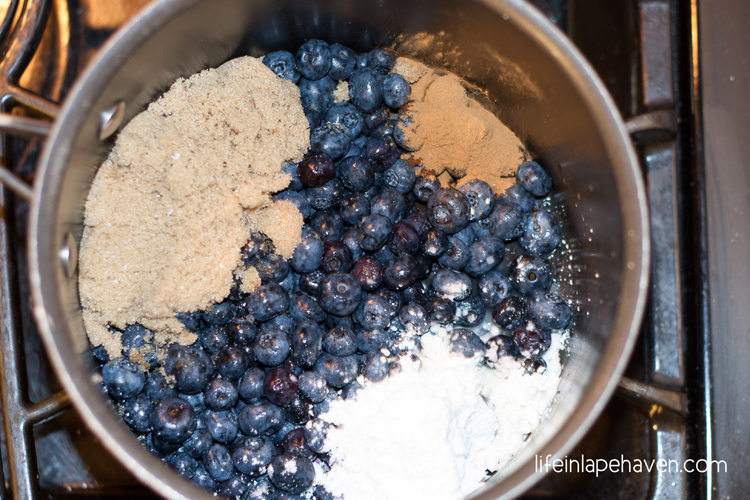
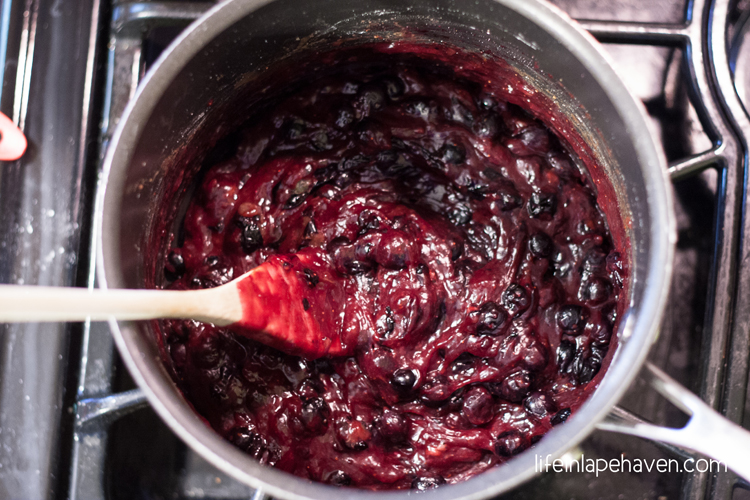
- Mix together all the filling ingredients over medium-high heat until the mixture starts to thicken.
-
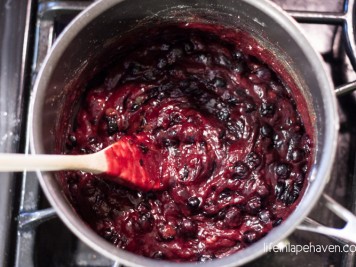
- Once the filling is thickened, but not stiff, remove it from the heat and set aside.
-
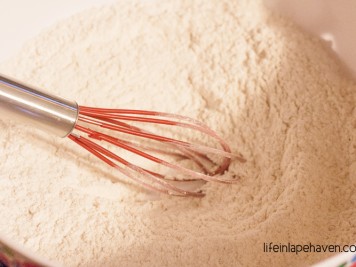
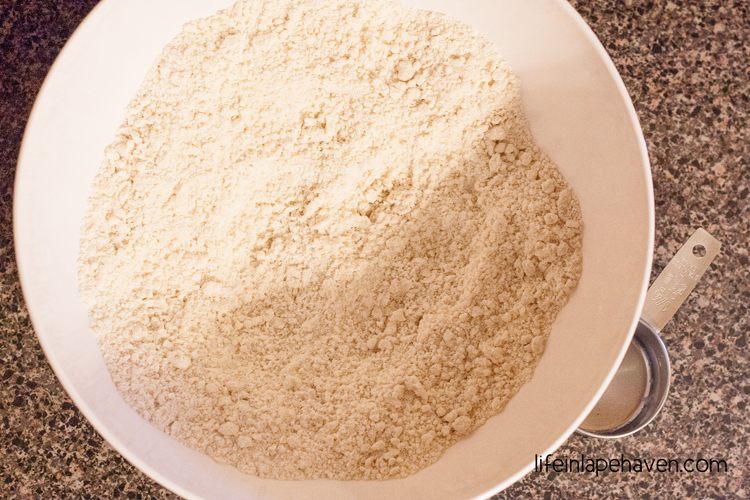
- In a medium mixing bowl, combine the flour, sugar, salt, & baking powder.

-
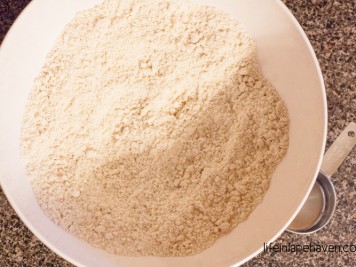
- Add in the coconut oil. You can either cut it in using a pastry blender or use a fork or your fingers to combine it thoroughly.
-
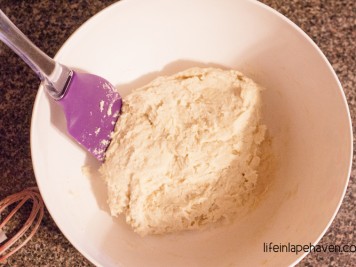
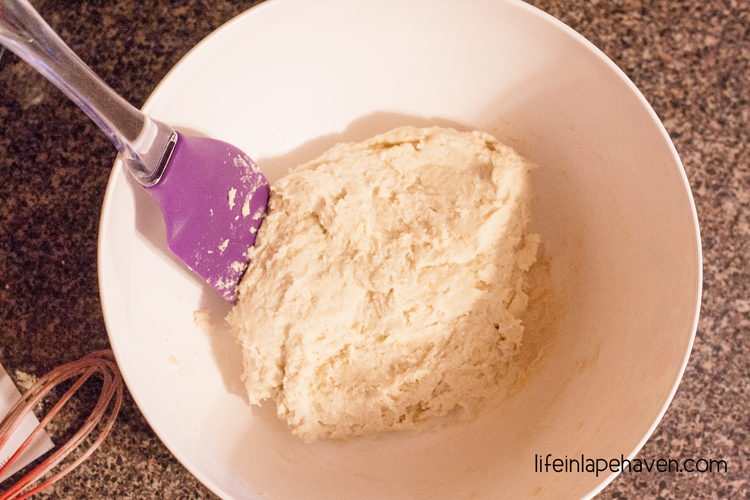
- Add the milk, stirring until it forms a ball.
-
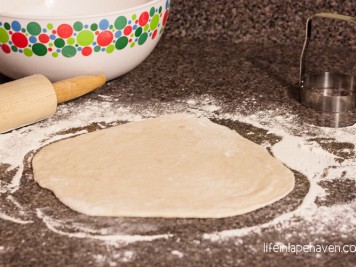
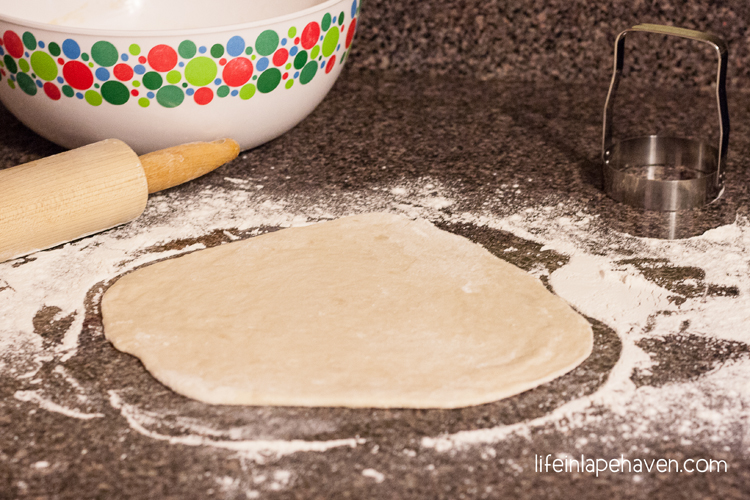
- Divide the dough into four pieces. On a floured surface, roll it out until it is very thin (approx. 1/8” thick).
-
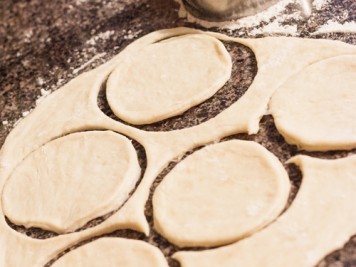
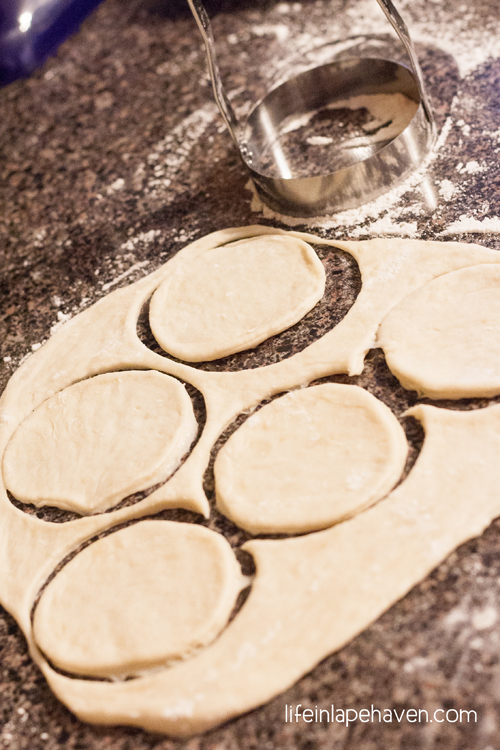
- Cut dough into circles.
-
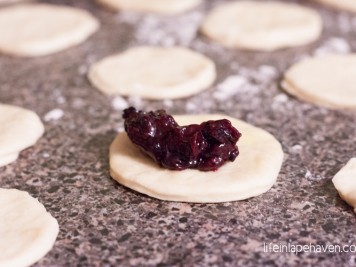
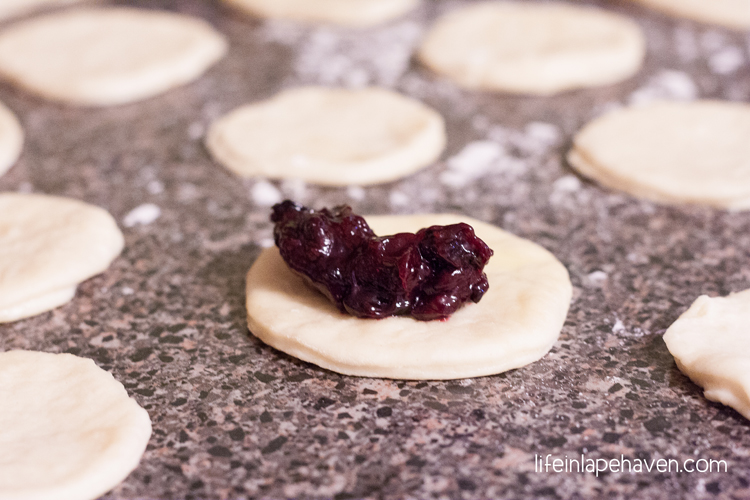
- Brush the top edge of your dough circles with the egg wash. Add about ½ teaspoon or more of filling to the center of your circle.
-
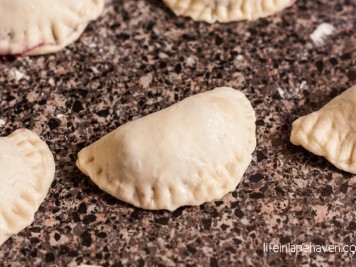
- Fold the dough over and press it closed, using a fork to crimp the edges.

-
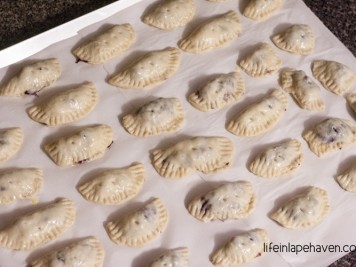
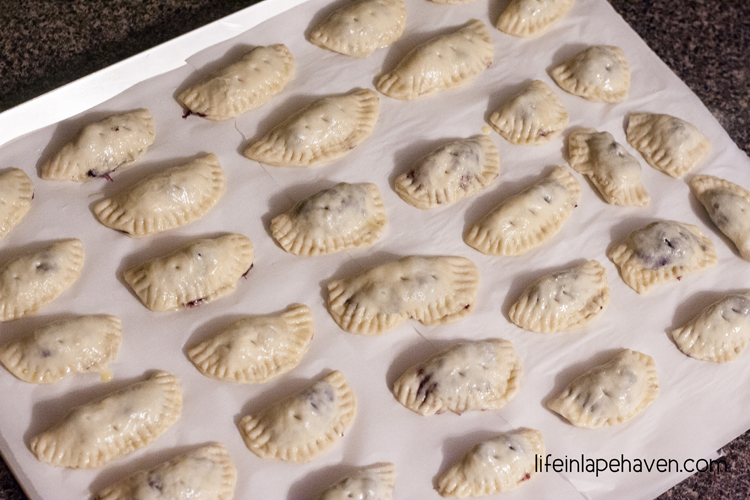
- Brush the tops of the pies with the remaining egg wash and poke a couple of venting holes in the top of each one.
-
- Bake for 20-25 minutes, until puffed and lightly golden.
-

- Allow the pies to cool a bit and enjoy! They are especially yummy when they are still slightly warm.
