
It’s been a while since I’ve done a “Tried It Tuesday” post, I know. But, honestly, not many of the DIYs or recipes I’ve tried recently were very exciting. And those that were, well, I’ve failed to get pictures so far. (Sometimes I’m just focused on getting dinner on the table before the natives get too restless…)
But a few weeks ago, on a whim, I decided to try a recipe and DIY combo to make our mornings easier, and it was such a hit, I have to share it!
Most mornings are busy enough with getting Elijah off to school and Brad on to work that our go-to breakfast is simply cereal, although we do try to have healthier cereal options for most days. (Saturdays are the exception.)
However, some days I’ll make time to whip up oats or eggs or something more, and on those days, my boys are excited for breakfast.
Then not too long ago, I snagged a box of instant oatmeal on sale, and our boys ate it up in a matter of days. Not only were they getting oats in the morning, but they were also getting to exercise a little bit of independence, as Elijah could mix up and microwave the packets on his own and could even help Josiah.
So, when I saw a post on One Good Thing about making your own instant oatmeal, I knew we needed to try it, especially when I read her “secret trick” for making it have the texture of store-bought instant oats but of course, with better flavor.
Within a few minutes, I had thrown together our first half-batch of instant oatmeal (half-batch in case our boys didn’t eat it very well). I bagged it up into individual servings, and we were ready to try it out.
That first batch (with about a dozen servings) was gone in less than a week. Yes, our boys really love oats for breakfast!
We have since gone through two more half-batches (I haven’t done the full amount yet, just in case my guys tire of it…but I probably should just go with it, since they eat it so well, especially Josiah and Isaiah!)
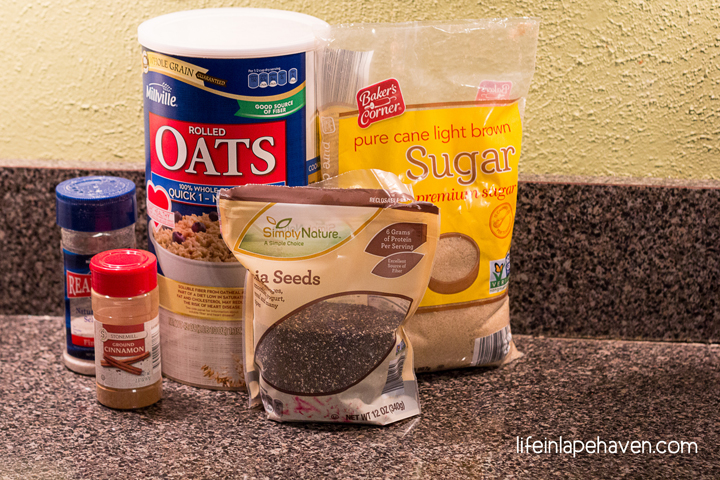
Since there are any number of ways you can customize oatmeal, you’d think I’d be tossing in raisins or cranberries or nuts or different spices, but nope. My boys like it pretty simple: with brown sugar and cinnamon.
I do, however, sneak in some ground chia seeds for a little nutritional boost that doesn’t affect the flavor or texture at all (and my boys don’t see the ground seeds like they might whole chia seeds.)
-
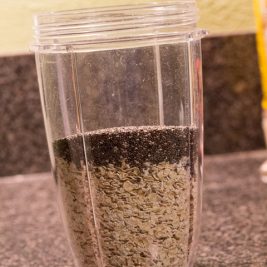
- Chia seeds and oats to blend

-
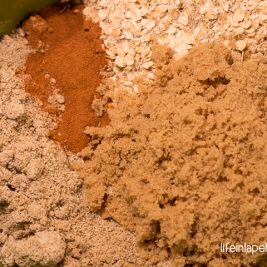
- Oat powder, oats, cinnamon, & brown sugar

-
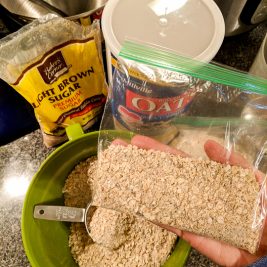
- Bagging the oat mix in 1/2 cup portions.

-

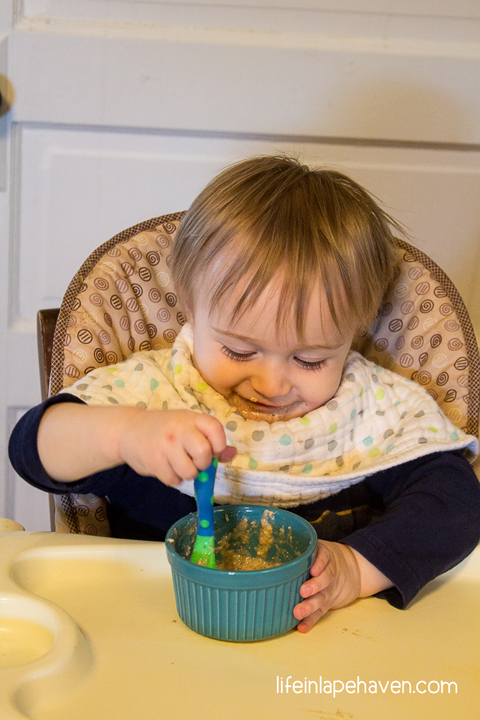
- Little guy eating his oatmeal.
If you’re wondering what the “secret trick” is that I learned from Jillee to make your oats really “instant” oats, it’s this: grind up 1/3 of the oats for your batch then mix them with the whole oats, sugar, salt, and whatever else you choose to put in your oatmeal.
I just toss the chia seeds into my NutriBullet with the oats I’m grinding up, and boom! Done. 🙂 (Of course, you can use a decent blender to grind up the oats, too.)
And since we were out of sandwich bags when I made our second batch of instant oatmeal, I skipped bagging it altogether and just stored the whole mix in an empty oats container with a ½ cup scooper inside and directions written in Sharpie on the plastic lid. Saves me time and plastic bags. 🙂 Plus, we can make smaller portions for Isaiah!
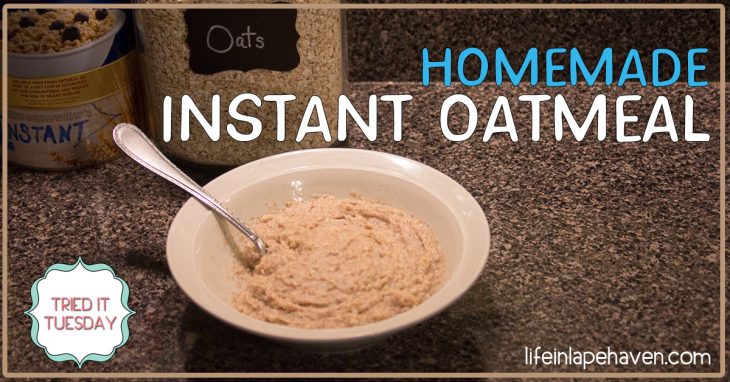
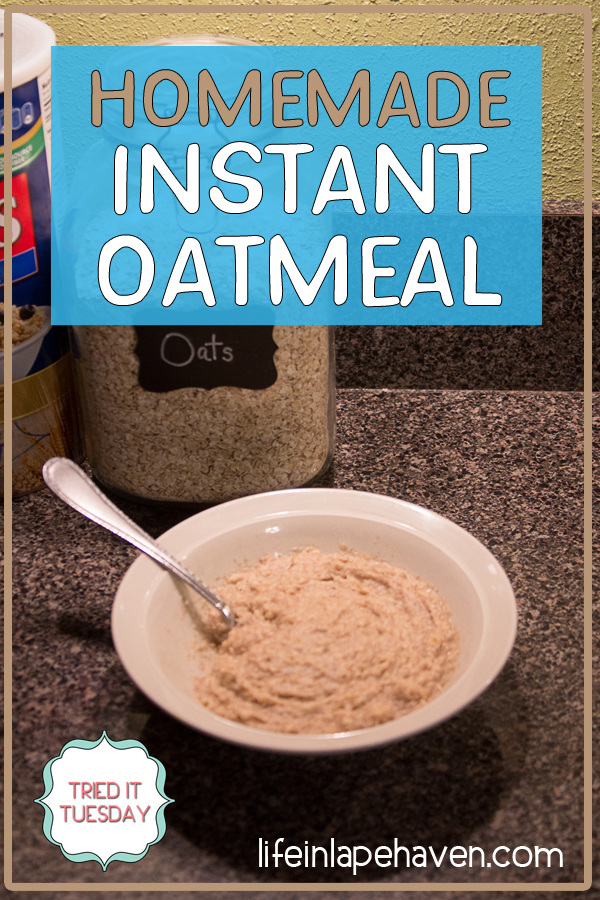
So here’s the recipe I’ve been using for our own Homemade Instant Oatmeal. Feel free to double it, triple it, half it, or whatever you need. Just make sure to blend 1/3 of your oats you’ll be using.
Easily and inexpensively make your own homemade "Instant" Oatmeal Packs!Get more ideas & encouragement from this real-life mom as I experience God’s faithfulness through the joy and chaos of motherhood.
Join my email list!
YOU MAY ALSO LIKE:
Cinnamon Rolls for a Really Good Day
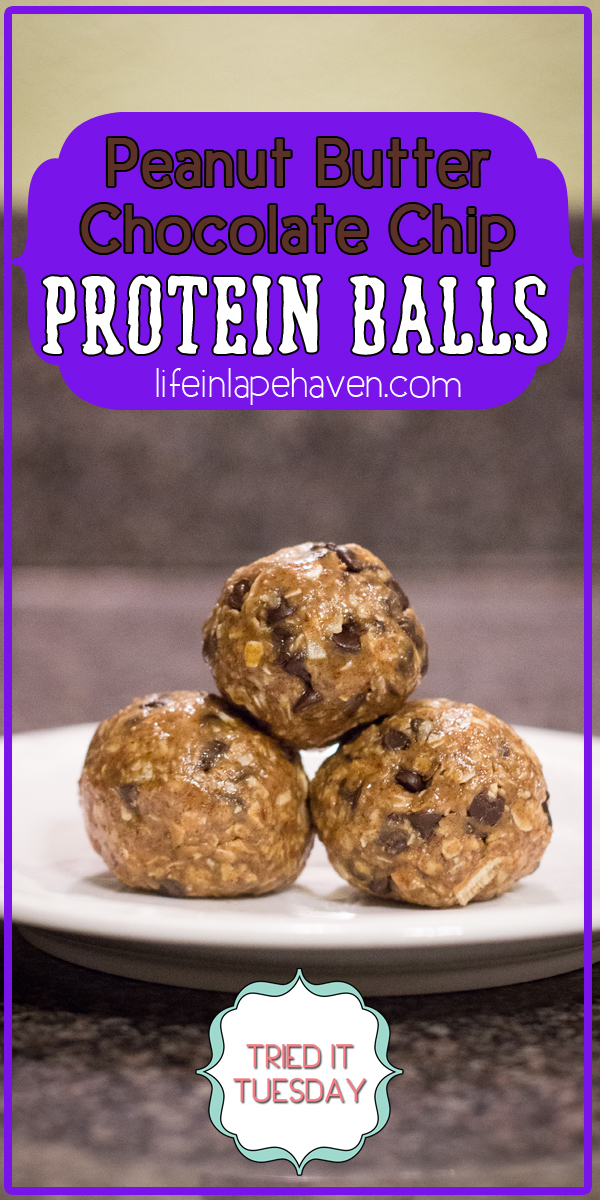
Peanut Butter Chocolate Chip Protein Balls
Easy, Chewy Peanut Butter Cookies