This post contains an affiliate link, which means that at no extra cost to you, I may receive a small commission if you use the link to make a purchase.
When the weather gets cold and blustery, there is something truly special about a cup of delicious hot chocolate to warm you up, and when I want to make it an extra special treat, I stir in a generous splash of homemade salted caramel cream.
Luscious, sweet, and just a touch salty, this tasty cream is rather easy to make, but it instantly transforms the simple into the decadent.
I adapted this recipe from one for Salted Caramel Hot Chocolate that I found last year on Pinterest (where else?). However, I already make a decent cup of cocoa (using the recipe on the back of the Hershey’s Cocoa box, but doing half regular cocoa and half cocoa). I just needed the Salted Caramel Cream part.
I like having the cream available to add to other things in addition to hot chocolate. It’s perfect in some sweet cinnamon tea (this tea is one of my new favorites, and it’s such a yummy combination with the cream), over warm apple crisp or apple pie, or even on ice cream. Honestly, it’s so good, you might be tempted to just drink it all by itself, and I wouldn’t blame you (probably not the healthiest option, though).
Okay, so how does one make their own container of Salted Caramel Cream? It’s not hard. It might get a little boring even because it does take a little bit of time.
Basically you are mixing water and sugar, and reducing it down to caramelized sugar – that’s the part that takes the longest. Then you mix in some warm cream, salt, and vanilla. This step takes some patience, too, because you have to get it all thoroughly combined. The cooling sugar hardens quickly and needs dissolved back into the cream.
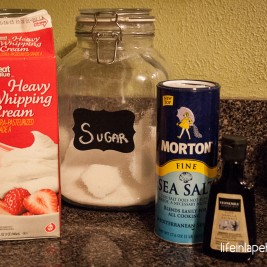
- 5 Ingredients are all you need: Cream, sugar, water, salt, vanilla.
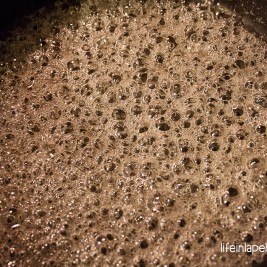
- Allow the sugar and water to reduce.
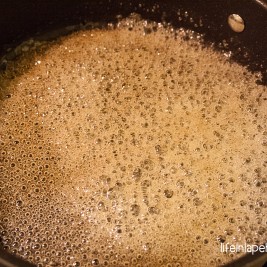
- Caramelize sugar to an amber color.
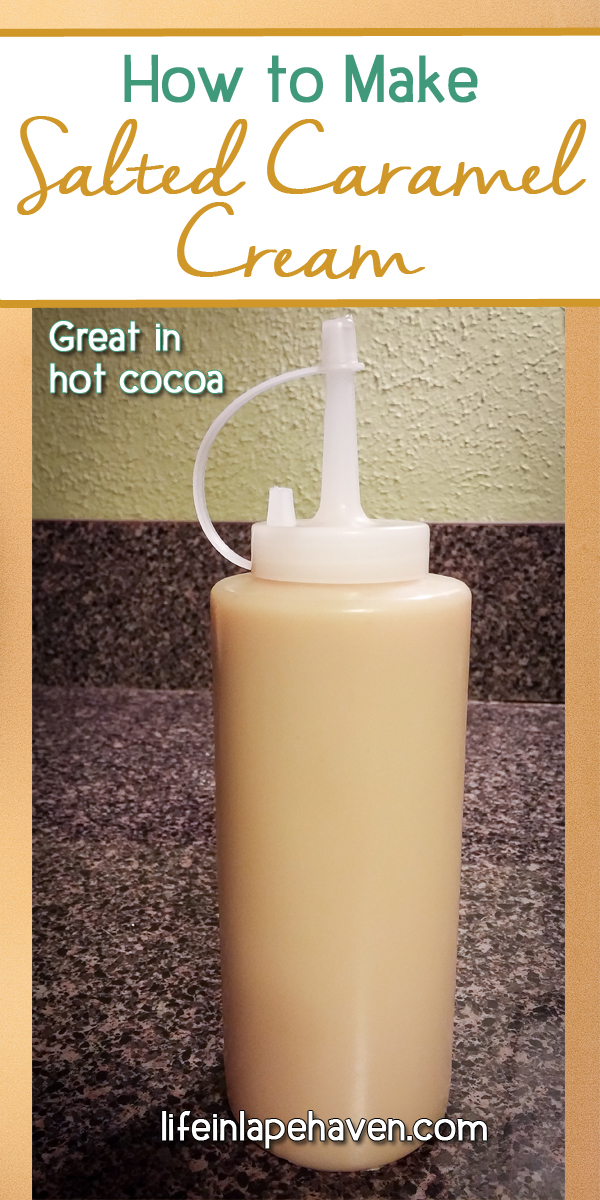
- Salted Caramel Cream goodness, cooling and ready to enjoy.
However, once it’s all mixed, you’re done, and it’s delightful.
Having this on-hand for the holidays is a must around here now. The little extra oomph of flavor that the cream brings to hot cocoa, teas, and treats makes it feel even more festive and celebratory. I wouldn’t be surprised if it tasted good in coffee, too.
This Salted Caramel Cream would also make a nice addition to a homemade goodies gift basket…if you can bear to part with it.
(By the way, it works great in a squeeze bottle. You can get them at most stores or through Amazon.)
Okay, here are the real, far-more-detailed instructions so you can make your own batch. Whether you choose to share it or not is up to you.
Ingredients
- ½ cup Granulated Sugar
- ½ cup Water
- 1-1/2 cups Heavy Cream
- ½ teaspoon pure Vanilla Extract
- 1/8 teaspoon Sea Salt
Instructions
- Heat heavy cream in a small saucepan just to warm, not scalded, and set aside.
- In a nonstick saucepan, heat water and sugar over medium-high. Combine the two, but then leave it alone once it’s mixed. No more stirring.
- Watch the sugar carefully. When the edges of the sugar start turning golden and caramelizing, lower the heat to medium-low.
- Swirl the pan in circles, but don’t use a spoon to stir. The entire pan of sugar will slowly darken as it caramelizes, and when there are only a few spots not turning darker, reduce your heat again, this time to the lowest setting. If the sugar gets dark brown, you’ll burn it. Burnt sugar doesn’t taste nearly as delightful as caramelized sugar.
- At this point, you might need to warm your cream a tad if it’s cooled a lot in the waiting. Add your sea salt to your cream.
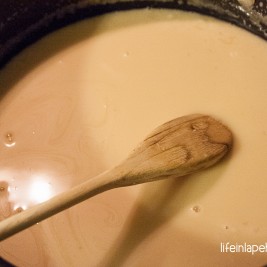
- You’re looking for a nice amber color all over. Once that is achieved, remove your pan from the heat. Check your cream, making sure it’s warm. Then SLOWLY add the warm cream to the sugar, being careful of splashing it, stirring constantly with a wooden spoon. If the sugar hardens, keep stirring until it dissolves into the cream. (Sometimes I’ve had to give it a little heat to warm up the sugar ever so slightly, but be careful not to burn or boil it)
- Once it is all thoroughly combined, allow the sauce to cool a bit, and then add the vanilla.
- Store in a covered container or a squeeze bottle. Refrigerate if you’re not serving it immediately.
