Have you every picked fresh cherries? Have you ever picked fresh cherries with your children? Those are two very different events, aren’t they? 🙂
Even if it’s a little crazier, it’s definitely a lot more fun when the kids get to take part!
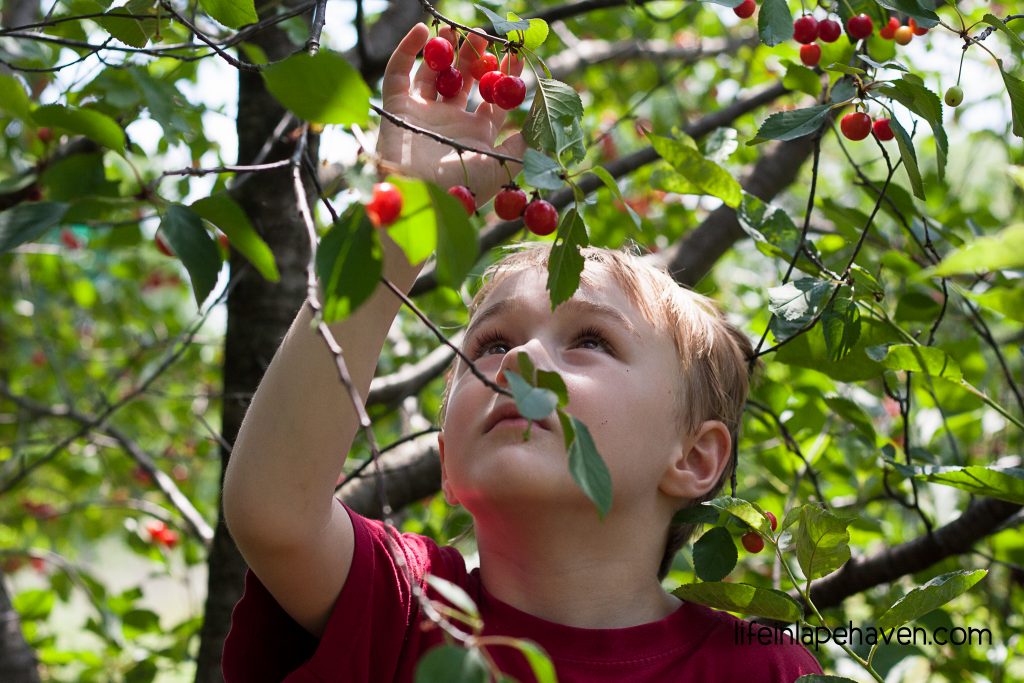
Since Elijah was about two or three, one of our summer traditions has been to help my parents harvest the cherries from their row of cherry trees. We’ve spent a day or two each June picking cherries, and the boys love that they can reach some of the cherries and help Grandma and Grandpa.
They have a wonderful time getting their hands sticky as they fill their buckets and wander from tree to tree, picking a few cherries from each one. Each boy tries to get more cherries than his brother, although Josiah tends to get tired of picking cherries sooner than Elijah is.
After we take our buckets inside, I get to spend some time that night or the next day separating and pitting whatever my boys and I have collected. Talk about getting tired…
Last year’s picking was especially memorable because it was a very bountiful year, plus on one of the days we went over, we were there the same time as two of Elijah and Josiah’s cousins, so the four boys helped to gather quite a few cherries (when they weren’t chasing each other around the trees)! We ended up with so many cherries that I think I might still have some in the freezer!
This year’s harvest was definitely less impressive, but our family still managed to come away with enough cherries to make something yummy. My sweet mom even pitted them for us (me) before we left their house.
My first step when I have fresh cherries is either to go ahead and freeze them or to make homemade cherry pie filling. I have found a really tasty recipe for cherry pie filling over at Crumbs and Chaos.
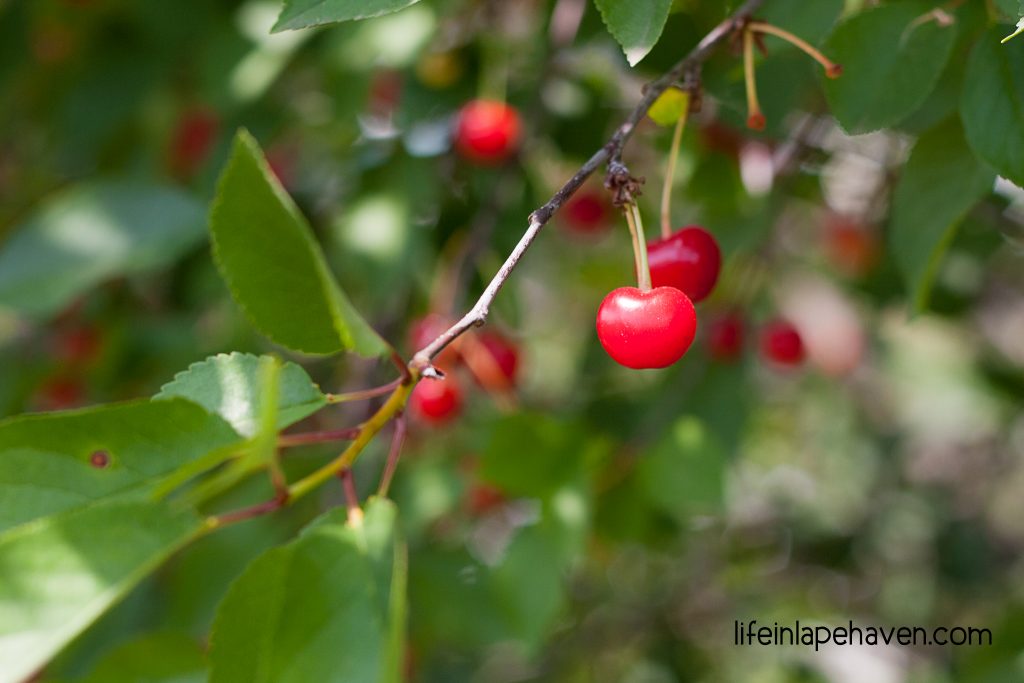
Since I’m not a huge cherry pie fan, I wanted to find a new recipe to use our cherries in. My parents’ cherry trees produce sour cherries, so I knew it had to be something with enough sweetness to balance the tartness.
I thought about making hand pies with the cherry filling, but then I remembered a cherry pie bar I made last year with some of our bounty. However, this year I couldn’t find the recipe that I used. Instead, I came across another one that I had saved a while ago, one that adds a cream cheese layer to the bars.
Cream cheese? Why, yes. I think we will try that! 🙂
I don’t think I’ll even need to worry about that other cherry pie bar recipe.
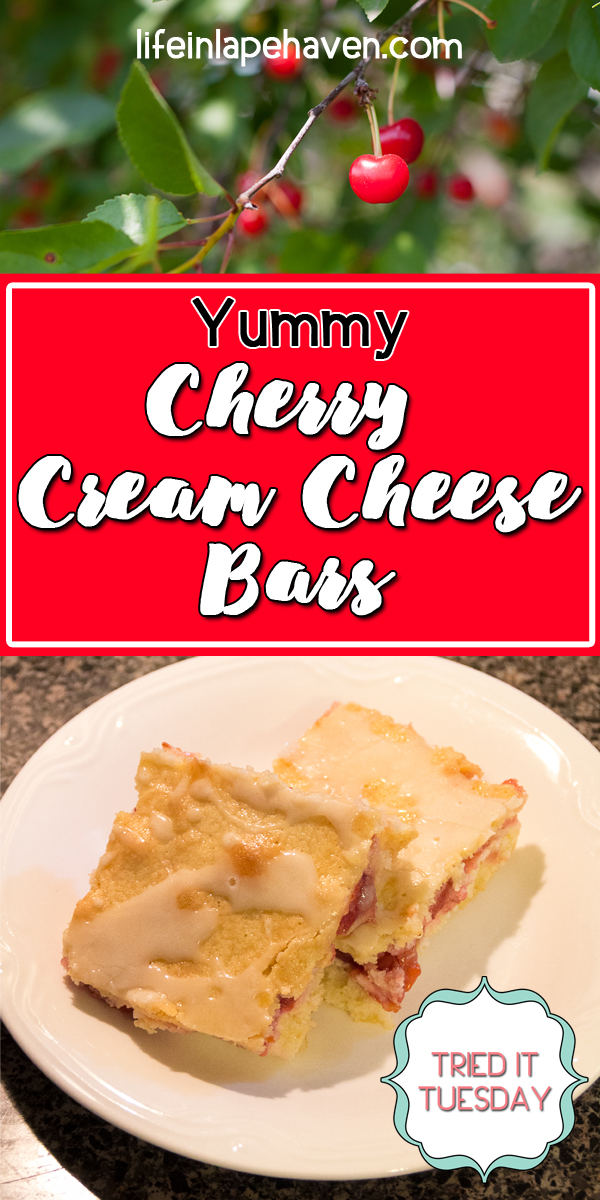
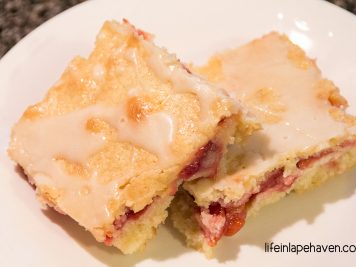
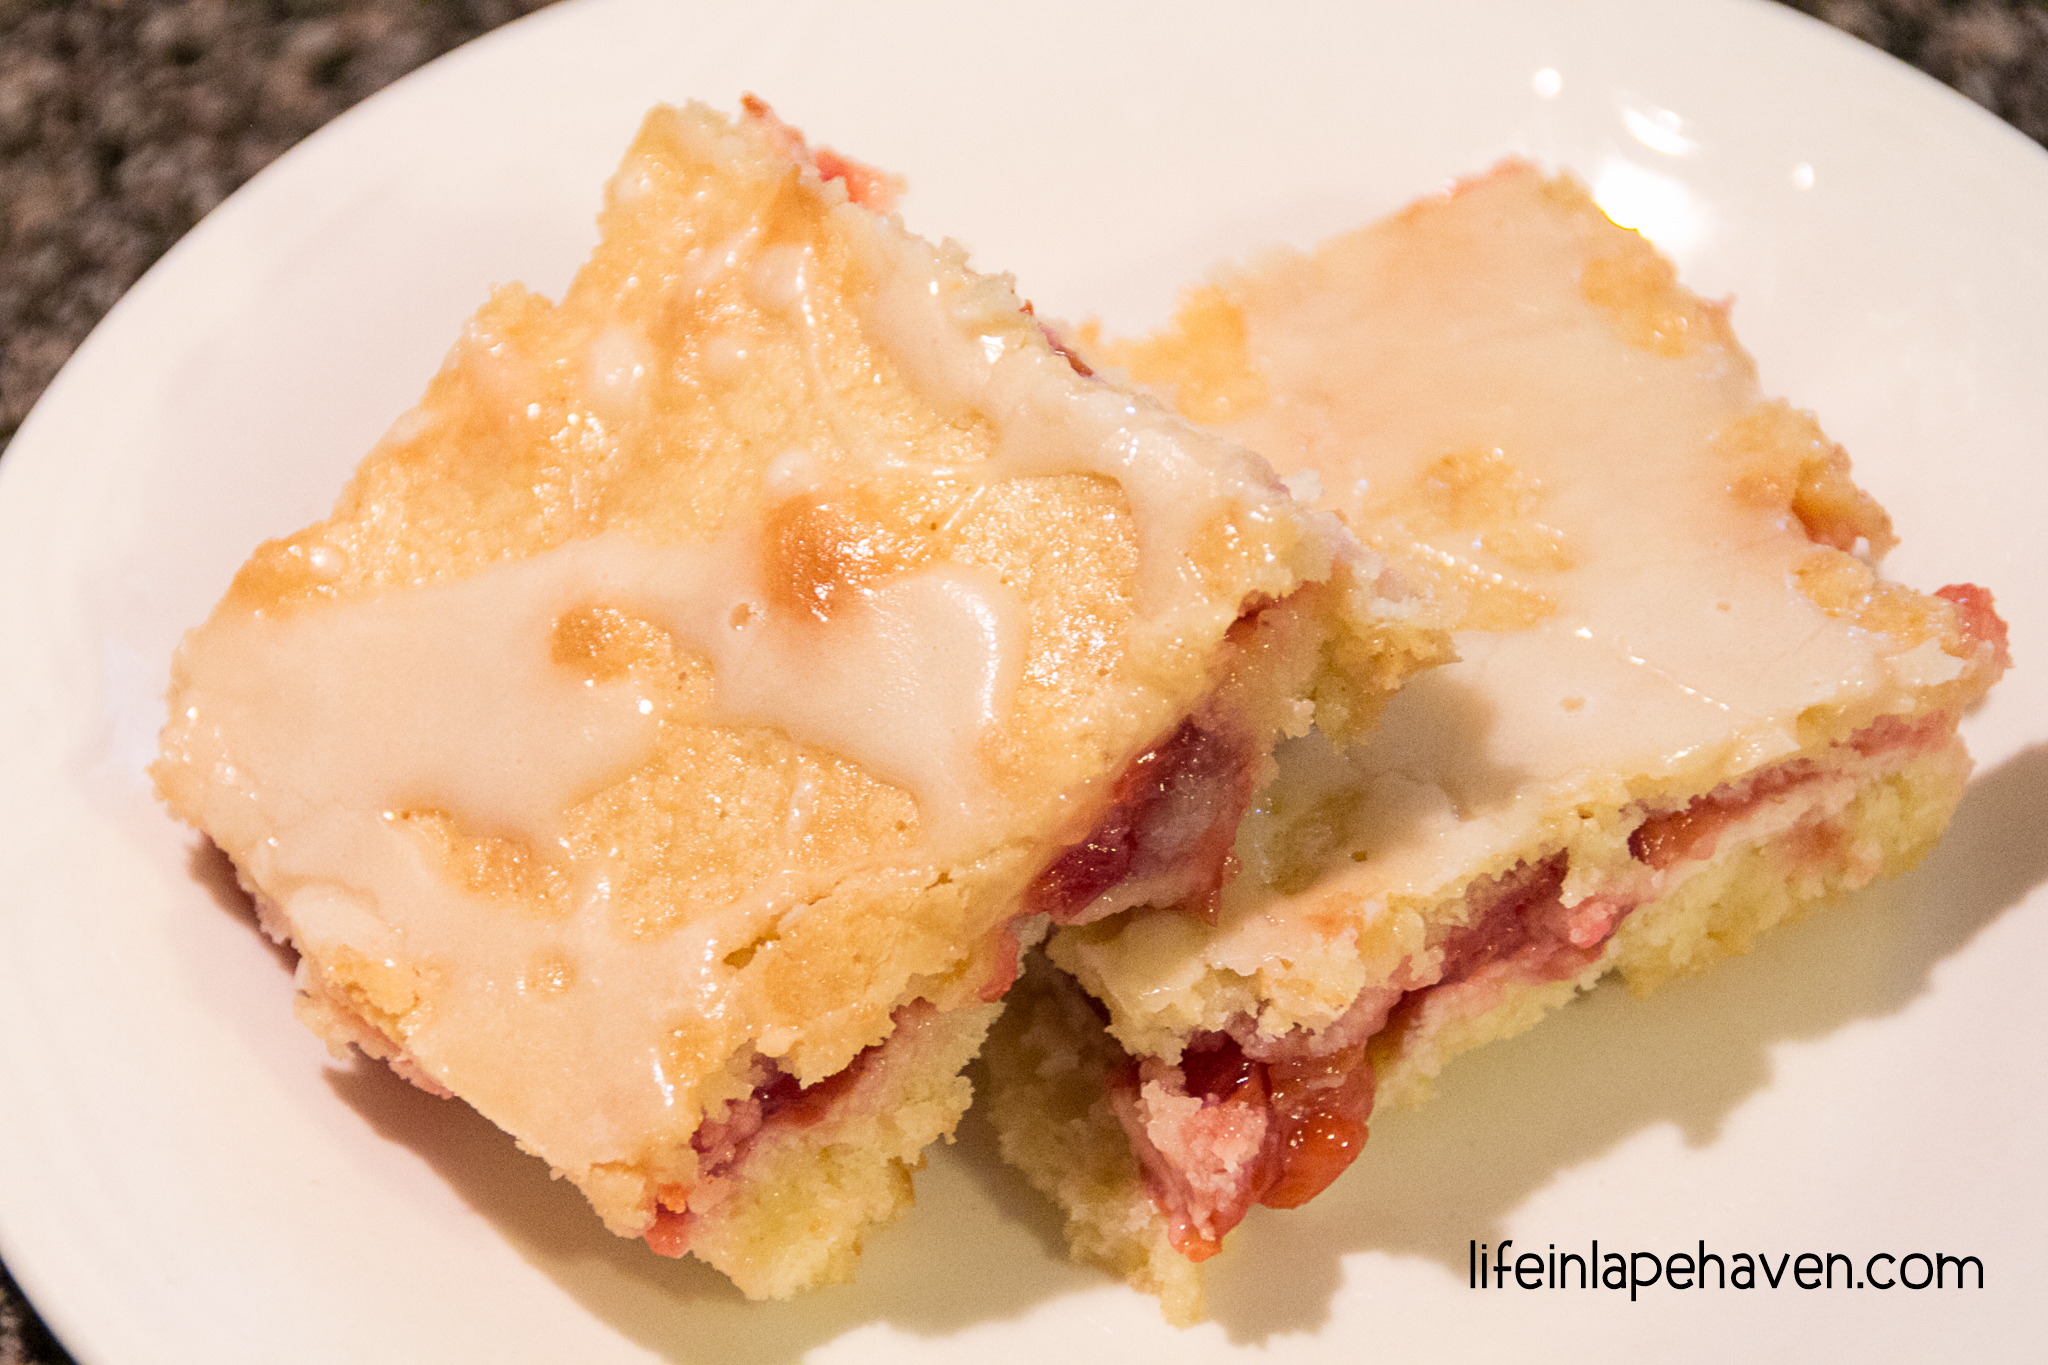
These Cherry Cream Cheese Bars by Inspired by Charm are delicious. The cream cheese and the almond extract really set these cherry bars apart. While they are a little involved, with all the layering you have to do, they are worth it!
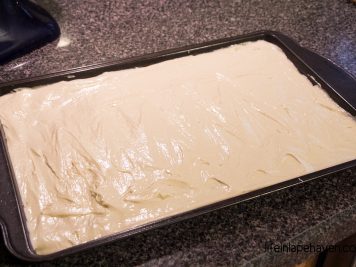
- Spread out some of the batter.
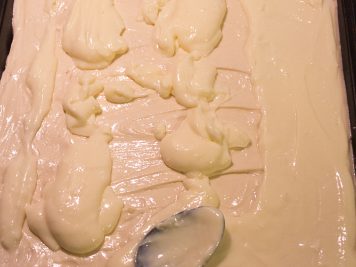
- Top the batter with a cream cheese layer.
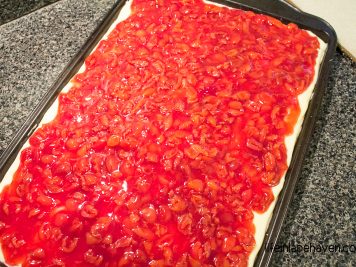
- Next comes the homemade cherry pie filling.
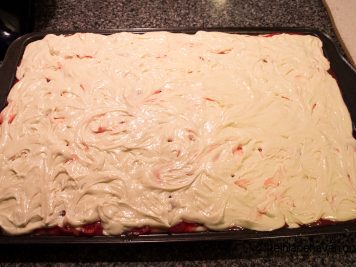
- Top it all with the rest of the batter.
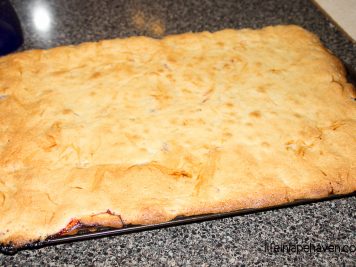
- Bake to golden brown and drizzle with glaze.
- Slice and serve. Great with vanilla ice cream!
They were great while they were still slightly warm (though kind of messy to cut), and they were really yummy once they were cooled completely, but they are perfect when topped with some vanilla ice cream. I took them to our family reunion over the weekend, and everyone else loved them as much as we did.
I’m pretty certain you will, too.
Here’s how I made these Yummy Cherry Cream Cheese Bars.
Yummy Cherry Cream Cheese Bars
Notes
*Note: When I made these, my batter overflowed the pan in the oven, even though it was the correctly sized pan. Keep an eye on them when you first put them in.
Ingredients
For the dough
- 1 cup Butter (2 sticks), softened
- 2 cups Sugar
- 1 tsp. Salt
- 4 eggs
- 1 tsp. Vanilla Extract
- ½ tsp. Almond Extract
- 3 cups Flour
- 1 tsp. Baking Powder
- 2 (21-oz) cans of Cherry Pie Filling or about 5-1/2 cups homemade cherry pie filling
For the cream cheese layer
- 1 (8 oz.) package Cream Cheese, softened
- ¼ cup Sugar
- 1 egg
For the glaze
- 1 cup Powdered Sugar
- ½ tsp. Vanilla Extract
- ½ tsp. Almond Extract
- 1-2 Tbsp. Milk
- 1 Tbsp. Heavy Cream
Instructions
- Preheat oven to 350 degrees.
- Grease a 15x10x1-inch baking sheet.
- Cream together butter, sugar, and salt until light and fluffy.
- Add eggs one at a time, beating well after each one.
- Mix in vanilla and almond extracts.
- Combine flour and baking powder in small bowl.
- Add flour mixture into butter mixture gradually, about one cup at a time, mixing after each addition.
- Spread about 2-1/2 cups of batter onto the prepared baking sheet. (Dough will be a little sticky.)
- In a small mixing bowl, beat together softened cream cheese, sugar, and egg until smooth and creamy.
- Add the cream cheese layer on top of the batter layer in the pan.
- Carefully spread the cherry pie filling as your next layer, on top of the cream cheese.
- Dropping by spoonfuls, add the remaining batter as the top layer. (Again, dough is sticky.)
- Bake for 35-40 minutes, or until top layer is golden brown.
- Cool completely.
- While bars cool, combine powdered sugar and vanilla and almond extracts.
- Slowly add the cream and milk until the right consistency is reached for the glaze.
- Drizzle glaze over the cooled cherry bars.
Get more ideas, recipes, & encouragement from this real-life mom as I experience God’s faithfulness through the joy and chaos of motherhood.
Join my email list!
YOU MAY ALSO LIKE:
Chocolate Cake with “Simple” Bavarian Cream Filling & Chocolate Ganache
