There is just something about homemade ice cream, isn’t there?
I think the first time I remember tasting it was when I was a little girl, and we went to a picnic or some kind of special event at my maternal grandparents’ church. Outside near the old schoolhouse that’s next door to the church, someone was using a hand-cranked ice cream churn to make the most amazing vanilla ice cream I’ve ever had – to this day – in my life.
The fact that the cream and eggs came fresh from my grandparents’ farm probably had something to do with it. That, and the fact that my grandma has amazing recipes for just about everything! (Here’s her homemade lime pickles recipe.)
With that memory of ice cream perfection, I had high expectations when I decided to try my hand at making homemade ice cream myself a few years ago. My first step was to get my grandma’s vanilla ice cream recipe…and then sadly realize that there was no way I was going to be able to make it just like hers. Even reducing her 5-quart recipe down to fit our 1.5 quart ice cream maker, I couldn’t duplicate that recipe exactly because it uses raw eggs and had the advantage of super farm fresh ingredients that aren’t as easy to find nowadays, at least not in our budget. 🙂
So, I went searching and did a lot of testing and learning (I suggest watching the “Churn, Baby, Churn” episode of Good Eats. A lot of my ice cream making process comes from Alton Brown’s suggestions.)
- Warm cream, milk, and sugar.
- Whisk egg yolks with sugar before you temper the eggs with the warm cream.
- After combining eggs & cream and heating it to 170 degrees, cool ice cream base in an ice bath.
I also tried recipes from Columbus’s own Jeni’s Splendid Ice Cream, which happens to be my favorite ice cream shop ever (the Wildberry Lavender and Darkest Chocolate flavors are spectacular)! Finding her recipes online was really exciting. Her method for making ice cream doesn’t involve eggs at all, so the steps are bit different, but they result in truly yummy ice cream. Of course, just like my grandma’s, even with a recipe given to you, it’s still difficult to duplicate the exact flavor of such great ice cream made with high-quality ingredients.
My ice cream quest, though, did finally bring me to creating my own simple, more traditional-style vanilla ice cream recipe that my husband has declared to be “some of the best vanilla ice cream” he’s “ever had.”
And I agree – it is pretty good.
I do have to say, too, that having a good ice cream maker has been helpful and has encouraged me to make ice cream more often, including coming up with a copycat recipe for an Ohio summertime classic, Kings Island’s Blue Ice Cream.
When I first started making ice cream, I had a cheaper plastic ice cream maker that I’d bought on clearance for maybe $15. It was the older kind where you add ice cubes and rock salt, and it was pretty noisy and a little messy. Then not long after that, my hubby found a great deal on a Cuisinart 1.5 quart ice cream maker on SlickDeals.net that has the bowl that you freeze and then churn the ice cream in it. (My bowl is always in the freezer, so it’s ready to go when I need it.)
I can’t guarantee that SlickDeals would have it again, but here is an Amazon affliliate link (which means if you use the link to make a purchase, I may receive a small commission, at no additional cost to you) to the ice cream maker that I use.
- Strain the cooled ice cream base and refrigerate.
- Churn ice cream according to ice cream maker’s instructions.
- Once it reaches a soft serve consistency, freeze ice cream until fully set.
I’ve found that reducing the recipe to be a little less than the 1.5 quarts (or whatever the size of your ice cream maker is) is better. It might make less, but it churns better, which means better texture, when it has a little more room.
Also, this vanilla ice cream recipe does include eggs and tempering them and cooking your base a bit, but don’t let that intimidate you. It’s not complicated. If I can whip this up while my boys are running around me in the kitchen like a couple of crazy monkeys, trust me – You can do this, and you’ll be glad you did.
Because, really, there is just something about homemade ice cream, isn’t there?
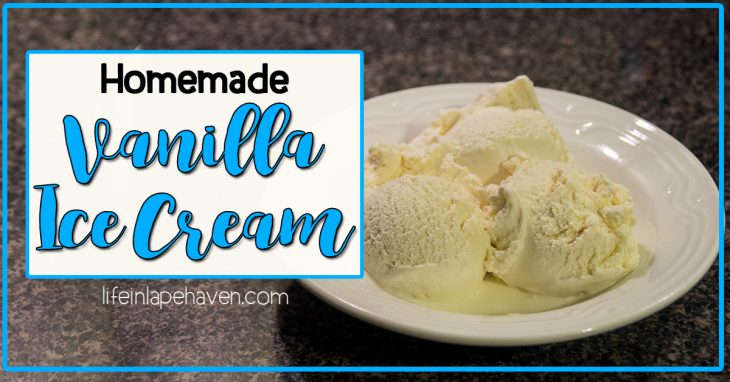
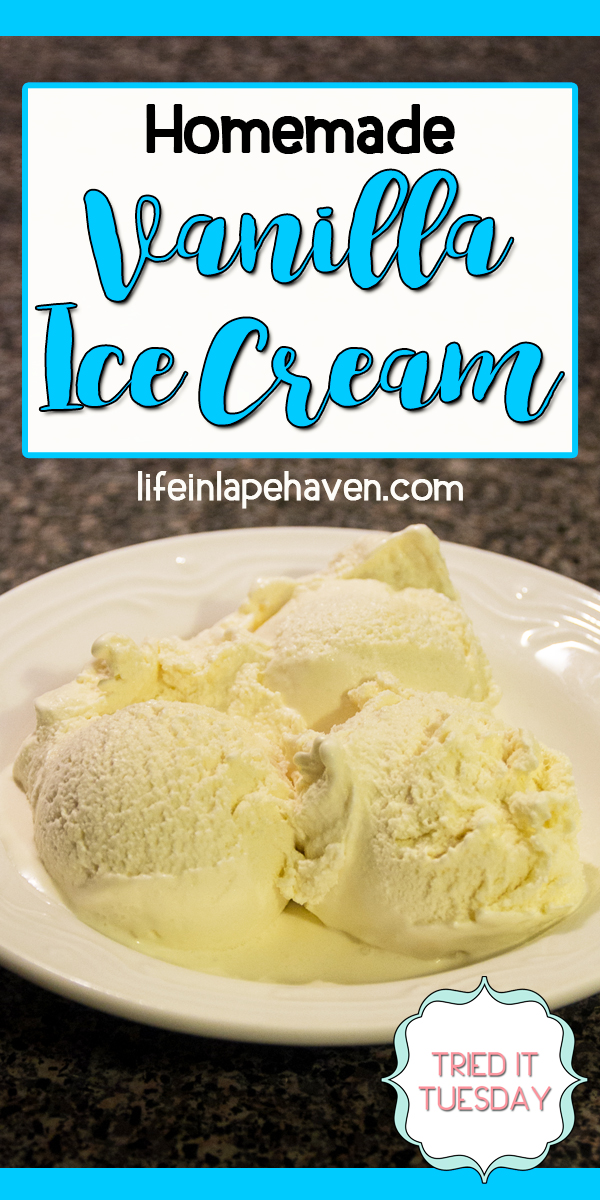
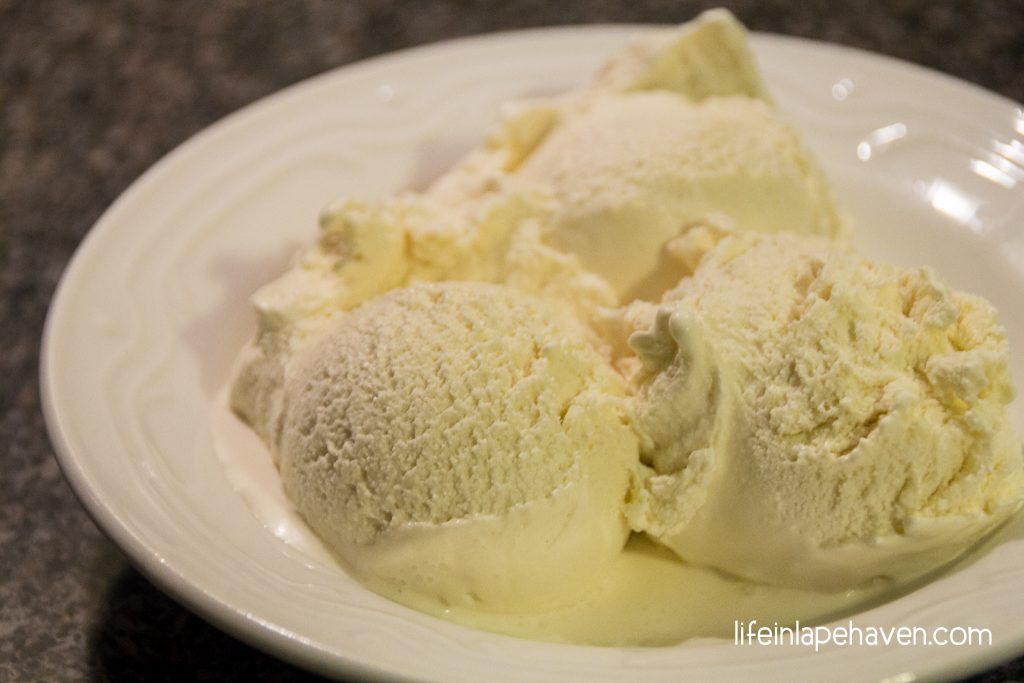
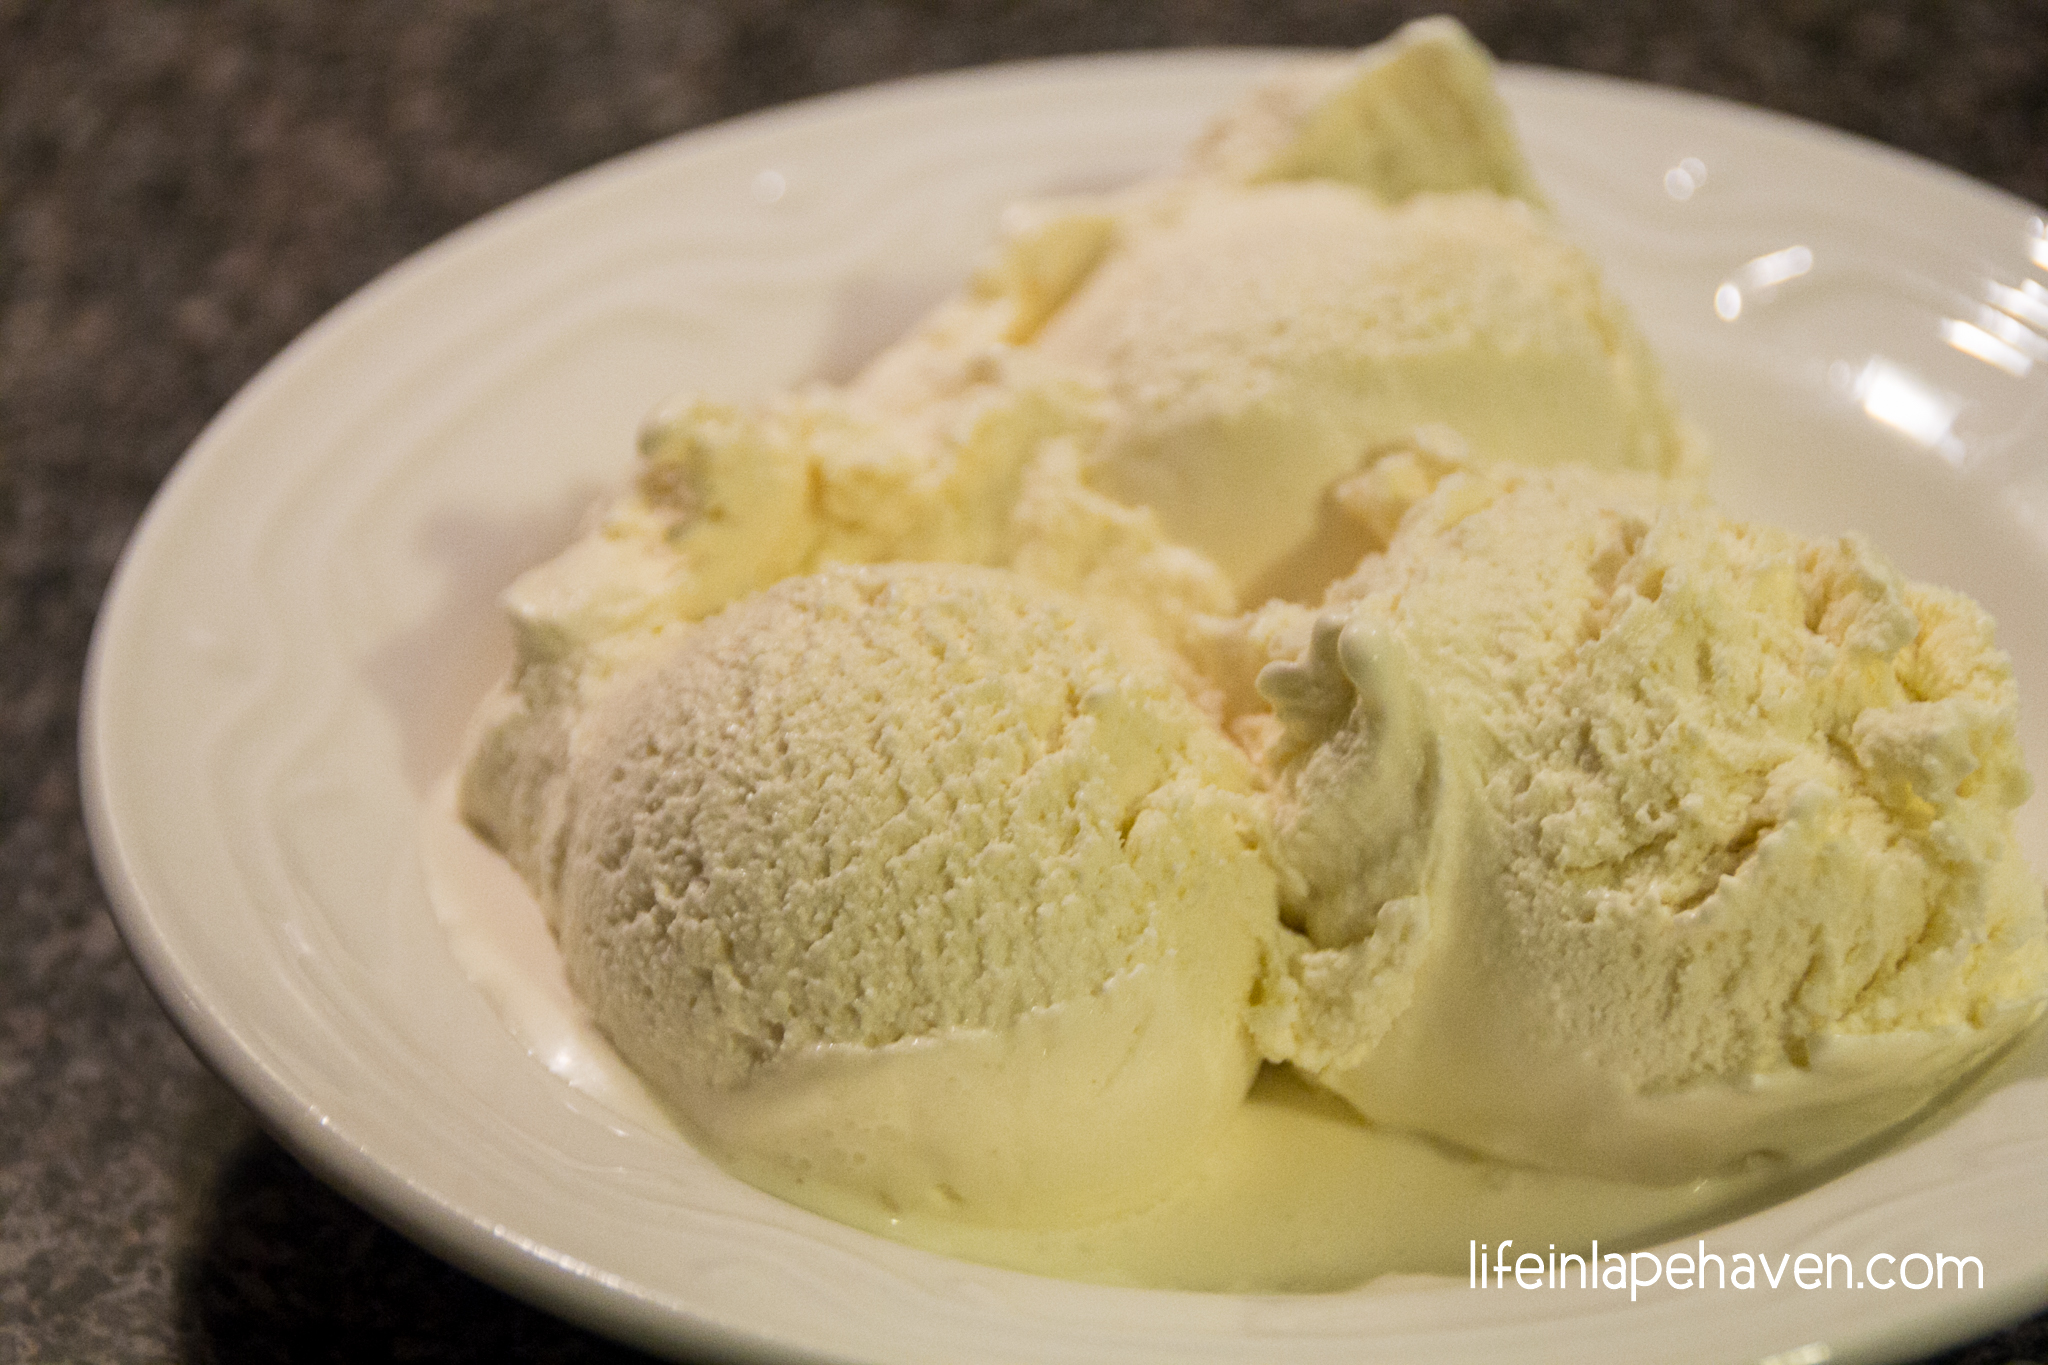
Here’s my recipe for delicious Homemade Vanilla Ice Cream.
Homemade Vanilla Ice Cream
Ingredients
- 1 ½ cups Milk (Whole is best)
- 1 ½ cups Heavy Cream
- ½ cup Sugar
- 4 Egg Yolks
- 1 Tablespoon Vanilla Extract
Instructions
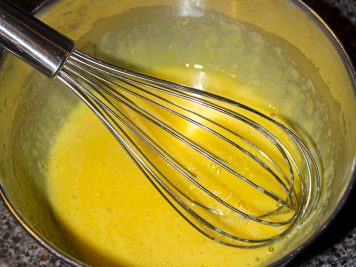
- In a small bowl, lightly beat egg yolks. Add 2 teaspoons from your ½ cup of sugar. Whisk together and set aside. (I put mine right by the stove, so it's close when I need it)
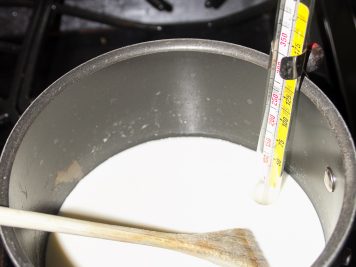
- In a medium saucepan, whisk together cream, milk, and remaining sugar. Heat over medium-low heat, stirring occasionally, until bubbles begin to form along the edge of the pan. (I use a candy thermometer to keep an eye on the temperature. You don't want to boil the cream or overheat the mixture. I stay around 150 degrees.)
- Remove the cream from the heat.
- A spoonful at a time, slowly add the hot cream to the egg yolks, whisking constantly. You are tempering the eggs, bringing them up to temperature slowly. If you add the cream without whisking, you risk scrambled eggs in your ice cream. Not good. Tip: I put a towel under the egg bowl to keep it still while I'm whisking with one hand and ladling with the other.
- Once you have added at least half of the cream to the eggs, whisk the egg mixture into the remaining cream and return the saucepan to the heat.
- Heat over medium-low, stirring constantly, until the mixture comes to about 170 to 175 degrees. The mixture will coat the back of your spoon, and if you draw your finger through it, it will leave a distinct trail. Do not overheat the mixture, or you'll end up with thick custard.
- Remove ice cream base from the heat and whisk in the vanilla extract.
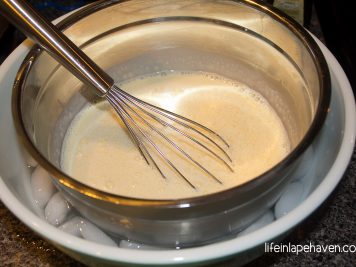
- Pour ice cream base into a metal bowl set over an ice bath. (To create the “ice bath”: Fill a larger bowl with just enough ice and cold water to come about halfway up the side of your metal bowl when you set your metal bowl into it)
- Whisk the mixture to cool.
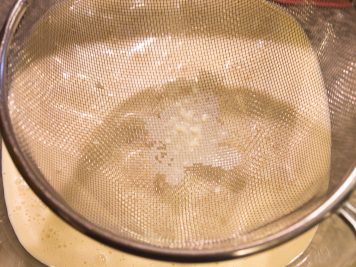
- Pour the cooled ice cream base through a fine strainer into a bowl or dish with a lid. Straining will get out any accidental little bits of scrambled egg. (It happens sometimes.)
- Refrigerate for 2 hours (until it cools to 40 degrees) or up to overnight. (You can skip this step, but the warmer your ice cream mixture is, the longer it takes to churn.)
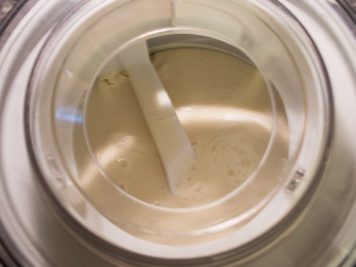
- Churn the chilled custard according to your ice maker's instructions.
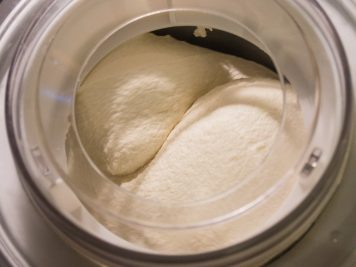
- Once it reaches a thickened soft serve consistency, transfer the ice cream to a bowl or container that holds at least 1 quart (I always just use the same glass bowl that I refrigerated it in).
- Cover and freeze for at least an hour until it’s fully set to serve. (Or if you like it more "soft serve," or you're as impatient as we are, you can enjoy it earlier.)
TRY THESE OTHER YUMMY RECIPES WITH YOUR VANILLA ICE CREAM:
The Legacy in an Apple Pie Recipe
Chocolate Cake with Bavarian Cream Filling
Get more ideas, recipes, & encouragement from this real-life mom as I experience God’s faithfulness through the joy and chaos of motherhood.
Join my email list!




[…] blue ice cream isn’t your thing, you can always check out my recipe for homemade Vanilla Ice Cream, too. […]
[…] had. (Although, he tends to think a lot of the things I’m make are “the best ever,” like my homemade vanilla ice cream, which would be amazing with this […]
[…] first fun act of kindness was passing out ice cream bars to a group of construction workers staying at our hotel. They had been sitting outside when we […]