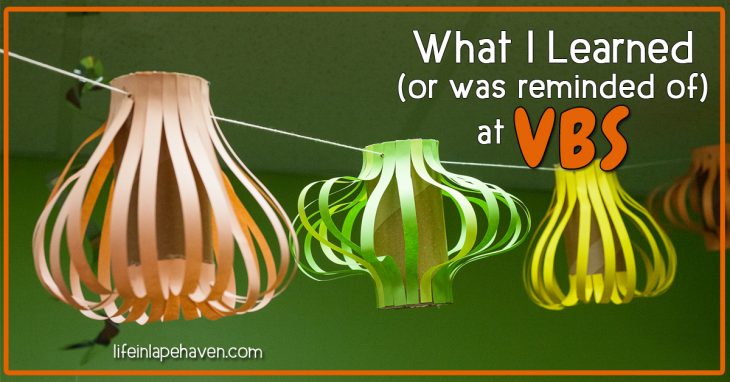

This year our church’s Vacation Bible School was one of my favorite themes ever.
“Maker Fun Factory” was a very hands-on curriculum all about how we’ve been “created by God and built for a purpose.” Throughout the week, the kids were encouraged to be creative and inventive as they learned Bible points and stories focused on knowing God has a plan for each of us.
As a member of the VBS Preschool Team, I helped in the planning and preparations, and in the process I got to try out something I’ve wanted to do with my boys for a while: DYING DRY PASTA.
(And I got to try it out thoroughly as I dyed 6 boxes worth of pasta! :))
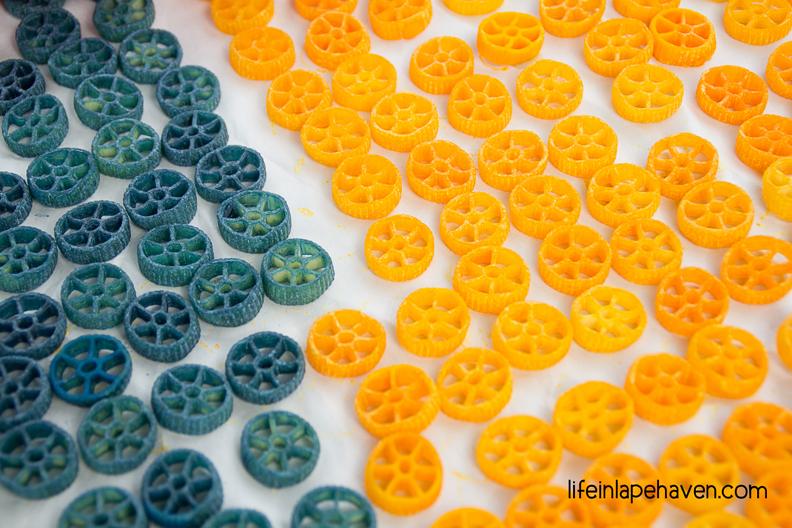
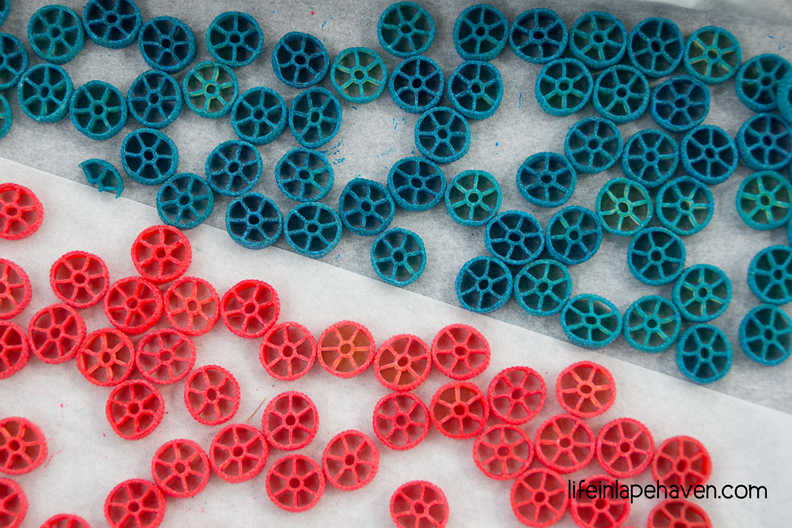
This dyed pasta was used for crafts, such as bracelets and picture frames and robot decorations, but you can also use the pasta for fun sensory bins or boxes, too. And while we only needed wheel-shapes that mimicked gears for our Maker Fun Factory theme, you can dye any size or shape of pasta that you want, all with this same simple technique.
Having never dyed pasta before I volunteered to do it, I had to get my Pinterest research on, and then make sure that I didn’t mess it up.
What I found was that there are lots of pins about dying pasta, but not many of them give you very specific details on how to do it. So, as I was undertaking this task, I made sure to get the details for you. (You’re welcome.)
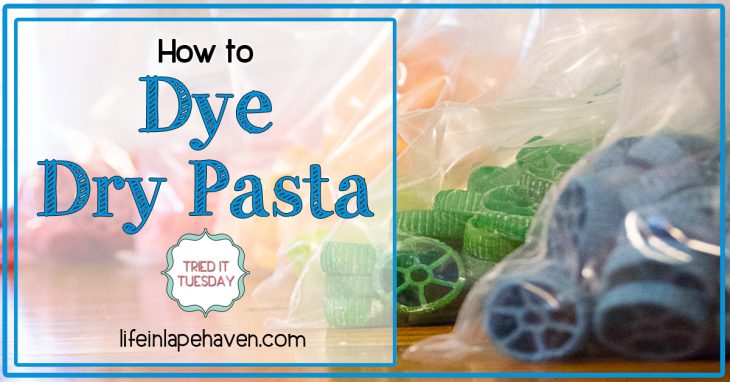
HOW TO DYE DRY PASTA
What You Need:
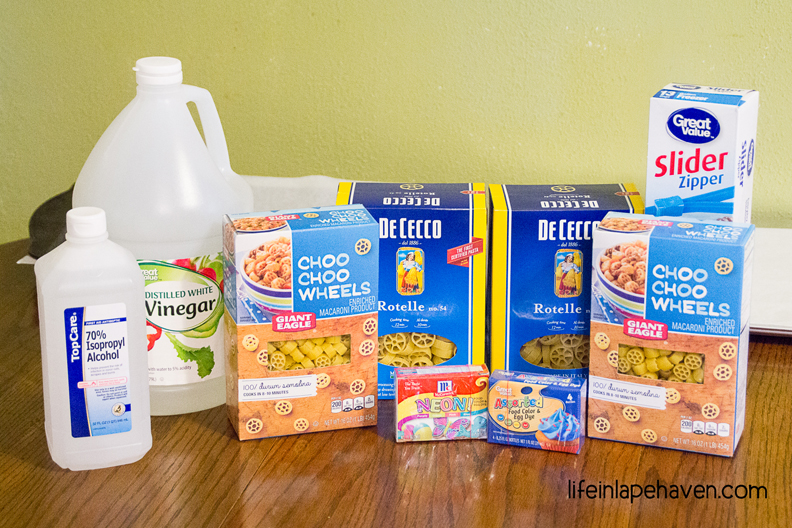
Pasta – As I mentioned, you can use any type, size, or shape of pasta. Larger pasta noodles might require a little more liquid & coloring, though.
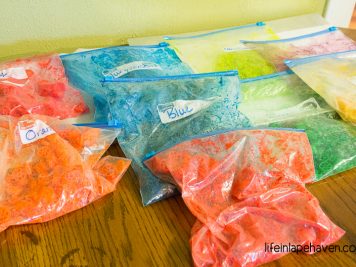
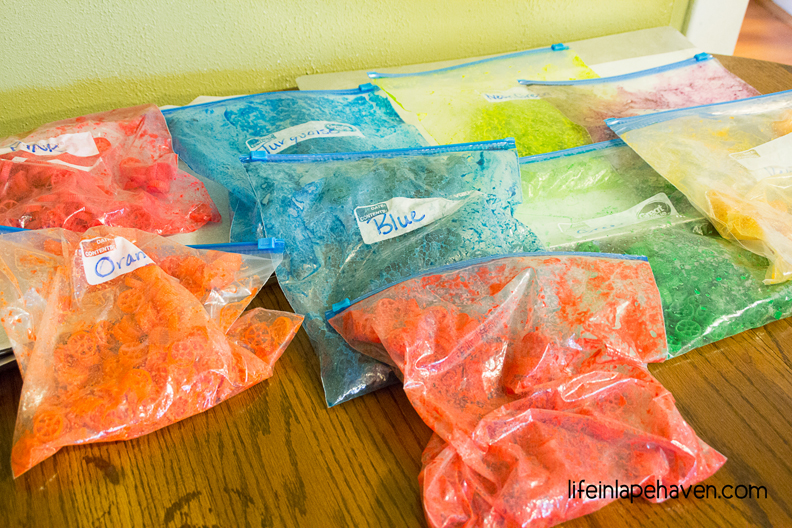
Food Coloring – For ours, I did 9 (yes, 9) different colors. We had a rainbow of options. I used your standard food colorings of red, yellow, blue, and green, in addition to the neon options of bright pink, purple, teal, and neon green. Then I also combined red & yellow for a fun orange.
Distilled Vinegar – You can also use Rubbing Alcohol, but since little kids like to put things in their mouths, I went with vinegar.
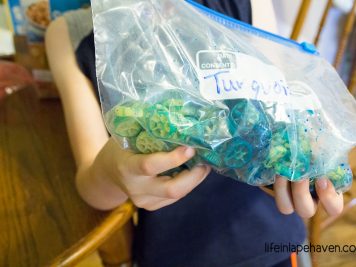
Plastic zip-top bags – Since I was going to be making so many batches of pasta, I designated a bag for each color. If you are only doing a few, you could try to use one bag for similar colors (For example, do yellow, then orange).
Baking sheets or trays – You’ll need to let the pasta dry after you dye it, so make sure you have enough trays ready to spread out the pasta.
Parchment paper or wax paper (optional) – You can line your baking sheets with parchment or wax paper. This just helps with clean up and transferring the dried, dyed pasta into storage bags.
What You Do:
-
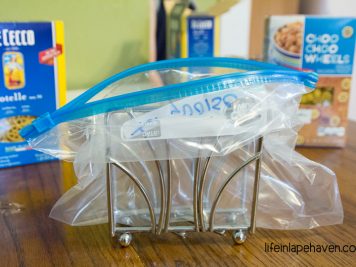
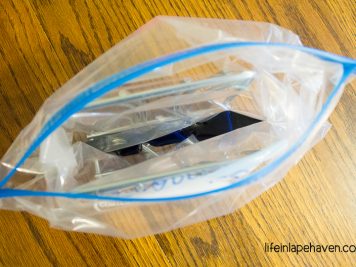
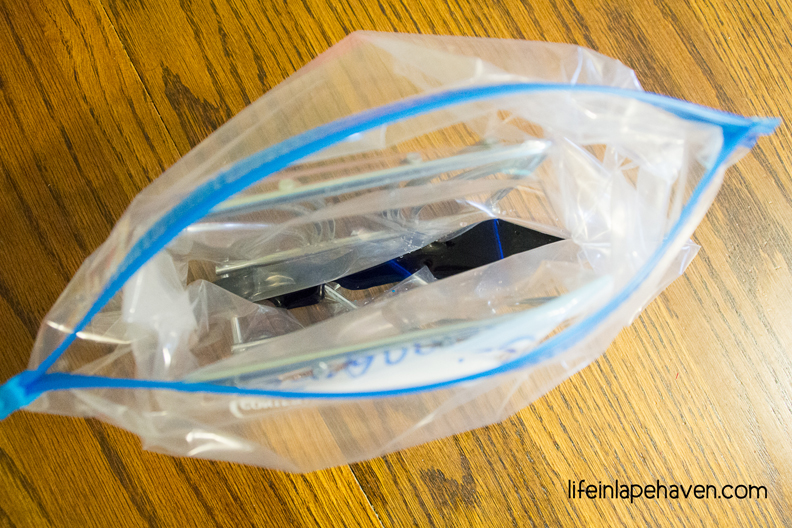
- Using the napkin holder to hold my zip-top bag.

-
- Vinegar & food coloring added.
-
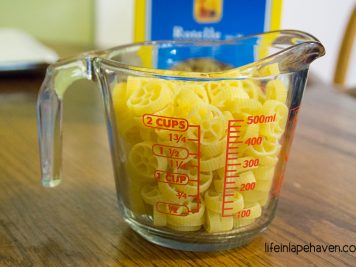
- Measured out pasta.

-
- Mixing, shaking, smooshing to coat the noodles.

-
- Letting the color set.
-
- Laying out the pieces to dry.
1. Mix Up Your Coloring.
Put 2 Tbsp. of Vinegar into you zip-top bag. *TIP: I used our napkin holder to support the bag so it was easier to add each item.
Add in at least 10 drops of your color. I found that for a brighter color, especially with the darker shades, I used up to 30-40 drops. (If I used 30 drops or more of color, I also used an additional tablespoon of vinegar to help get the pasta covered well.)
2. Add Your Pasta
I used 2 cups of pasta for each color. Pour that in on top of your coloring in the bag.
3. Mix It All Together
Seal up the bag, making sure to get most of the air out of it. Then shake, squish (lightly), and massage pasta in the bag to thoroughly coat it in the color. This can take a little while, especially if your pasta has some nooks and crannies. This is a great job to allow your little helpers to do.
4. Let It Set
Lay out the bag of pasta as flat as possible, and let it set for about 10 minutes or so. Be careful of letting it set TOO LONG – pasta sitting in liquid will start to get gummy and soft after a while. Flip it over a time or two during that time so that the liquid isn’t just on one part of the pasta.
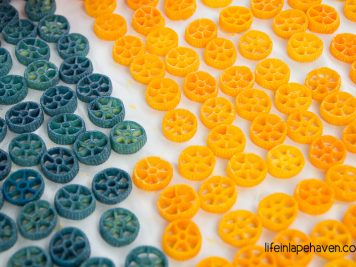
5. Dry It Out
Carefully pour your pasta out onto the parchment –lined baking sheet(s), spreading it out into one layer. This part can take some time, as you want to avoid having the pasta pieces touching. Then set the baking sheets up and out of the way or outside to dry. Depending on how warm or humid the day is, your pasta should dry within 20-30 minutes. Give the trays a little shake every so often to help keep the pasta from sticking to the paper. *CAUTION: Beware of curious pets eating your pasta if you have it where they can get to it…such as outside on the ground. I speak from experience and from having lost half of my blue and pink pasta batches to a curious Labradoodle.
6. Store It /Use It
Once it is COMPLETELY dry, you can transfer the pasta to a zip-top bag or a lidded container until you are ready to use it. Store it somewhere cool and dry. (One of the ladies at church stored some in her car for a few hours…in the middle of summer…and it got really soft and squishy.)
-
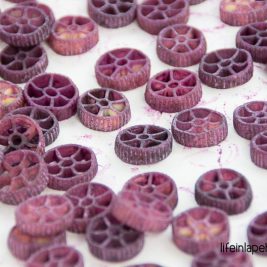
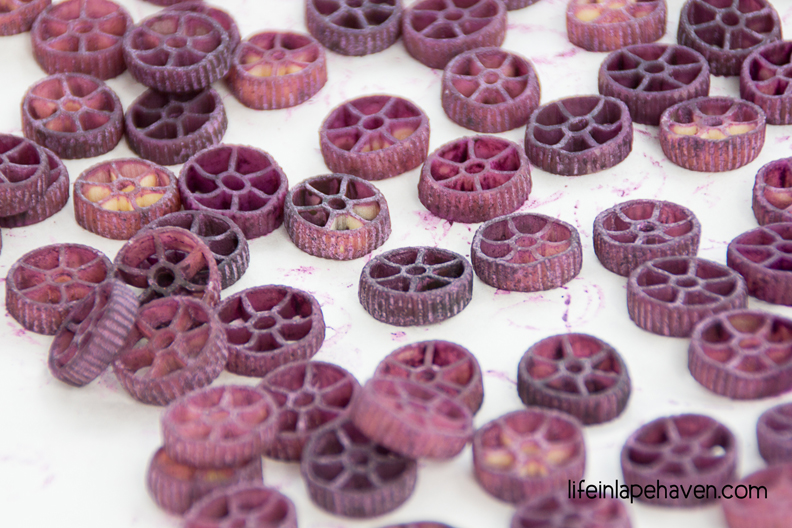
- Purple drying
-
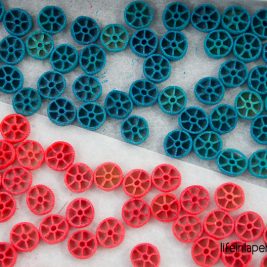
- My slightly reduced batches of turquoise & pink…thanks, Vinny.
-
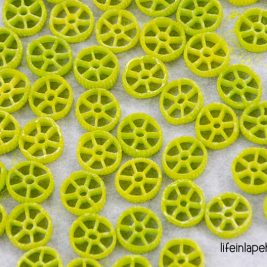
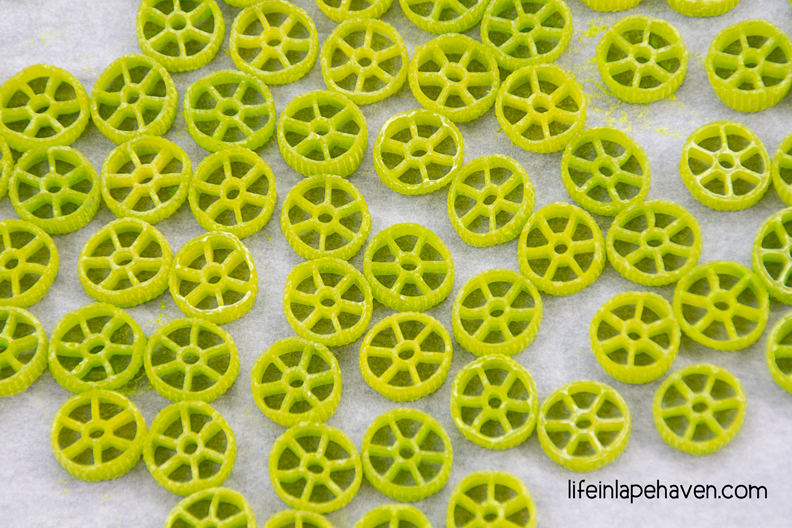
- Neon green drying.
-
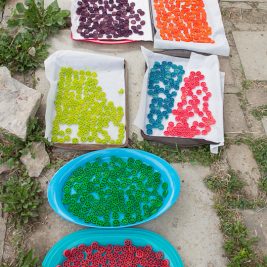
- All the colors!

Need ideas for what to do with your pretty dyed pasta? Honestly, your kids will probably come up with some amazing ideas on their own, but if you need a place to start, here are some fun pasta projects:
- Make jewelry by stringing pasta together .
- Create artwork by gluing pieces onto paper or paper plates (check out these LIONS & these FISH).
- Dump it all into a fun sensory bin & use a variety of pastas for different textures & shapes (More on sensory bins)
- Make pasta sculptures.
- Create beautiful mosaics with pasta & clay.
- Slide together one of these wiggly pasta snakes.
WHAT WILL YOU MAKE WITH YOUR DYED PASTA?