
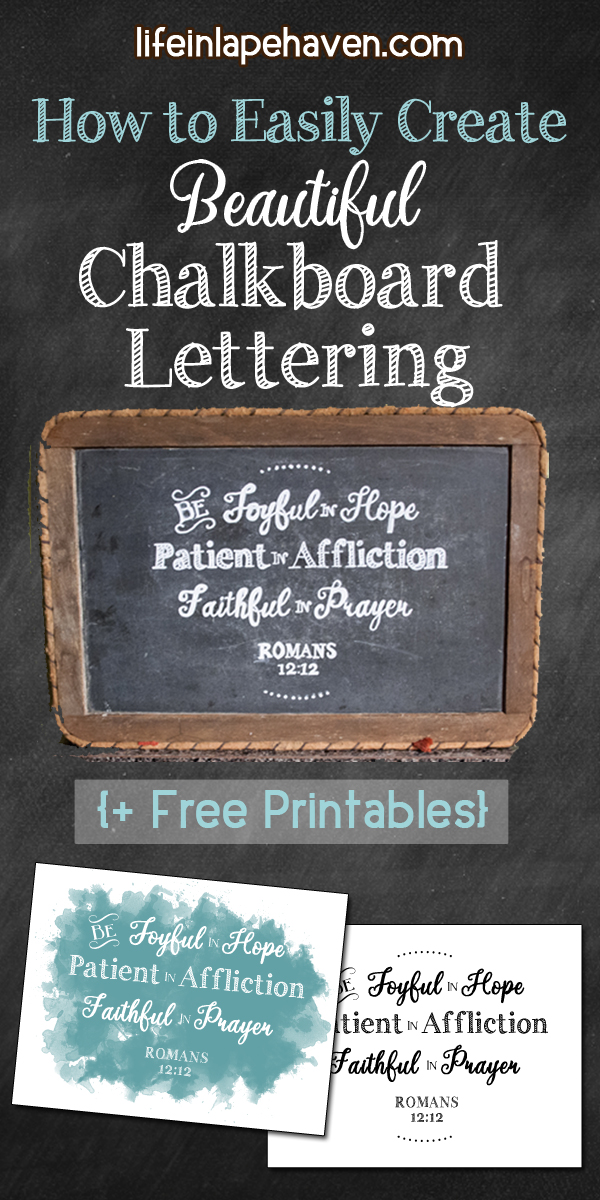
Almost two years ago, I wrote out my “Mommy Motto” verse on a little chalkboard in my kitchen, doing my best to use my prettiest “scripty” print on it. While my handwriting isn’t horrible, neither is it truly decorative, and every time I saw my little chalkboard, I would think “One of these days I’m going to do that verse over in prettier lettering.”
Of course, rewriting the verse on my kitchen chalkboard was WAAAAYYY down on the bottom of the to-do list. It was really on more of the “it-would-be-nice-if-I-ever-get-a-chance-to-do-it” wish list. So many beautiful, wonderful ideas live on that list. All I have to do it wait for the time and/or the money to do them. You have one of those lists, too, right? (If you have a Pinterest account, I bet you do!)
Then one day I saw a graphic on Pinterest that showed how you could easily transfer your design to a chalkboard, and I discovered these things called “chalk markers.” It was like chalk, only also like a marker, and it would last longer because it didn’t smudge.
I was so excited.
Finally, close to Christmas this year, I remembered to look for a chalk marker during one of my visits to Hobby Lobby. When I found them, I got one to put in my Christmas stocking. 🙂 (I figured I didn’t know how well it would work or how often I’d use it, so I picked a simple white marker.)
Once I had my marker, I just needed the time to create my design and redo my chalkboard.
This past week, I finally did it. (Again, there are so many things on the daily Wife-Mommy-Blogger to-do list that those little “just for fun” projects often get set aside.) But my hubby had the day off, the house was relatively presentable, both boys were healthy and happy, and suddenly I had TIME!!!
So, here’s how I did it:
DESIGN IT
Having made lots of graphics for my blog, I knew which fonts I really liked, so designing the lettering was fairly easy. I used Photoshop, but you could easily use the free services on PicMonkey or Canva. I measured my chalkboard so I knew what size I needed to work inside of with my layout. (Mine was 7×11). You could also just search online for any traceable design or image you’d like to have on a chalkboard and use that, too.
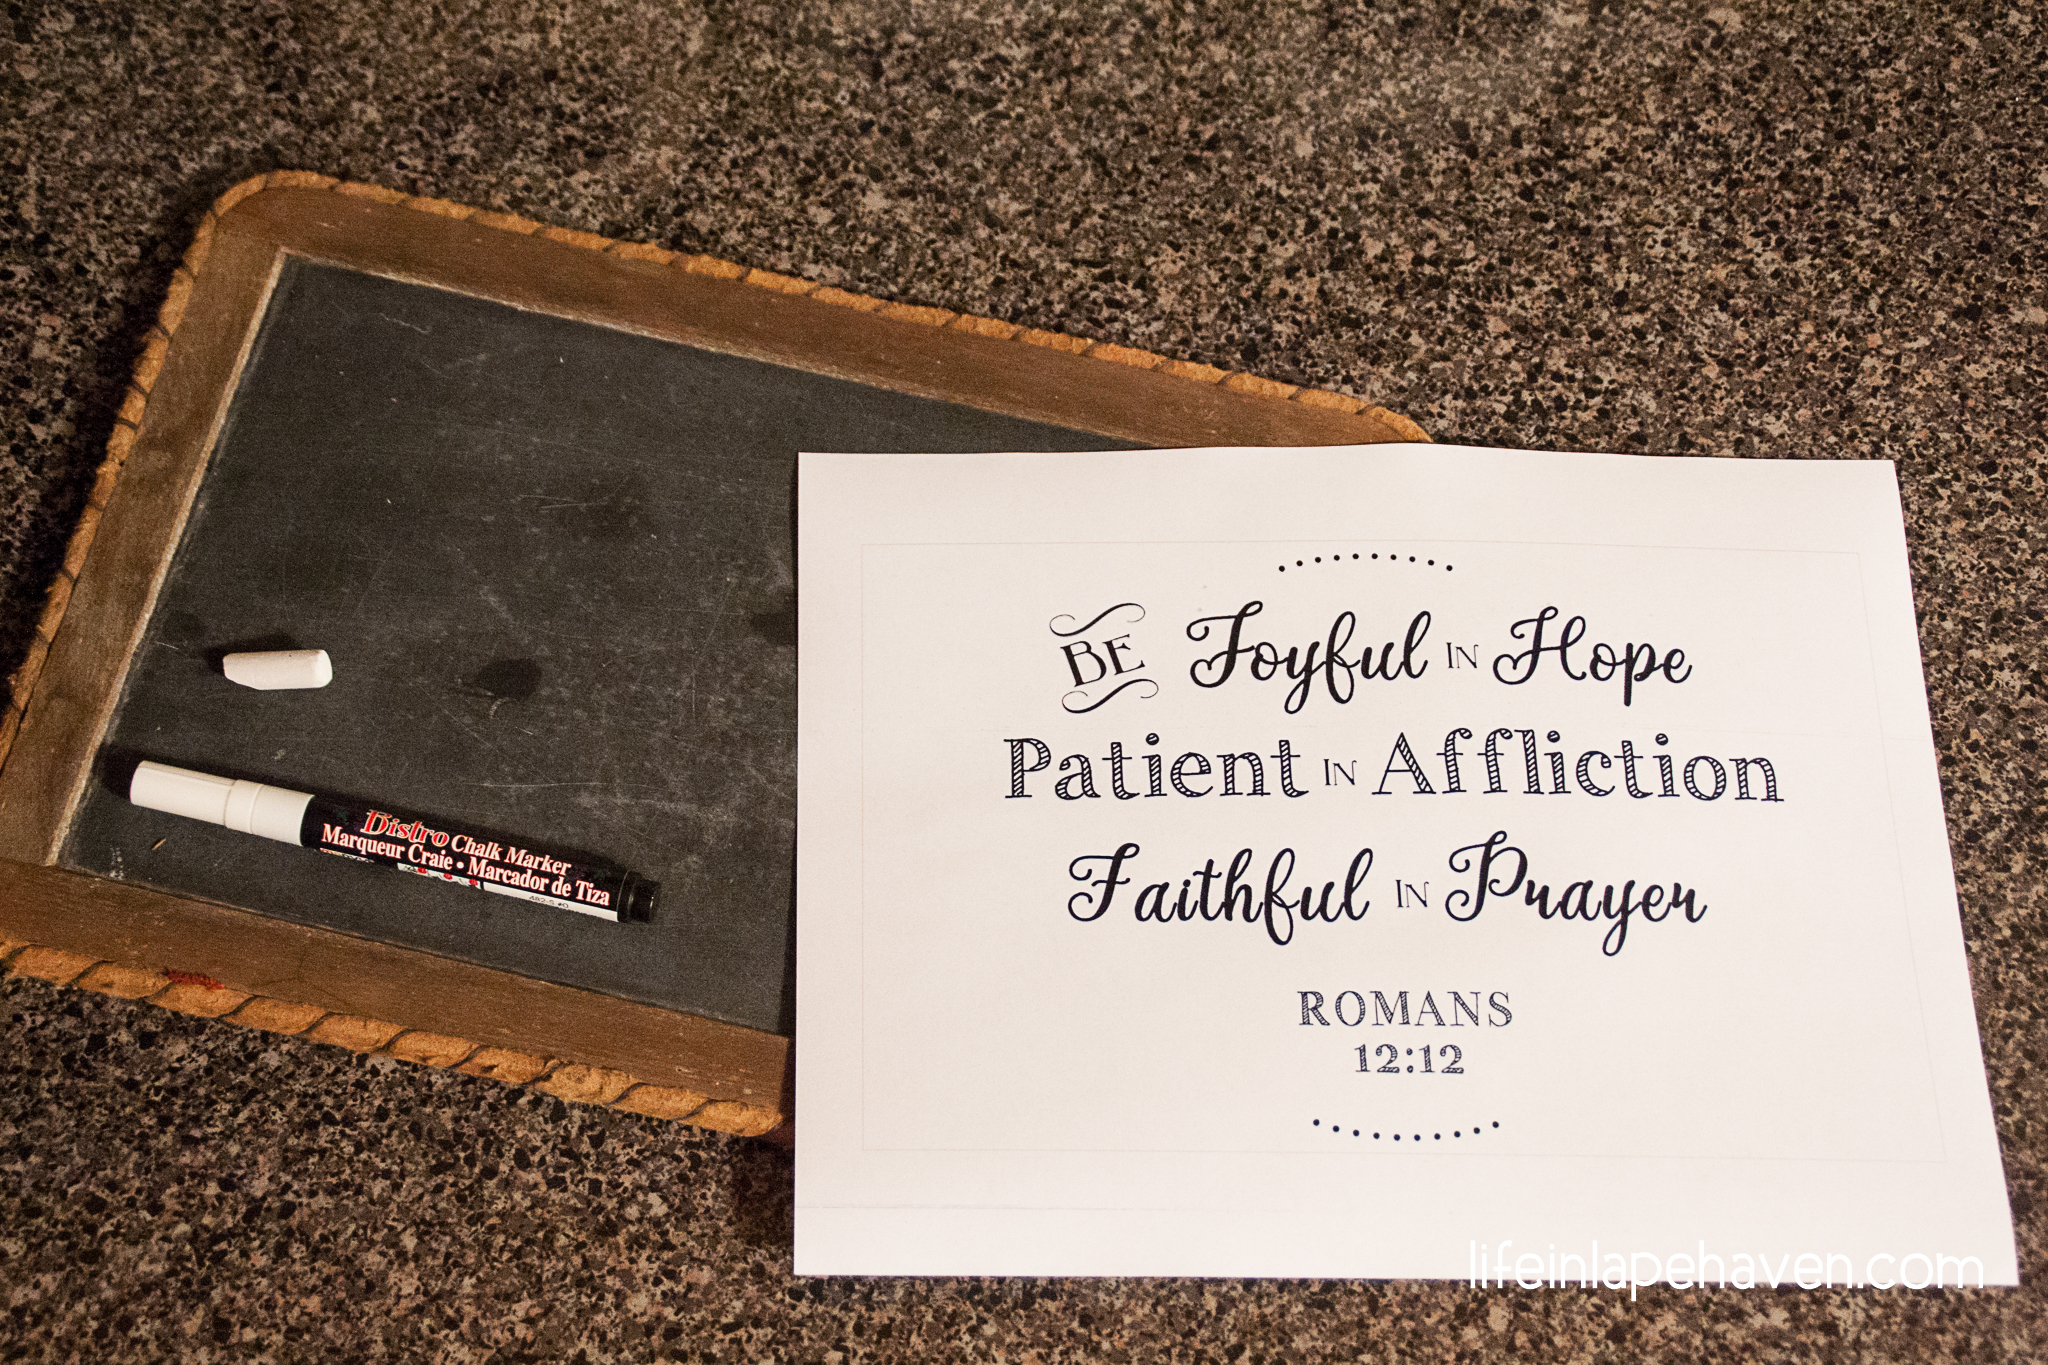
PRINT IT
Once I had my design the way I wanted it, I printed it out in black and white. I added a faint gray border around the outside of the design so that I could easily cut it out of the 8-1/2 x 11 letter-sized paper.
CHALK IT
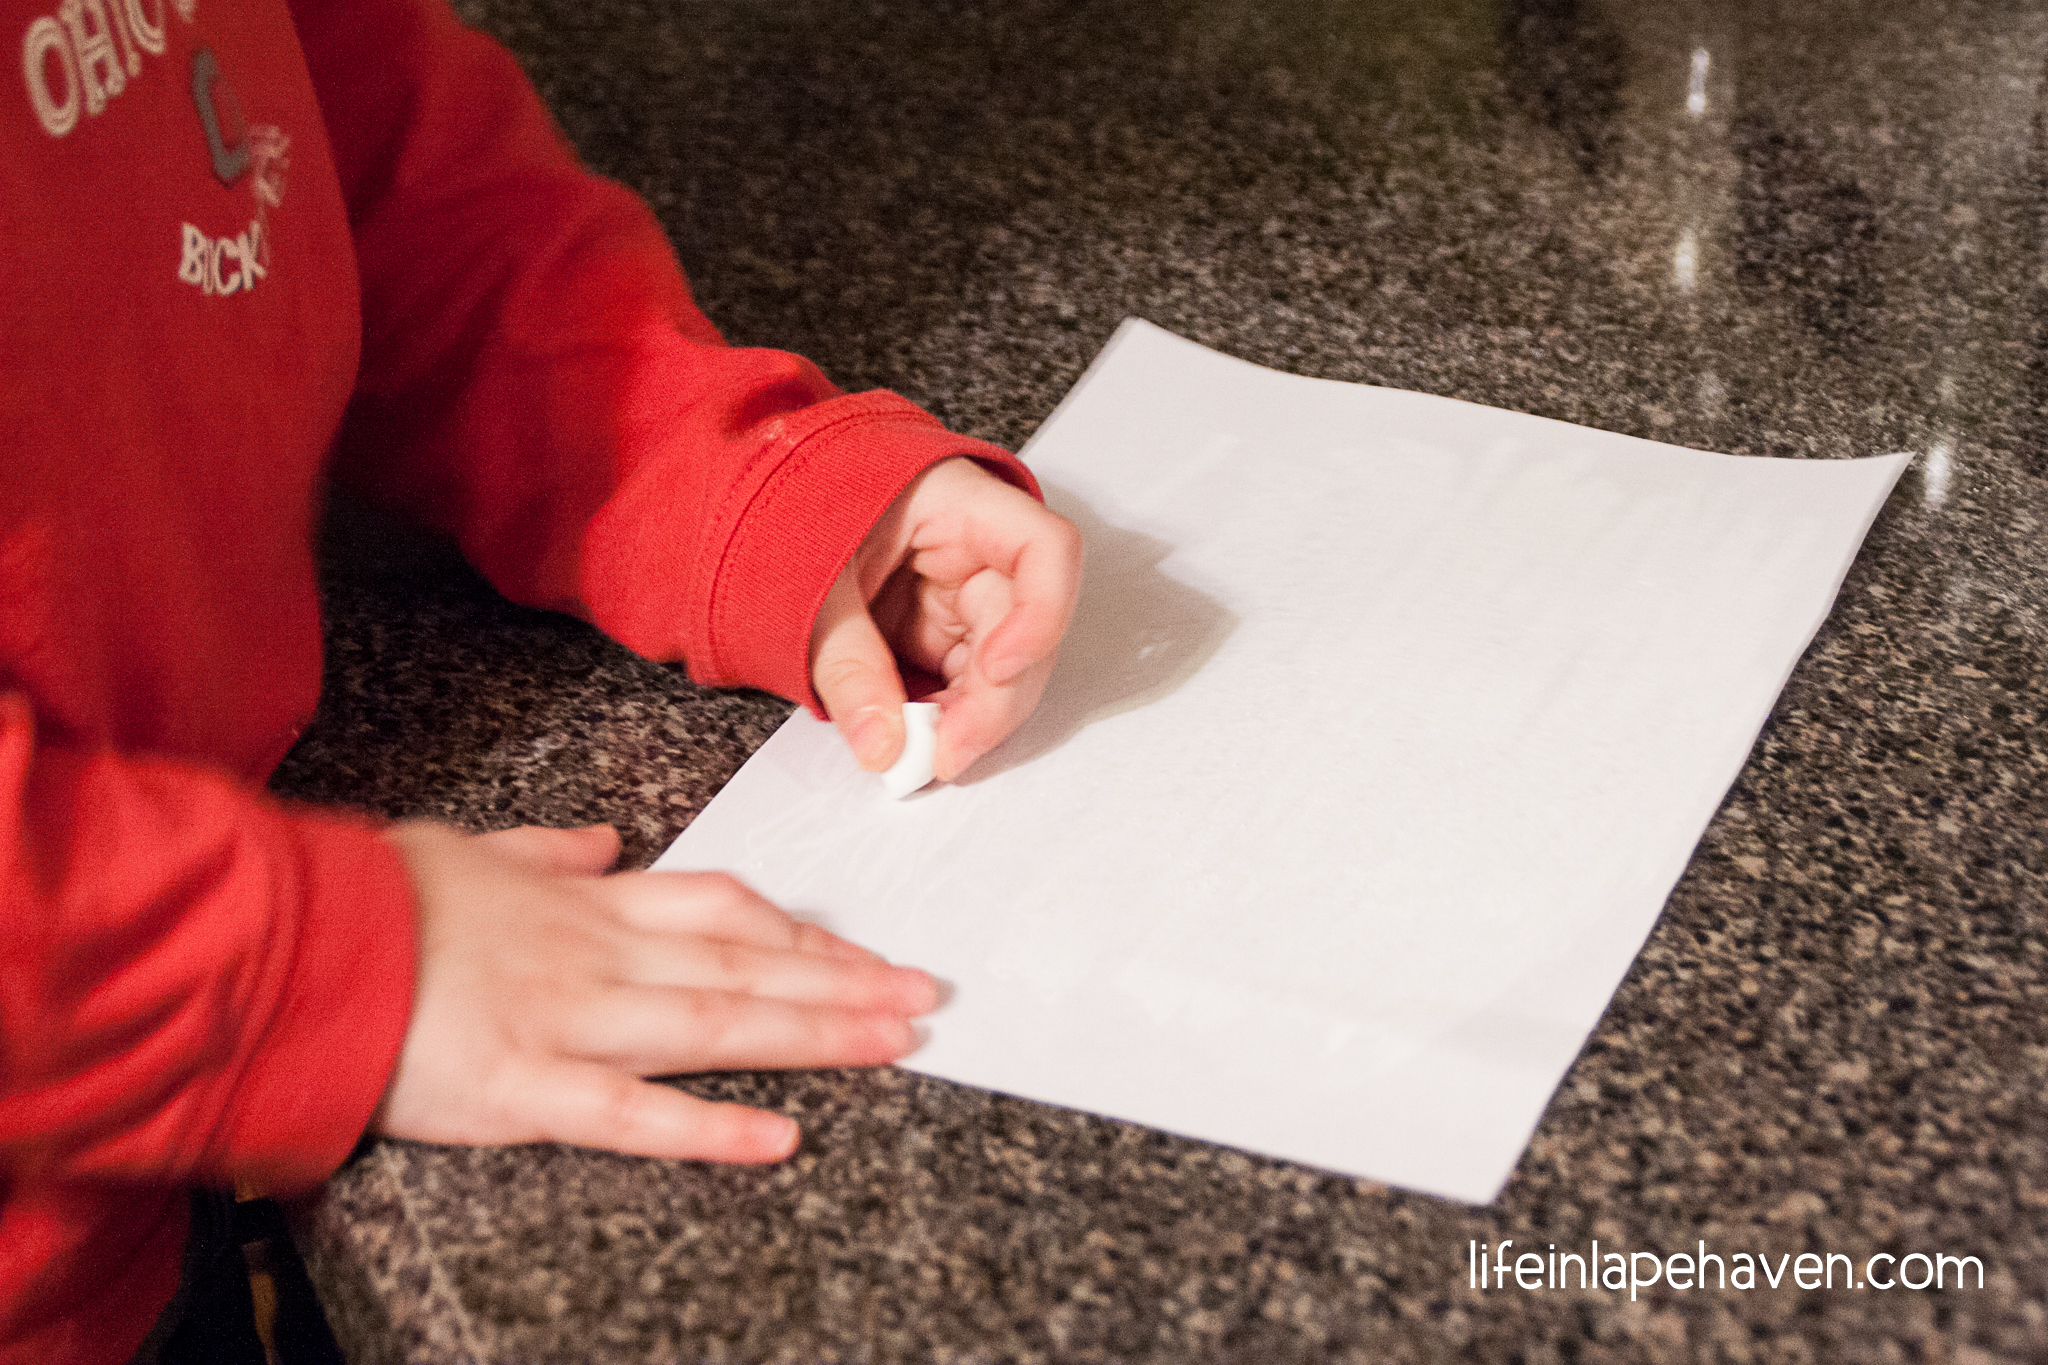
Here’s where you start the magic! I turned the paper print-side down and used a piece of white chalk to color all over the back of the design area. (You could also graphite instead of chalk on the back if you happen to have it, but if you have a chalkboard, you most likely have chalk handy.)
-
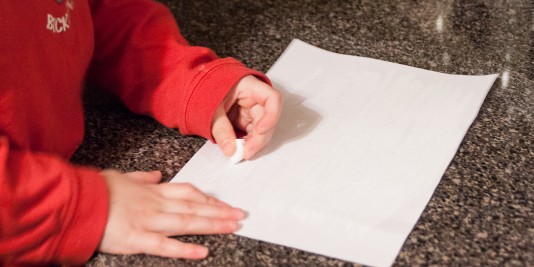
- Josiah helped me color the back of the page with chalk.
-
- Taped on and ready to trace.

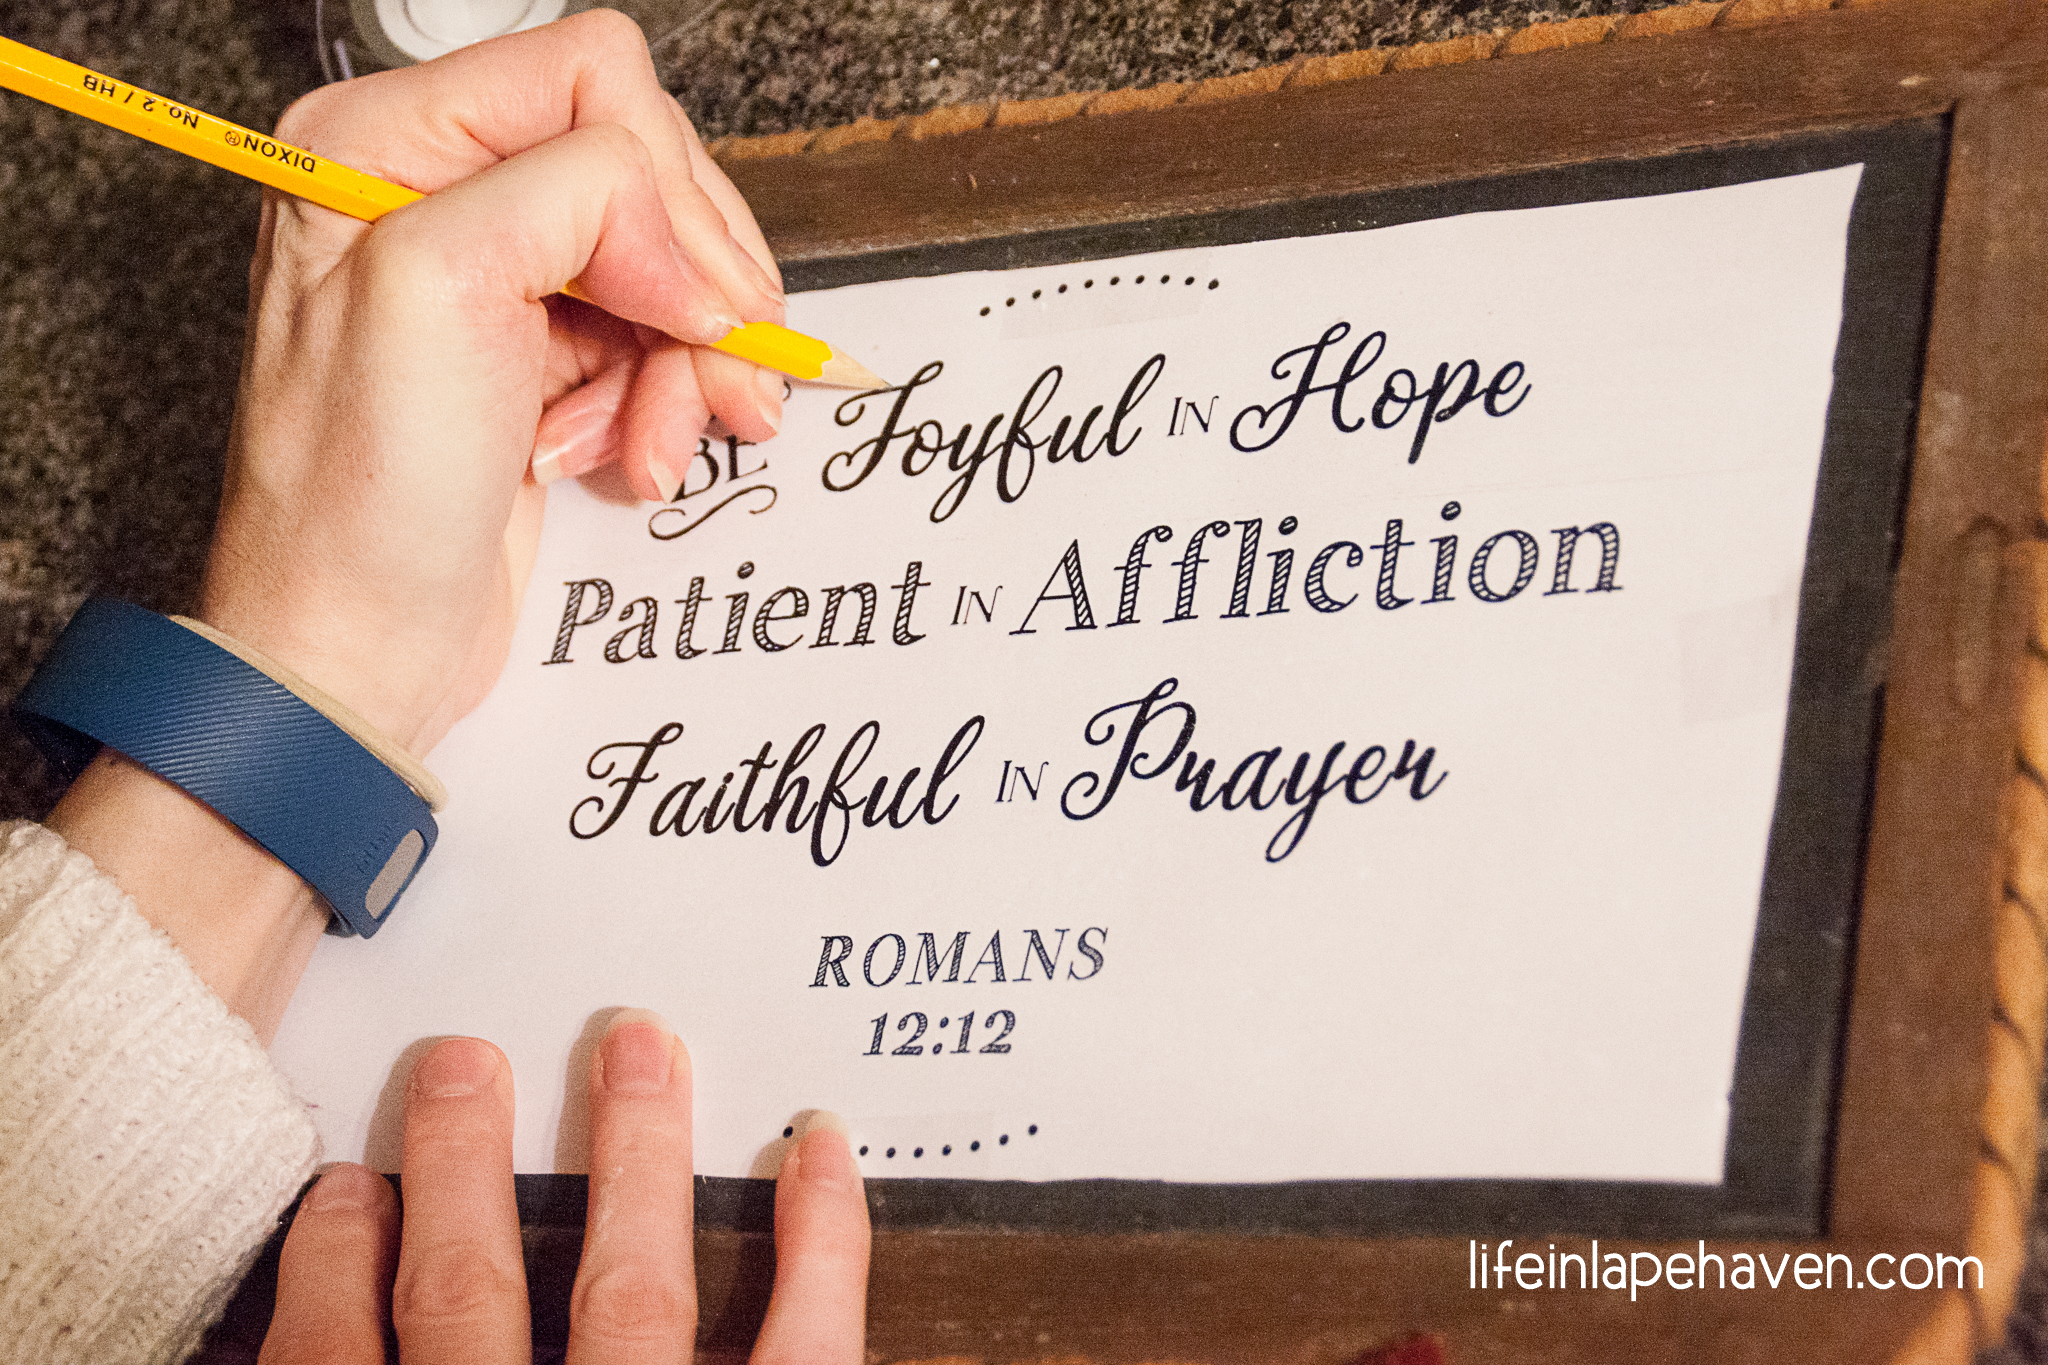
TAPE IT
After the back was nice and chalky, I flipped the paper over and taped it, gently, print-size up, on the clean chalkboard.
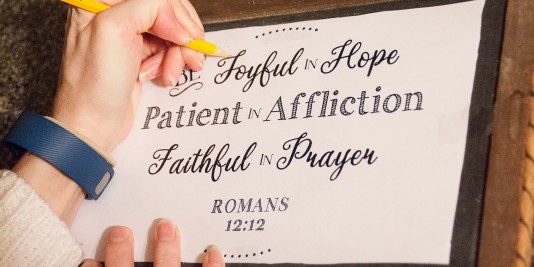
TRACE IT
Using a sharpened pencil, I traced over each letter and design carefully, making sure to apply enough pressure that the chalk on the back would transfer onto the chalkboard underneath.
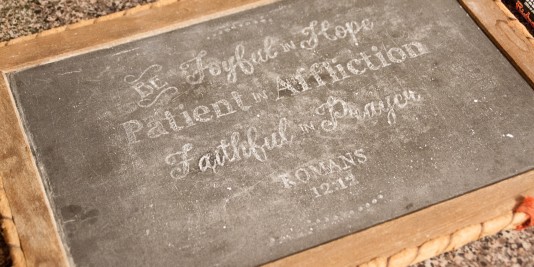
WRITE IT
Time to use that chalk marker! I carefully removed the paper from the chalkboard, taking off the tape from one side and gently lifting the paper away. I wanted to make sure that the complete design had transferred enough for me to go over it confidently with the chalk marker before I moved the design too much. Then I began tracing over the faint chalk lines that had transferred. I traced everything from left to right, in columns almost, to avoid smudging the chalk transfer. Take your time on this step. I found that having just traced the letters in the previous step (with pencil over the print-out) made it easier to remember how the letters were made. 🙂
-
- Trace over the lettering
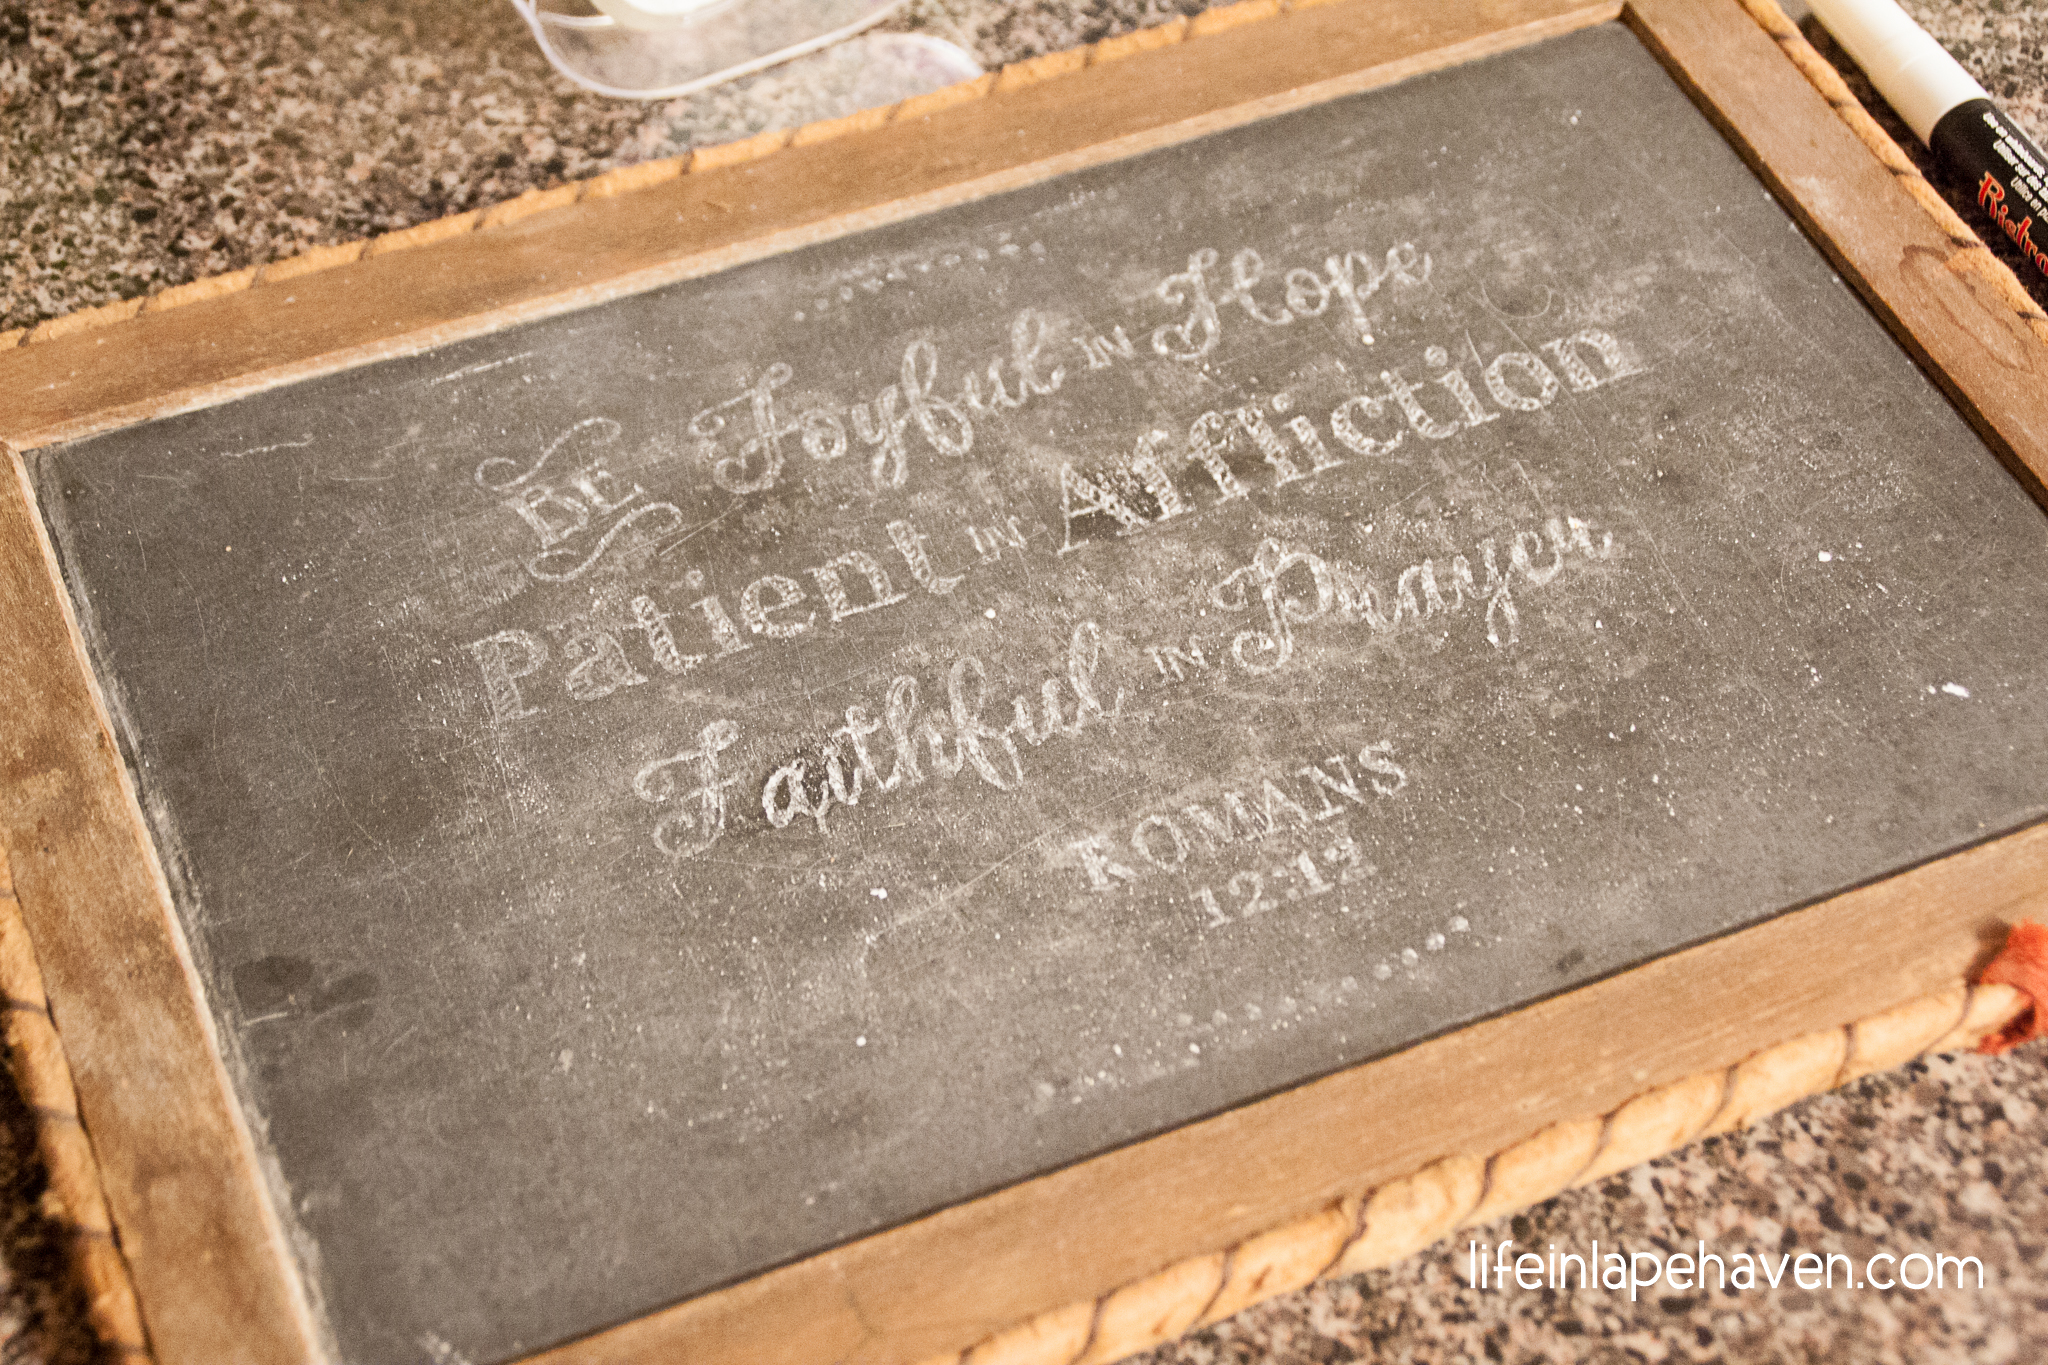
-
- Faint chalk lines are ready to be written over with the chalk marker.
CLEAN IT UP
I had a couple of places where my marker tip was just a bit too broad for the delicate lettering that I used (next time I’ll make sure to consider that ahead of time!), so I had to go back after I finished writing it all out, and do a bit of straightening of a “t” or opening up the “b” a bit more. I used a tiny piece of slightly dampened papered towel twisted onto the end of a bamboo skewer, so I could get the fine details worked out.
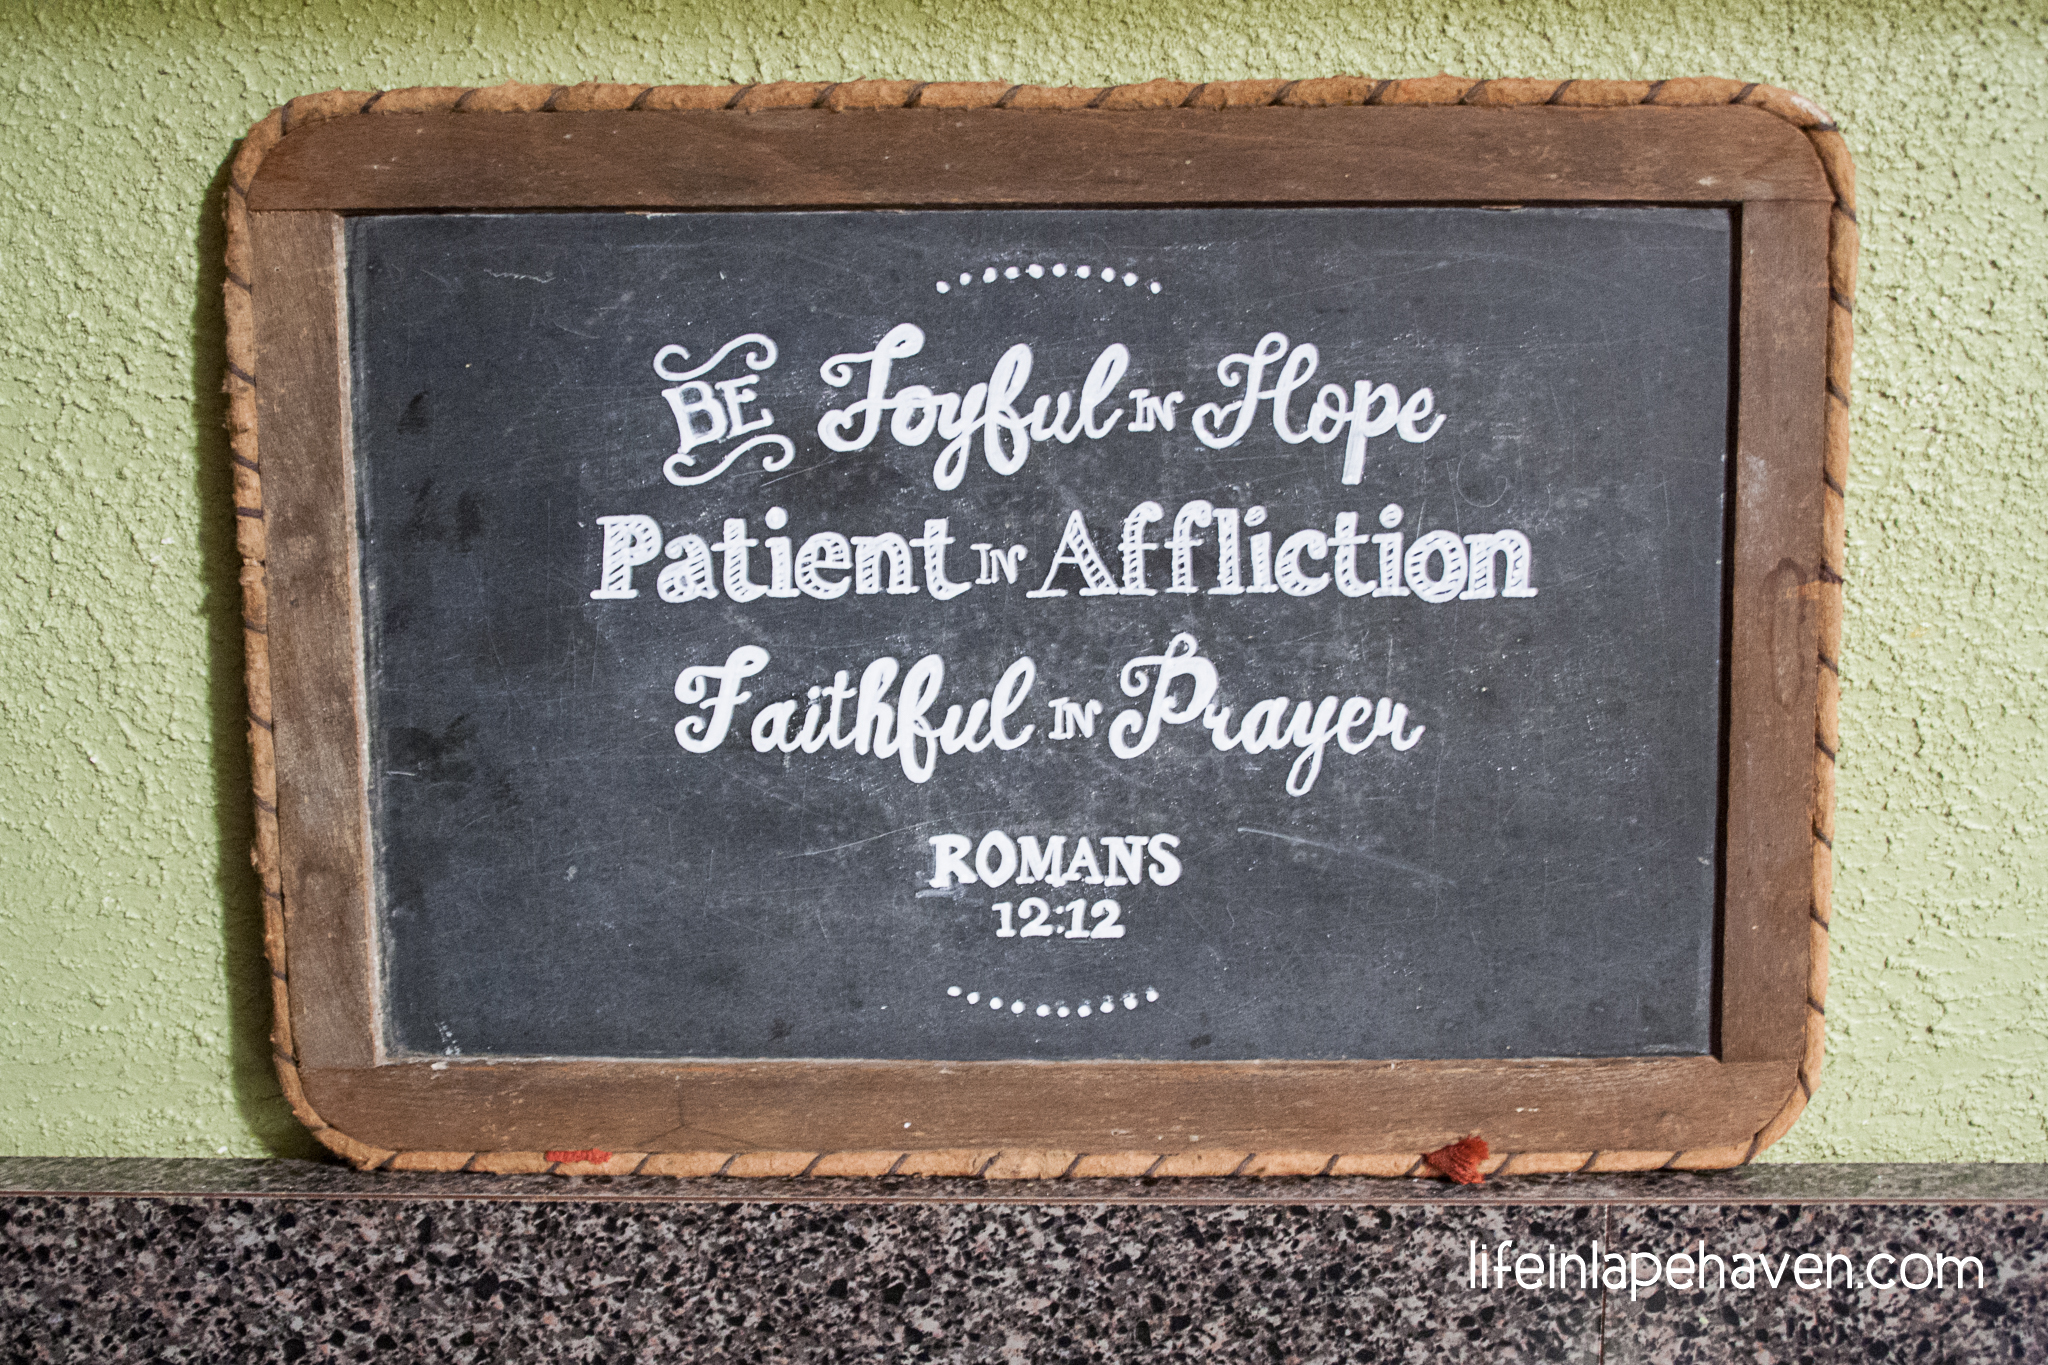
ENJOY IT!
I was so pleased with how easily it all came together and how well it turned out for my first attempt. I immediately began thinking of what else I could do with this technique. I do have a small bottle of chalkboard paint on our craft shelf… 🙂 Also, chalk markers come in several different colors. (Beware, though – some chalk markers are PERMANENT on chalkboard and chalkboard paint. Others are not. Make sure you test it first.)
Oh, the possibilities!
{FREE PRINTABLES}
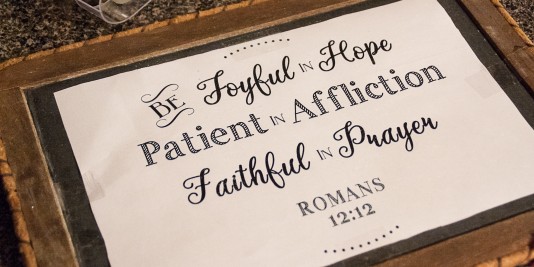
Since I had so much fun doing this project, I wanted to share a little bit of it with you, so I’m giving you a few variations of my design as FREE PRINTABLES! You can print one or all three versions, if you’d like. Just click on the picture of the version you’d like to download, and then select either the “print” icon or the “download” icon at the top of the full-size picture.
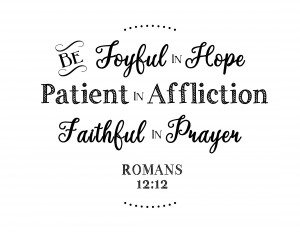
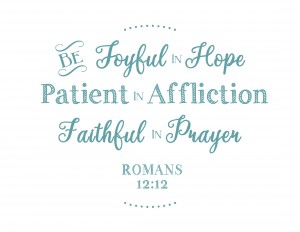
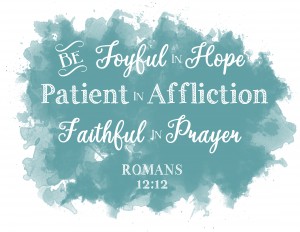
That’s it! You can use it to make your own custom chalkboard or simply frame it and hang it for a pretty reminder to be joyful, patient, and faithful!
WHAT OTHER VERSE OR QUOTE WOULD YOU LIKE TO DO IN CHALKBOARD LETTERING?
(If you try out this technique, please feel free to share you creations in the comments below! I’d love to see them.)