Life in Lape Haven

Tag - DIY

Tried It Tuesday: Homemade Play-dough

Life in Lape Haven: Tried It Tuesday - Homemade Play-dough. This quick, easy, and super soft and squishy playdough recipe is great for a fun indoor activity that you can put together with ingredients already in your kitchen.
Winter has finally decided to make an appearance this week in Ohio. You know, since it’s January and all.

With the weather cooling down to “cold,” yesterday I decided that the boys and I would have some fun on Elijah’s last day of winter break by making the very first thing I ever tried after I discovered Pinterest.

I’m sure you all remember your first Pinterest project. You either created an inspiring masterpiece that gave you the confidence to attempt another awesome Pinterest DIY or copycat recipe soon after, or you tragically face-planted with an epic Pinterest fail that may or may not have been featured on one of those “Nailed It” memes that make the rounds on Facebook.

Thankfully, my first Pinterest-inspired activity was a huge success, not only because it was easy and turned out as expected, but also because Elijah loved it. It’s been one that we’ve come back to often.

Like yesterday.

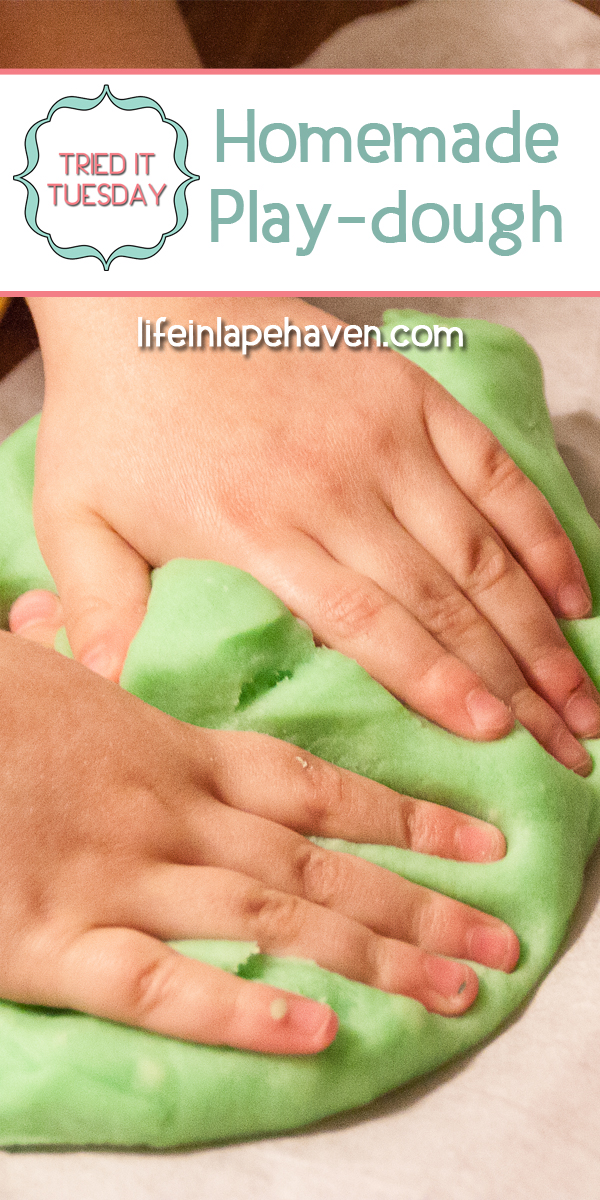
Hello, again, homemade play-dough (or playdough, however you want to space it). 🙂

Life in Lape Haven: Tried It Tuesday - Homemade Play-dough. This quick, easy, and super soft and squishy playdough recipe is great for a fun indoor activity that you can put together with ingredients already in your kitchen.

Yep. Play-dough cemented my Pinterest love.

Elijah found that play-dough also cements itself when a little boy leaves it out overnight, but thankfully this homemade dough is easy and inexpensive enough to make (all the ingredients are already in your kitchen) that I can just toss it when it gets forgotten and dried out or when someone steps on it on the floor. Because you know some of it WILL end up on the floor.

(Honestly, I have a bit of a love-hate relationship with all makes and brands of play-dough because while it’s fun and we all love it, it can create quite a mess, or rather the children playing with it can. Fortunately, this dough cleans up pretty easily.)

We’ve made several batches with this recipe over the last few years. We’ve even given it away as part of Christmas presents to my nephews one year.

When I told Elijah yesterday that we would be making more, he was so excited that he ran across the room and gave me a giant, dramatic hug.

While I planned to make it in the afternoon, we HAD to do a bit of grocery shopping despite the cold, so we ended up putting our play-dough together right before dinner.

Life in Lape Haven: Tried It Tuesday - Homemade Play-dough. This quick, easy, and super soft and squishy playdough recipe is great for a fun indoor activity that you can put together with ingredients already in your kitchen.

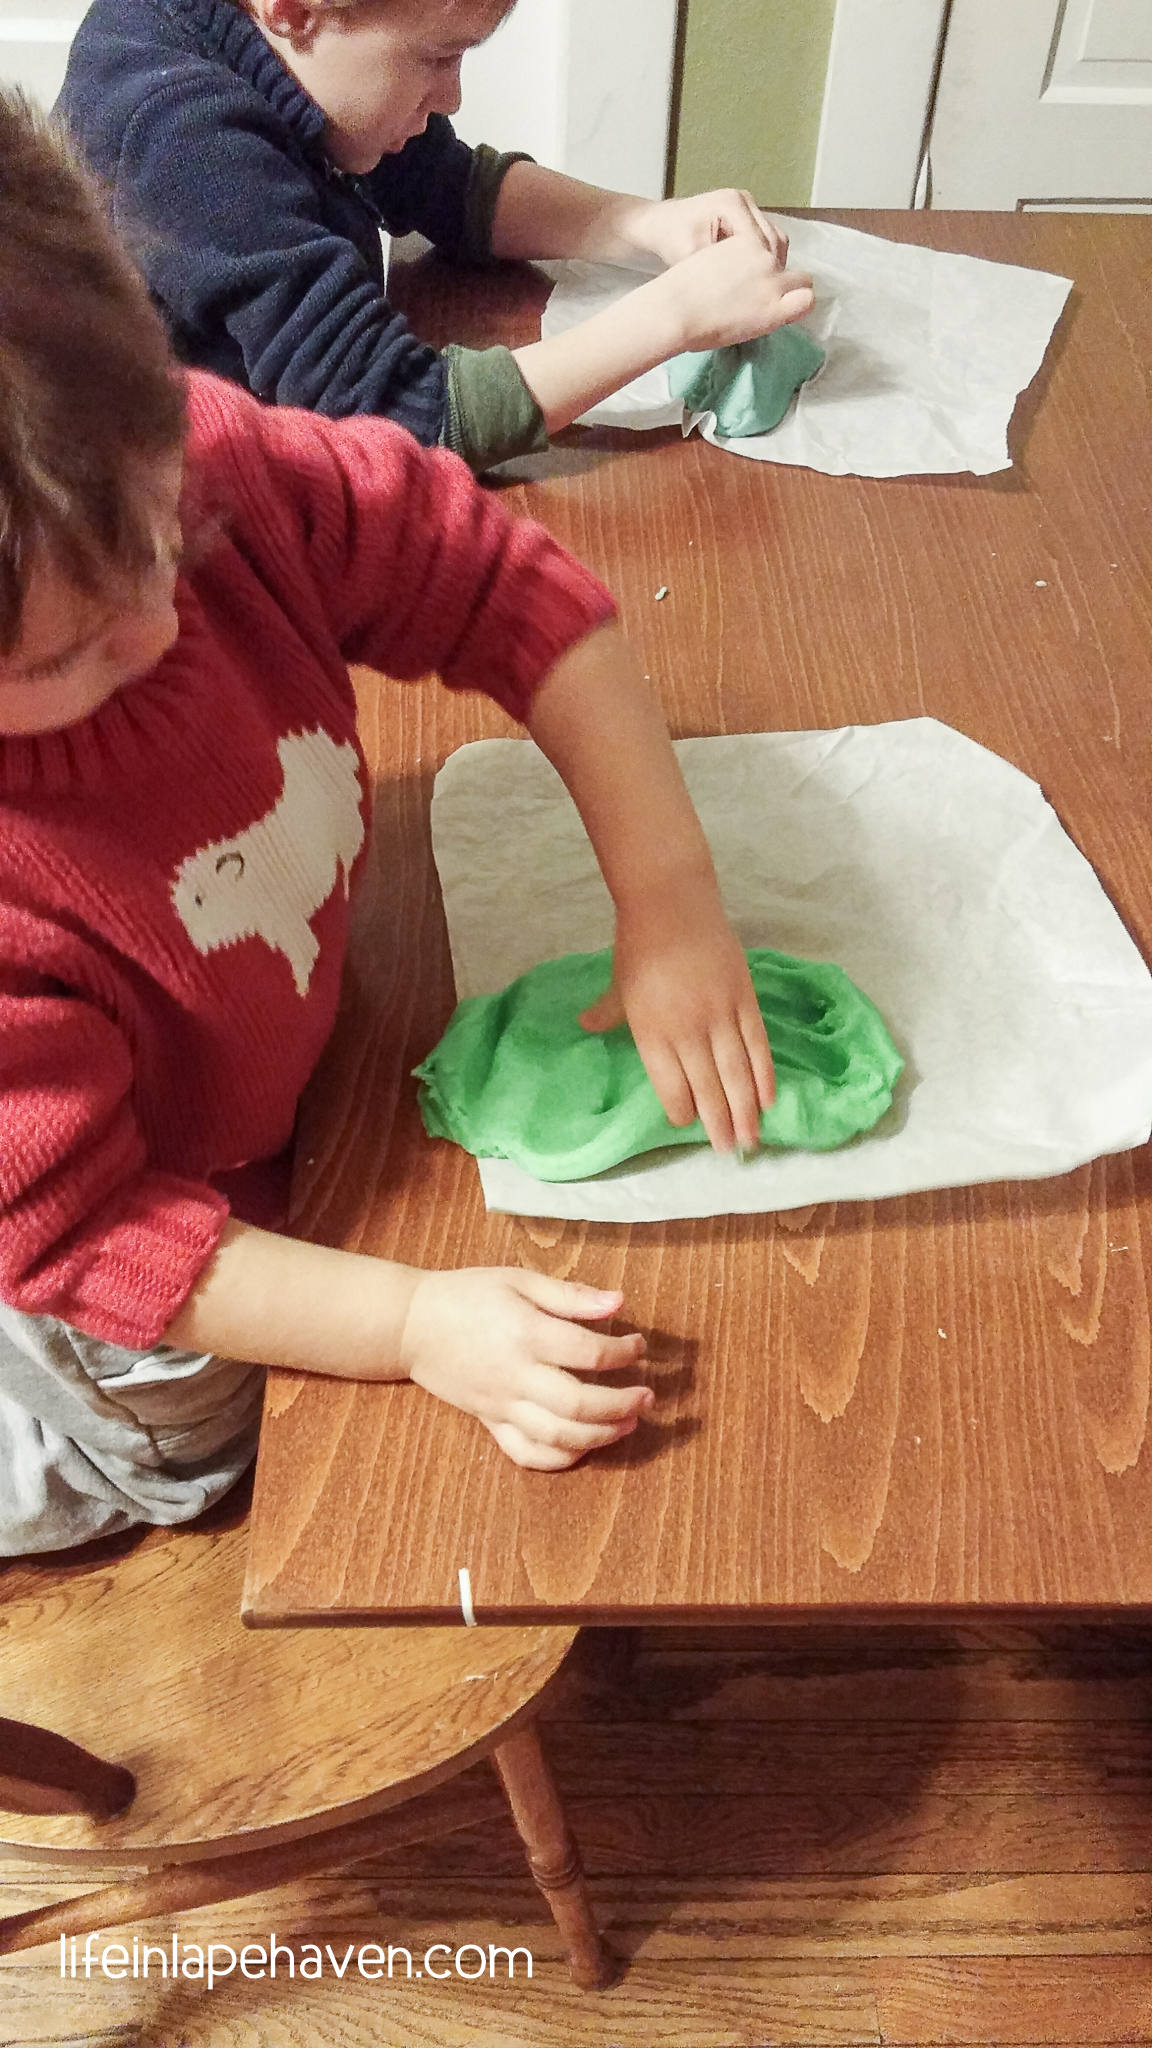
This actually worked out rather well. They each got to help dump in the ingredients and stir up their own batch, and then once the boys each had their dough, they were happily entertained at the kitchen table, leaving me alone to cook dinner.

Perfect.

So, whether you need an easy indoor boredom buster, or just want a few moments of peace, this quick homemade play-dough recipe from How Does She? is a great solution.

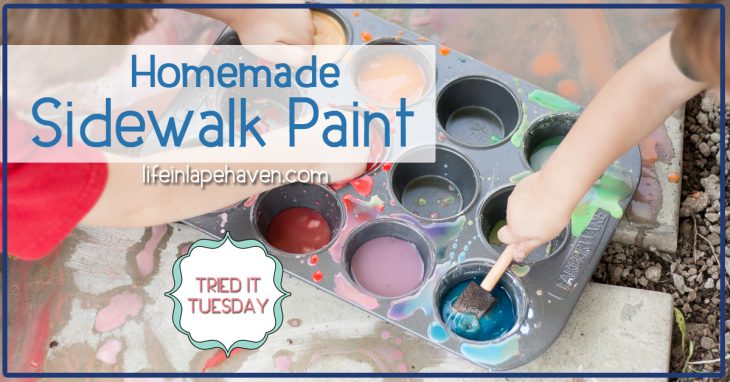
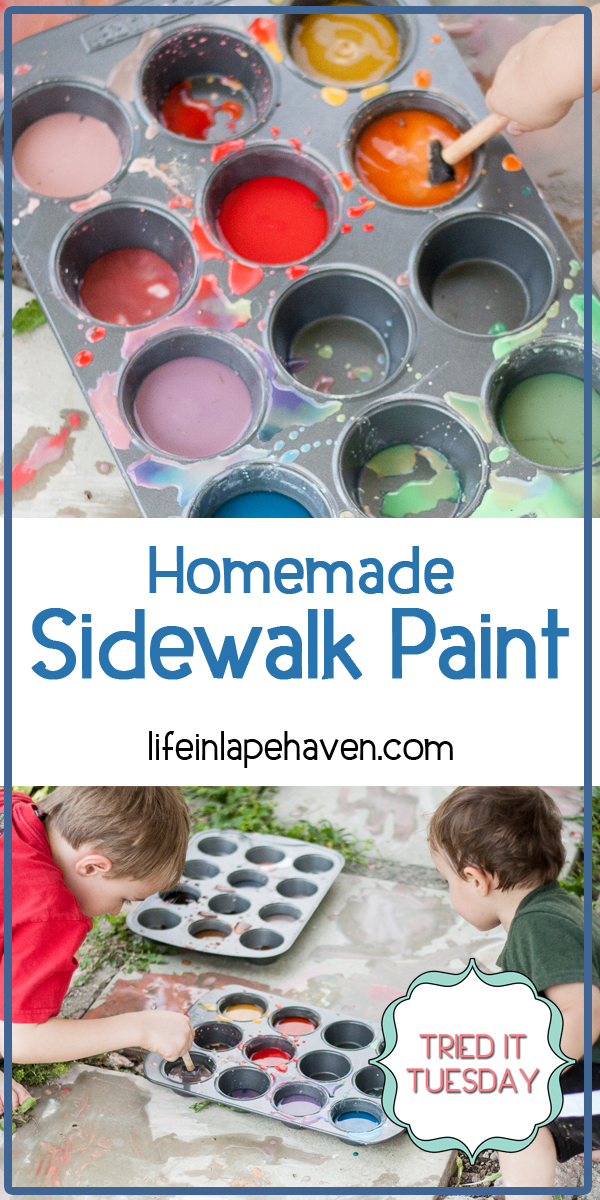
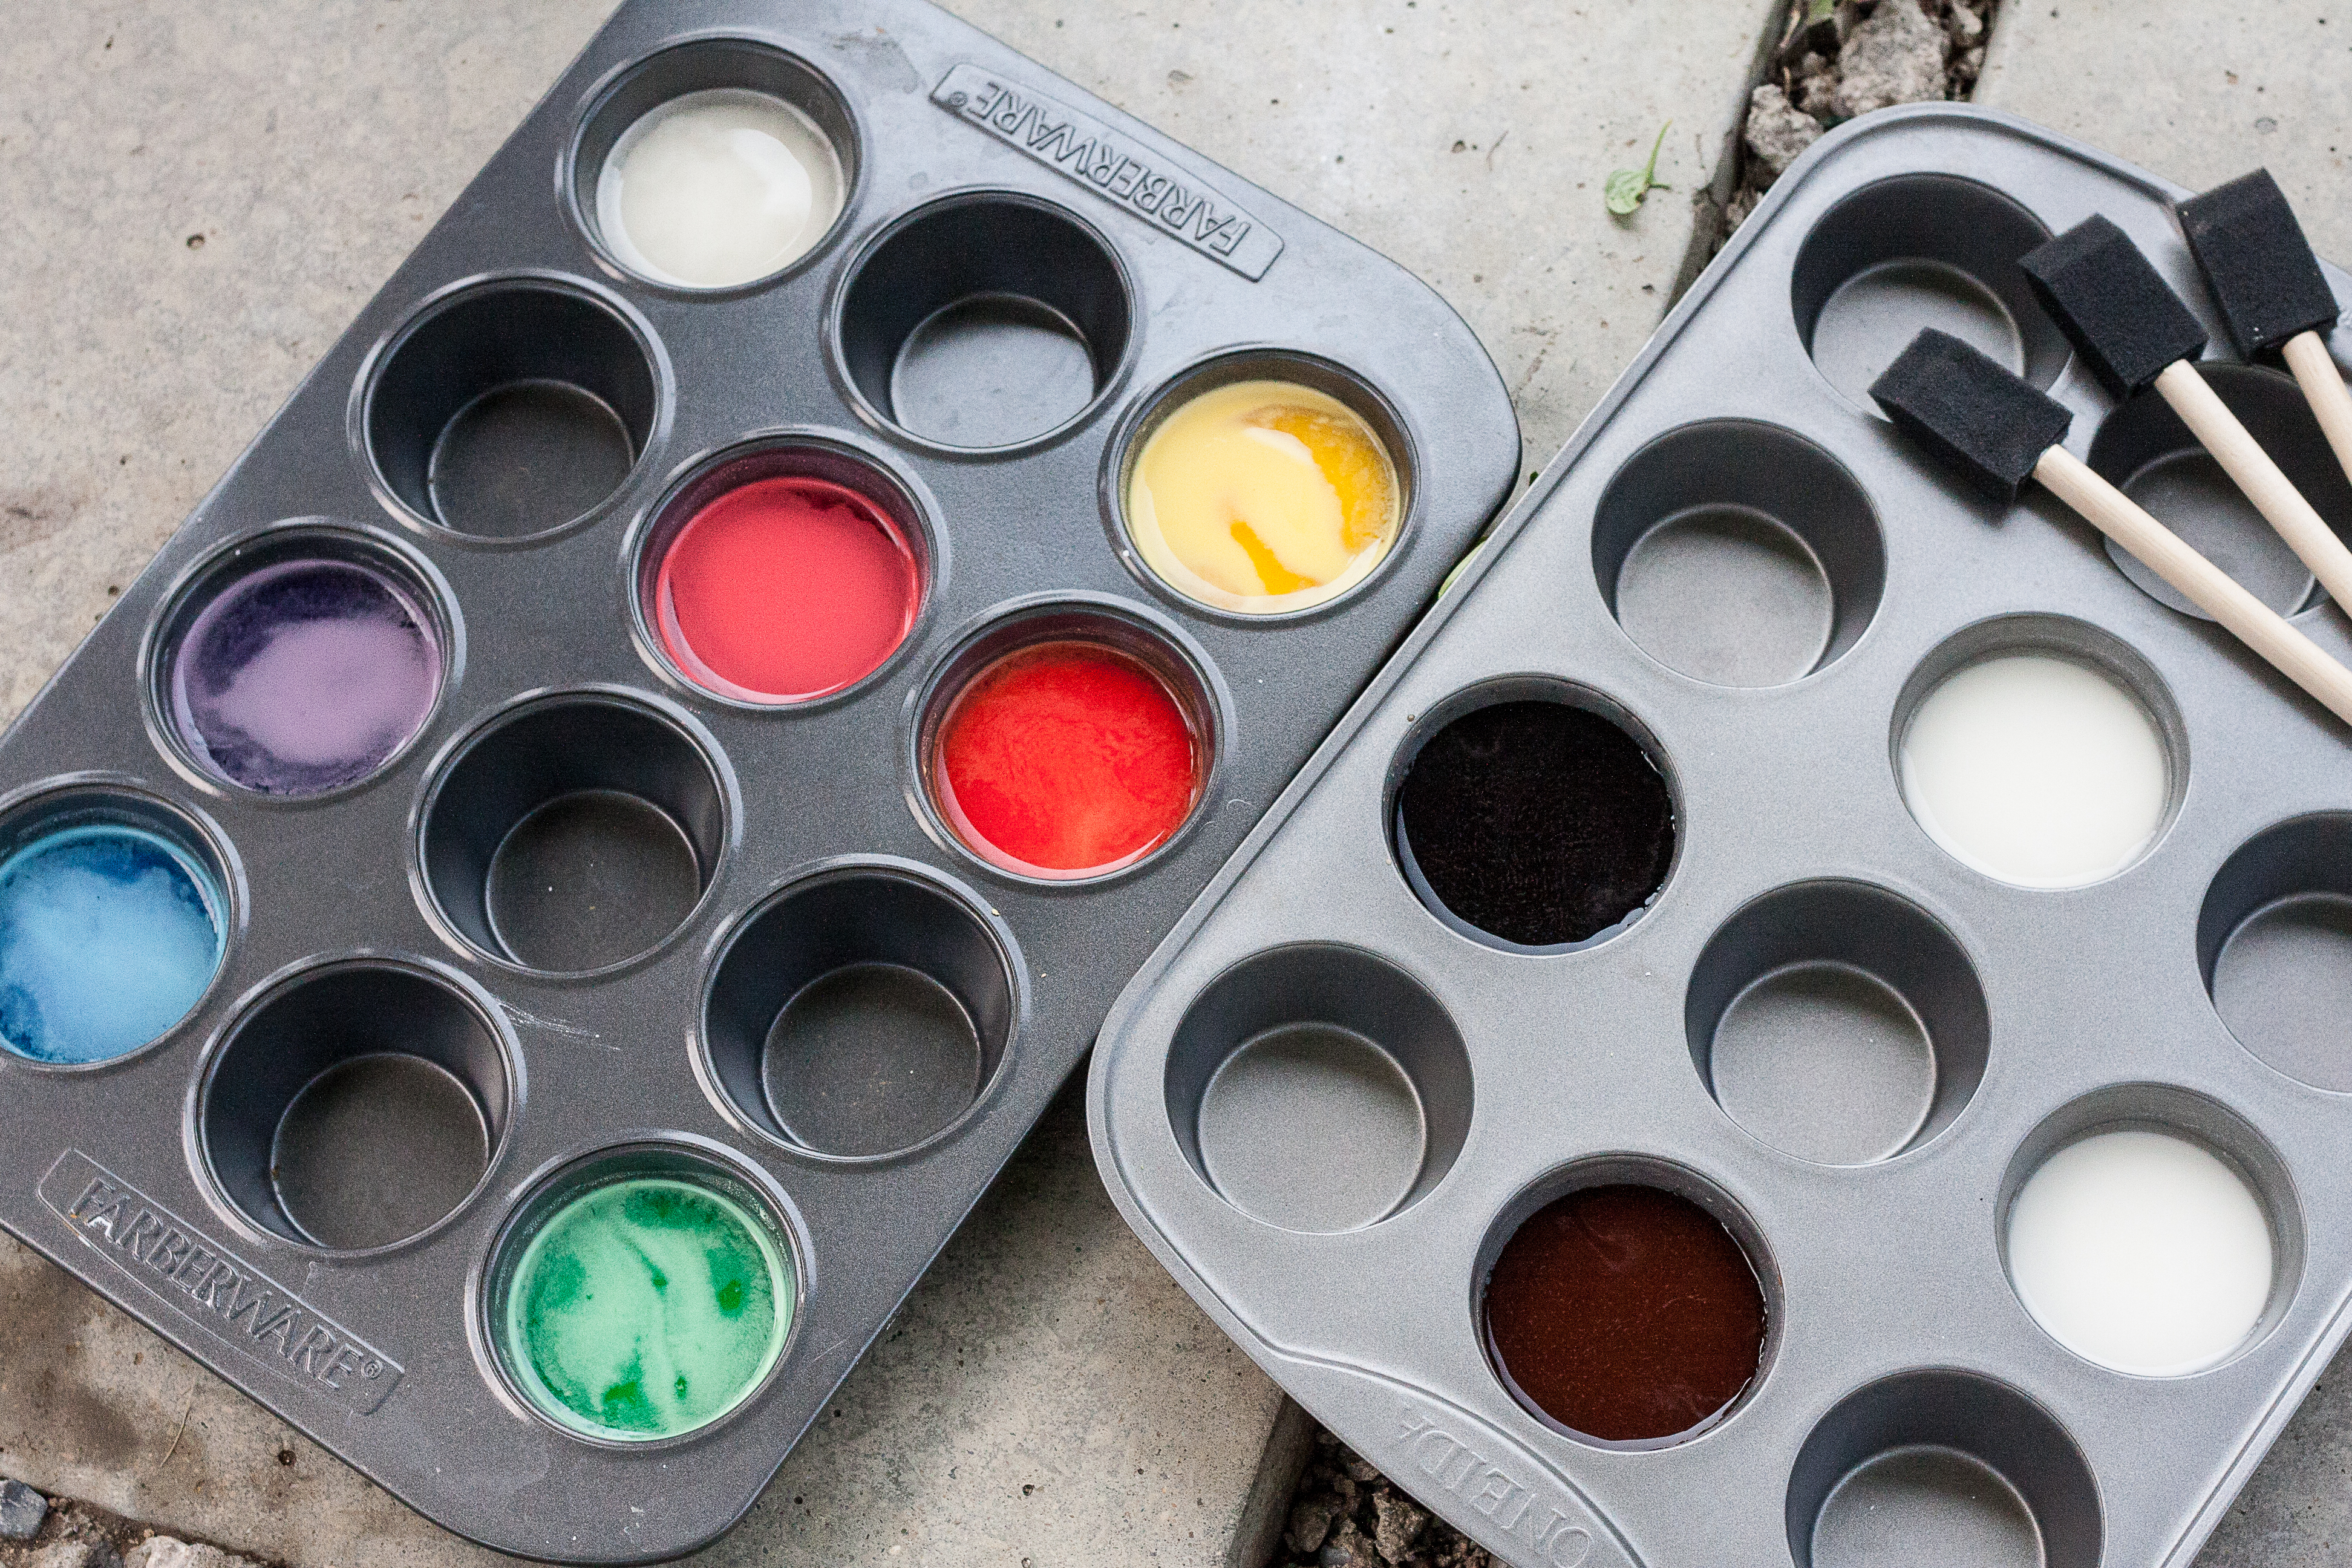
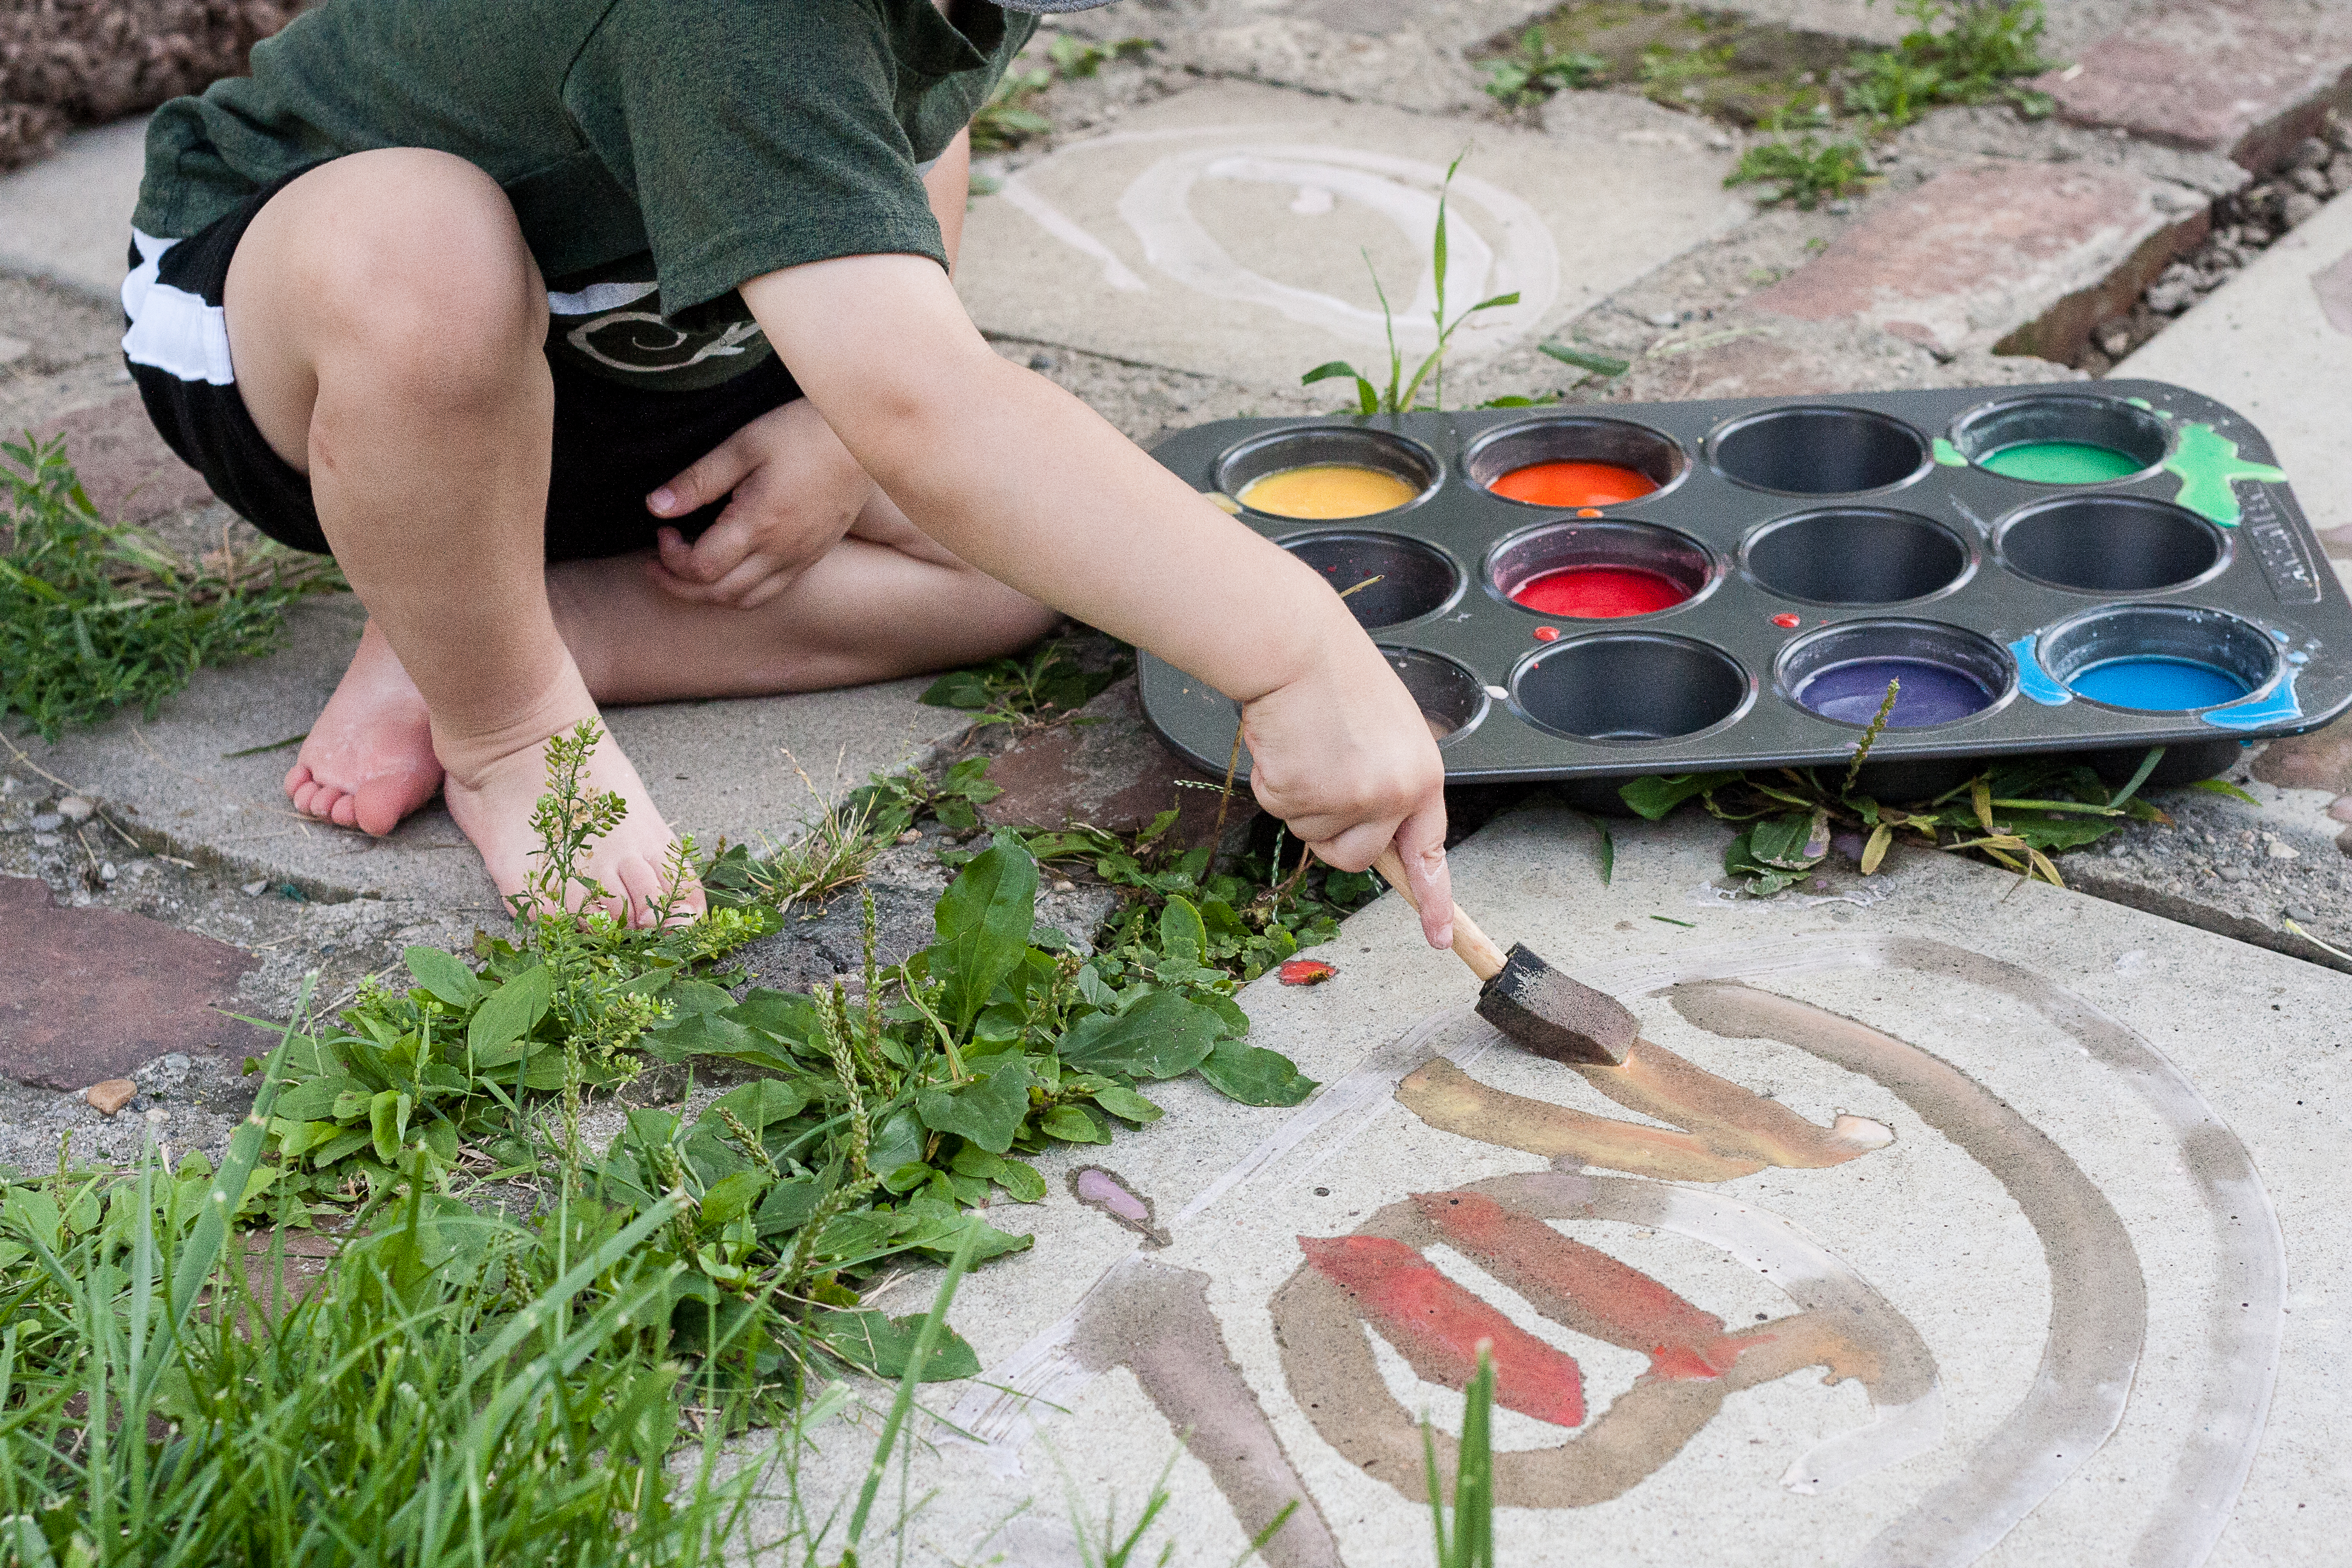
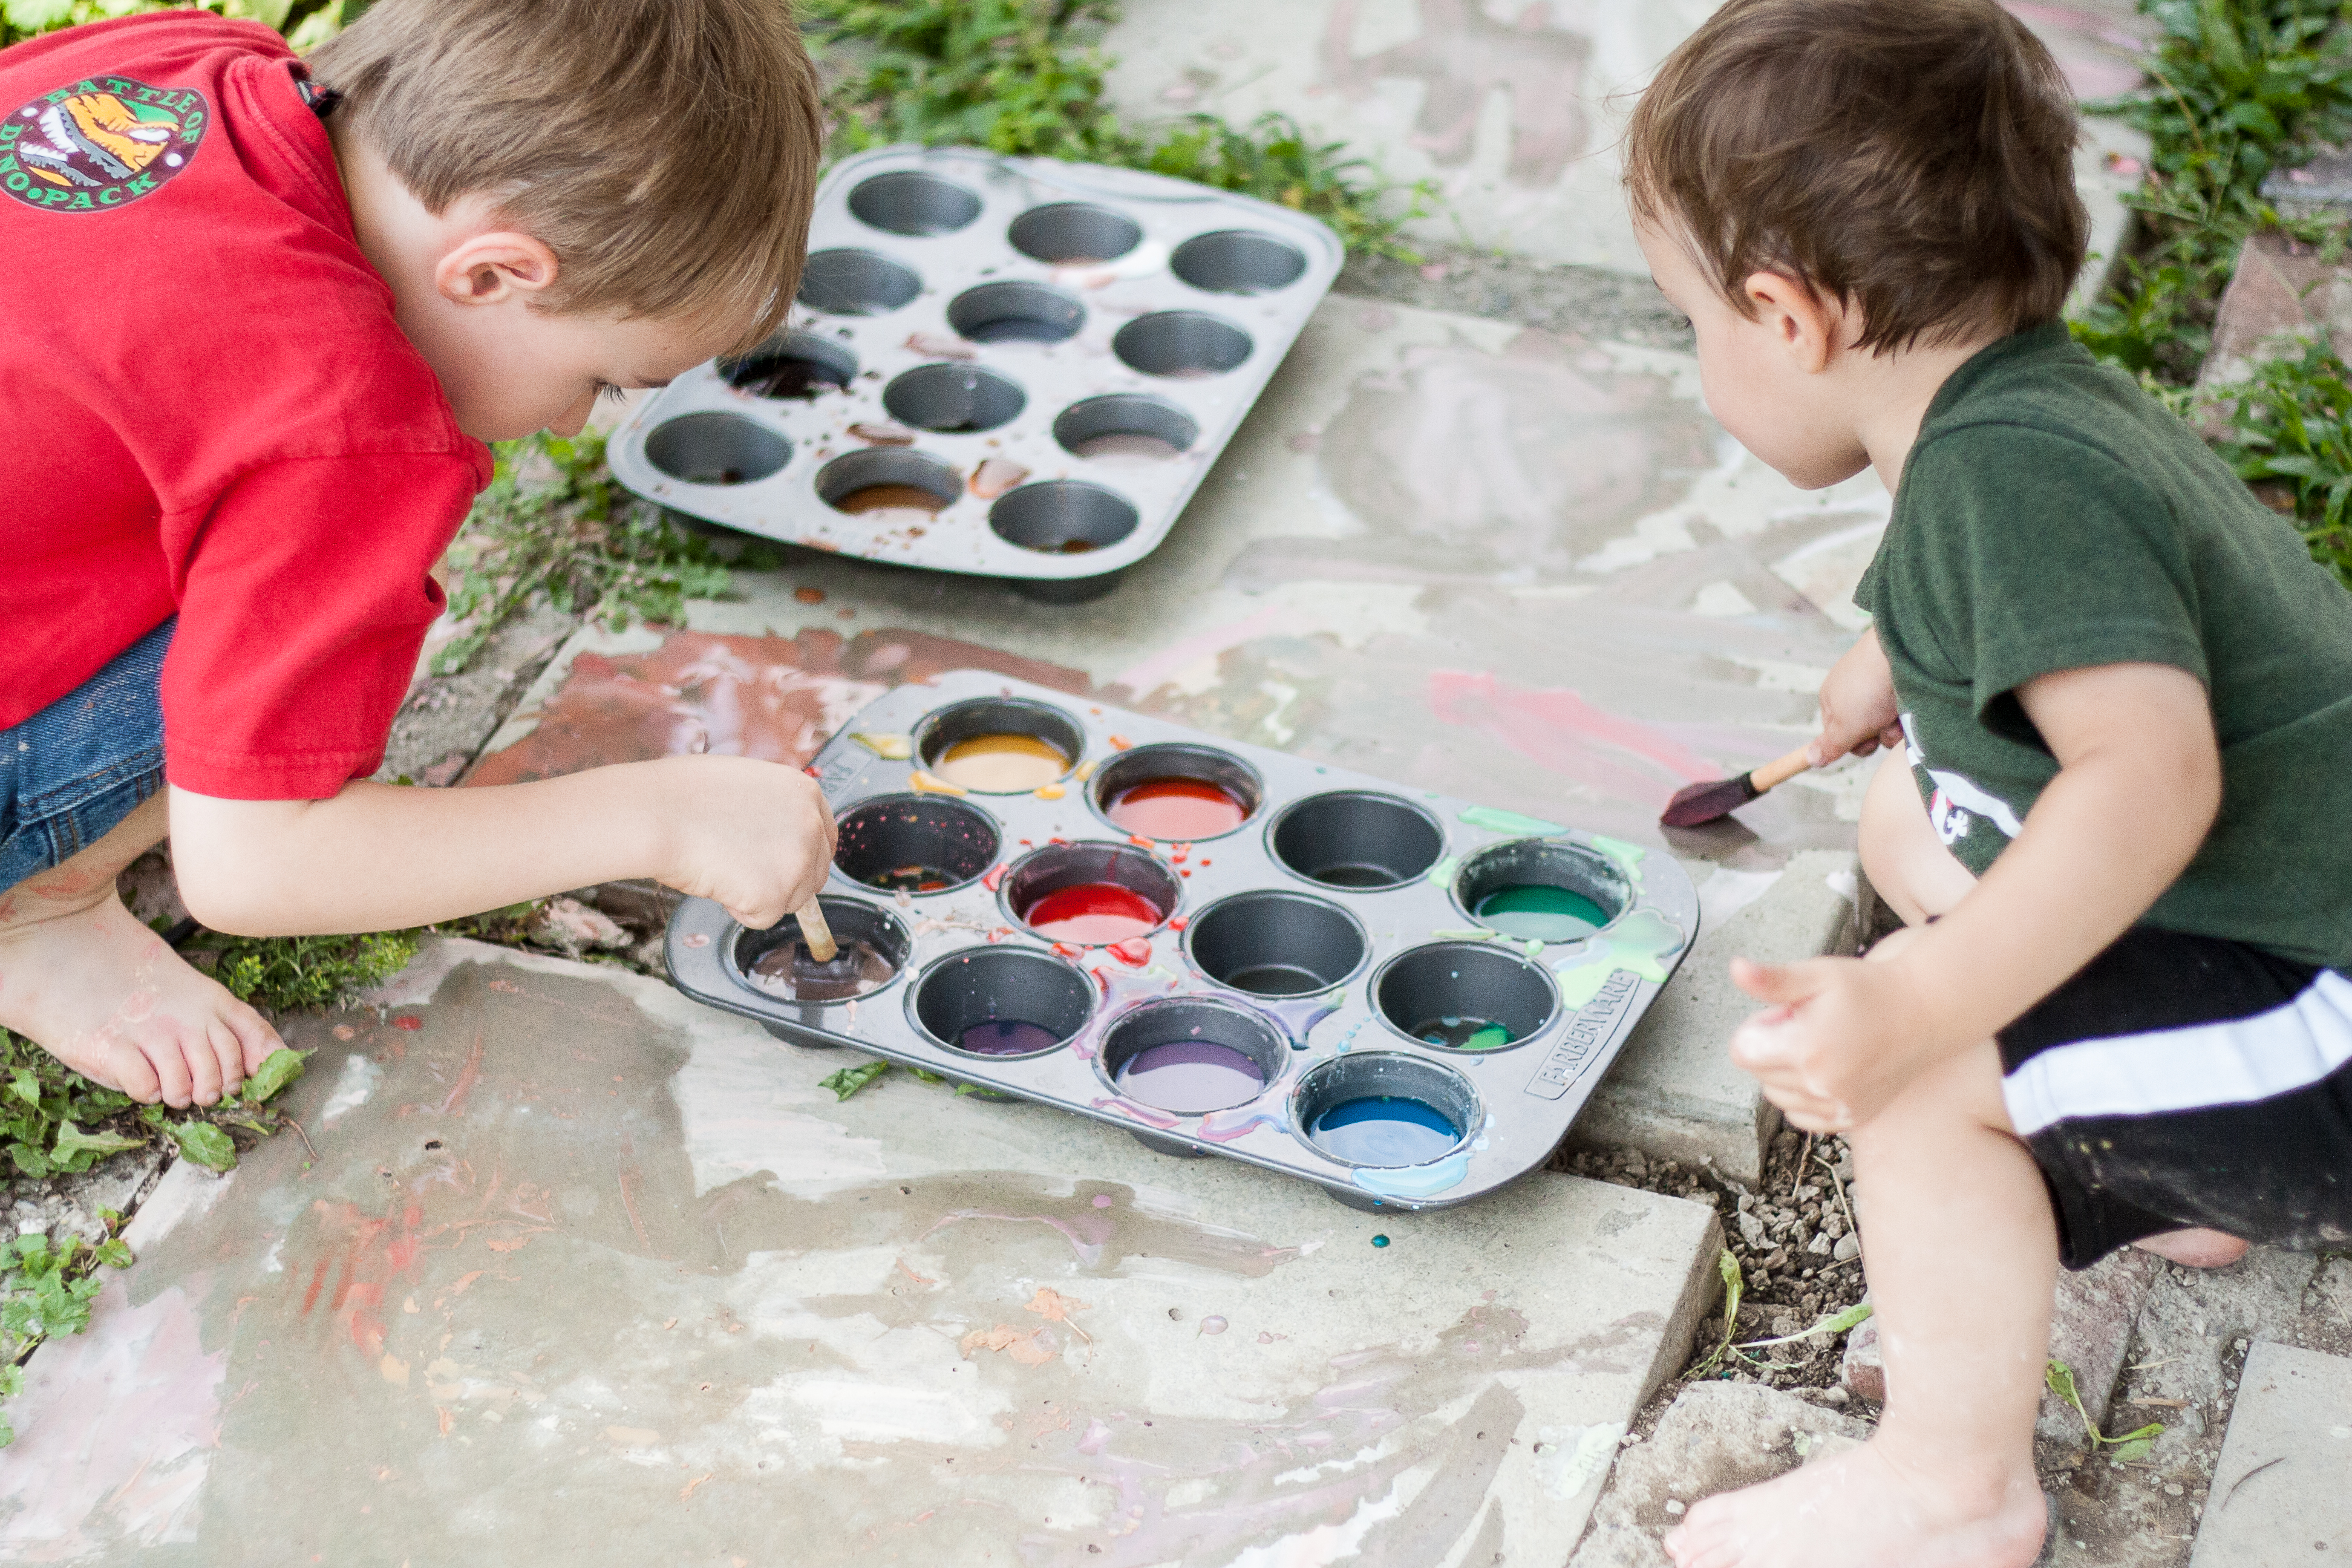
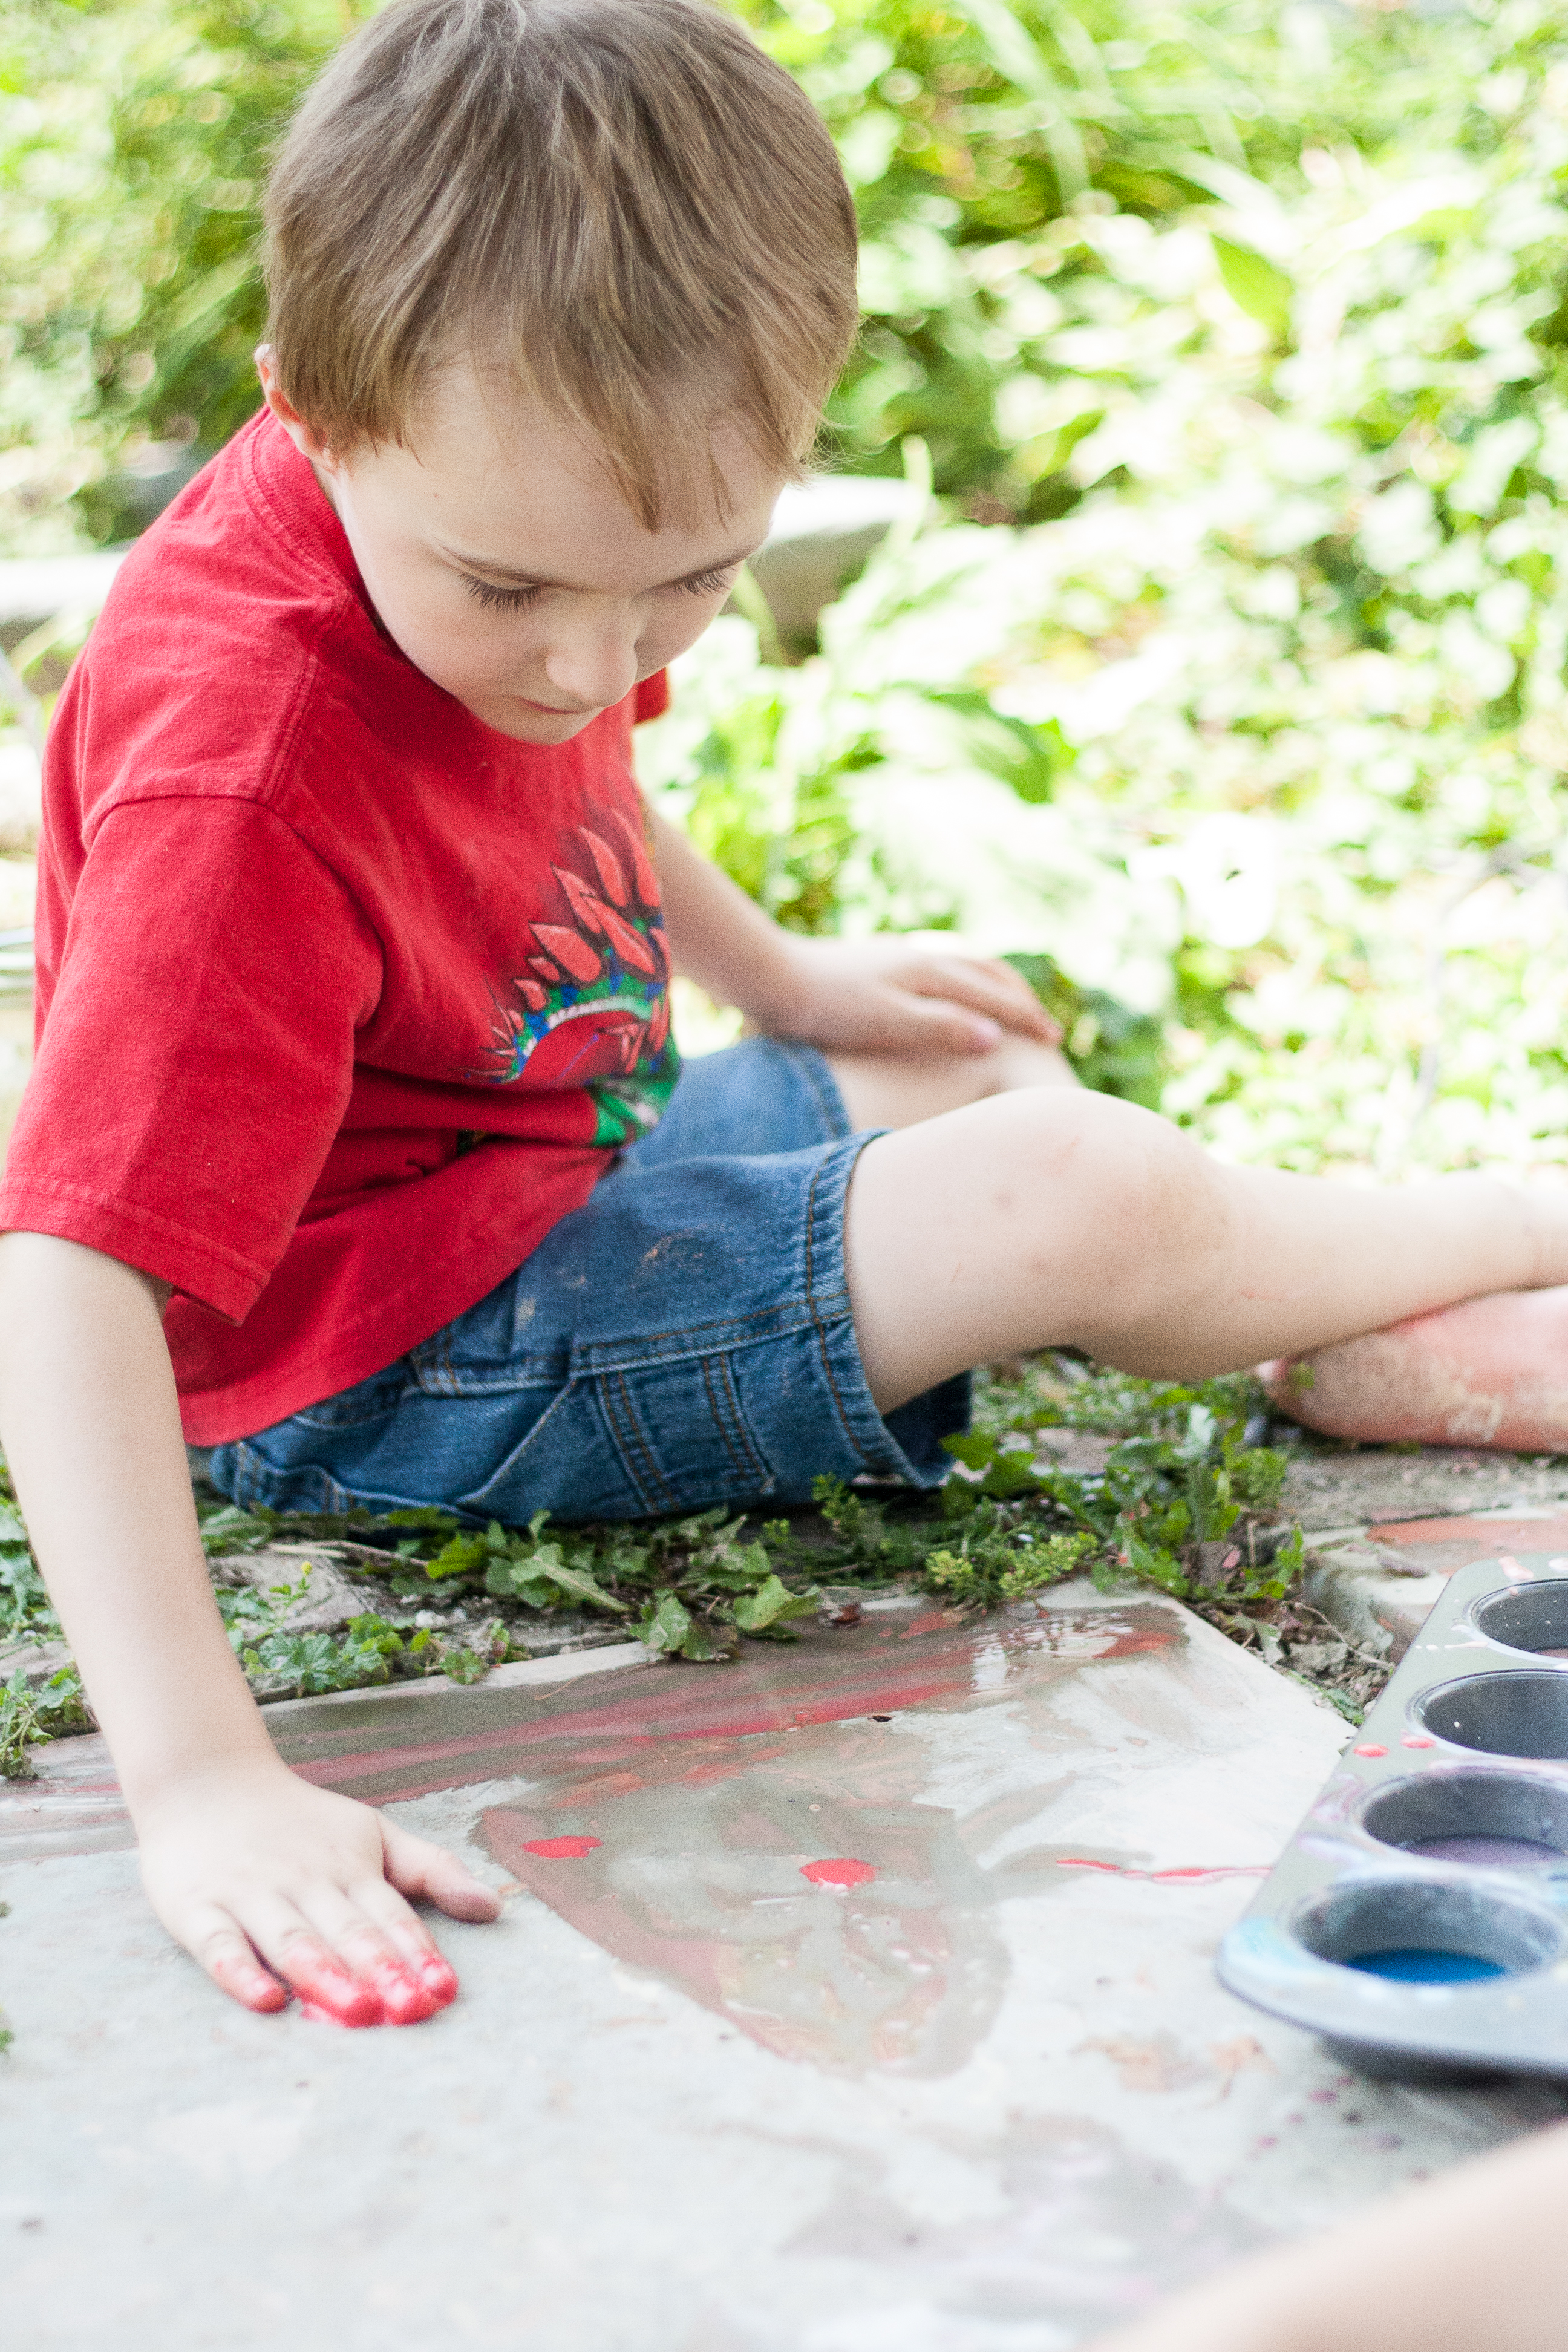
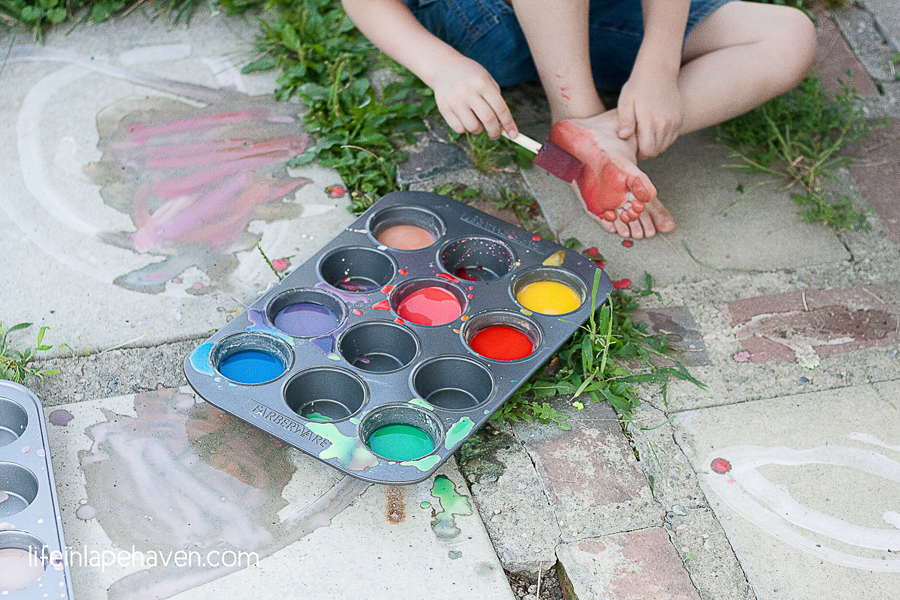
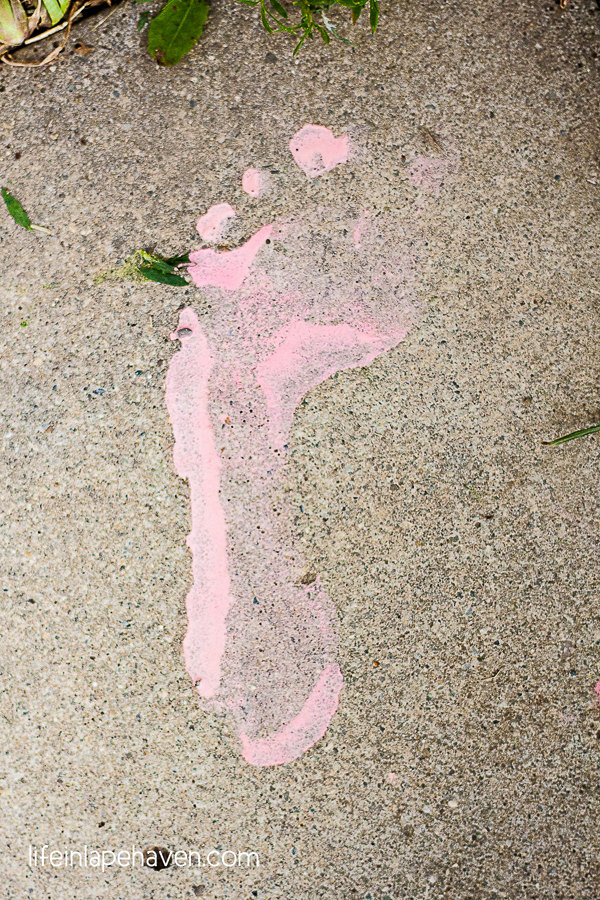
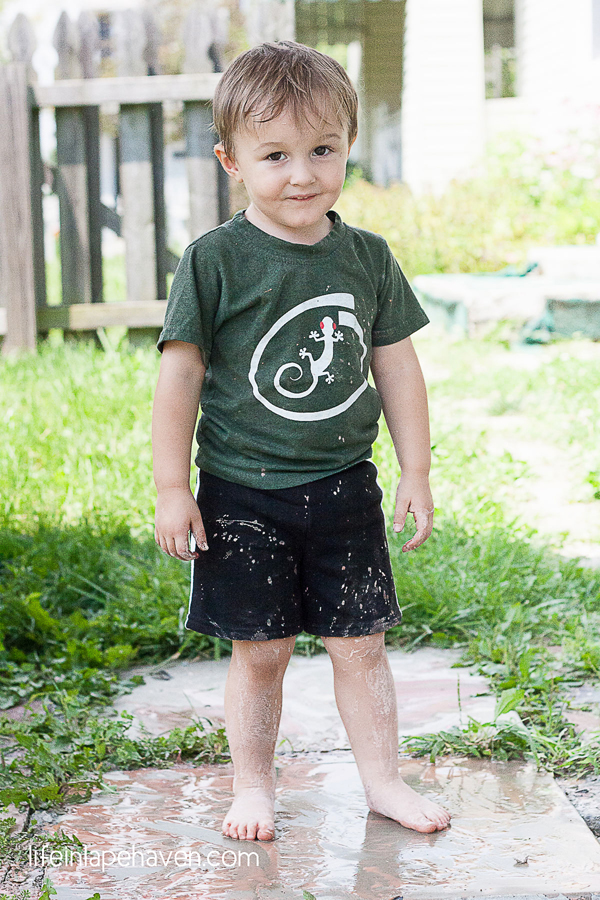
For outdoor fun, when it’s not so cold, you can also try one of our other favorites: Homemade Sidewalk Paint.

I really do love Pinterest. You can follow me and keep up with all the fun, helpful, yummy, and/or insightful things I find.


YOU MAY ALSO LIKE:

How to Dye Dry Pasta

My Kids’ New Favorite Board Game

My Favorite FREE App for Kids


My Boys and the T-Shirts

Life In Lape Haven: Write 31 Days - My Boys and the T-Shirts. Easy homemade super hero capes from old t-shirts

I love Pinterest.  I really do. It is my homemaking Google. It is the best way to bookmark your finds and favorite pages from around the internet (recipes, articles, how-tos, inspirational quotes, anything) and the best way to find new things to bookmark.

I think my sister-in-law introduced me to this wonderful online world over 3 years ago, and suddenly I was making all kinds of things from scratch, such as bread, chocolate syrup, ice cream, taco seasoning, and 300 crockpot meals (Ok, I haven’t made THAT many, but I probably have almost that many pinned.)

Plus I had tons of great activities to do with my boys, including making our own play dough, sidewalk paint, and every kind of craft you can make with a child’s handprint on paper. (You KNOW it’s true!)

I soon knew at least 25 ways to prepare, reuse, wear, make, display, celebrate, share, show, decorate, or clean just about everything.

And, of course, Christmas and birthday parties would never be the same again.

Ok, actually, I never strive for a “Pinterest-perfect” anything – meal, event, home, or holiday. I don’t have time, money, or patience for that. I’m a bit more practical. But I do truly love the inspiration and creativity that I have found there. I have a little extra daring to try new things or figure out how to make something myself. It has helped me to look twice at common things and think, “What else can I do with this?”

So it was totally normal for me to get struck with inspiration one day while I was sorting out old clothes in my room and relegating worn t-shirts to the rag pile. I was about to be an “Awesome Mom.”

Snatching up my phone, I searched my Pinterest boards for the idea that I knew I had pinned, probably months ago.

There it was! Grabbing a couple of my old shirts, I headed downstairs.

“Hey, boys,” I called as I passed Elijah’s room where the two of them had been playing nicely for a change. “How would you like some super hero capes?”

Life In Lape Haven: Write 31 Days - My Boys and the T-Shirts. Easy homemade super hero capes from old t-shirts

They came thundering down the stairs behind me, curious and excited about whatever it was that Mommy was preparing to do.

Smoothing the t-shirts out on the table, I snipped off the sleeves and cut down both sides of the shirt. A quick trip with the scissors around the bottom of the neckband at the front of the shirt gave us one completed cape.

My boys were ecstatic!

Repeating the same steps on the other t-shirt, I held up two super hero capes to my eager little boys.

Josiah started calling out, “SuperMAAAAN! SuperMAAAAN!” before I even had the cape slipped over his head.

In probably less than 10 or 15 minutes from the time I had the idea, there were two super hero boys running in circles around the living room, with Josiah shouting, “Supermaaan, flying in the scare!” (He means “air.”)

Life In Lape Haven: Write 31 Days - My Boys and the T-Shirts. Easy homemade super hero capes from old t-shirts

I totally wish I had taken pictures of the project as we did it, but we were all a little too in to seeing if it would work. Since I didn’t, here are a couple of the many options on Pinterest for making some t-shirt capes for your own little super heroes.

Homemade Super Hero Cape – This one is similar to what I did.

DIY Super Hero Cape – This one opens the neckband to eliminate the choking hazard.

And of course, feel free to follow Life in Lape Haven on Pinterest. I’m always adding something because, you know, I love Pinterest.

Tried It Tuesday: Homemade Sidewalk Paint

Tried It Tuesday - Homemade SIdewalk Paint. This easy DIY homemade sidewalk chalk paint is a great way to get your kids outside and creating some adorable masterpieces. Made with ingredients you already have in your cabinet!

With the rain finally staying away and allowing us to have some summer sun, the boys want to be outside constantly, and being energetic, curious, creative boys, they are always looking for something different to get into, especially if it’s messy.

Yesterday, we satisfied that mess-loving, outdoor-play need with a little homemade sidewalk painting.

Tried It Tuesday - Homemade SIdewalk Paint. This easy DIY homemade sidewalk chalk paint is a great way to get your kids outside and creating some adorable masterpieces. Made with ingredients you already have in your cabinet!

We’ve actually tried this once before, so I knew it would be a hit. Elijah is our resident artist, so anything crafty or involving drawing or coloring, he’s there. Josiah is not quite as artistic, but he’s starting to enjoy drawing simple things, like circles and his interpretation of faces and “writing” letters.

If nothing else, I knew they would both have fun getting messy. Because that will happen. It did last time, so I fully expected it this time.

I was not disappointed, and neither were they.

Tried It Tuesday: Homemade Sidewalk Paint

Whipping up a batch of sidewalk paint is really easy:

SIDEWALK PAINT

1 part cornstarch

1 part water

Food coloring


I actually used 1½ cups each of water and cornstarch, mixing them thoroughly together in a large spouted bowl, then poured the slurry into a couple of my muffin tins.

I’ve found it’s a good idea to fill every other cup of the tin because little guys will slop colors around, and if they are all side-by-side, you’ll end up with murky brownish colors in every cup really quickly. I filled each cup about halfway full and ended up with at least 10 cups to paint from.

When we added food coloring to the half-filled cups of the muffin tin, we mixed up a rainbow of colors, plus black (all colors) and brown (red, yellow, & green), and we left a couple of them white.

All that’s left to do is get painting.

Tried It Tuesday: Homemade Sidewalk Paint

Tried It Tuesday: Homemade Sidewalk Paint - Painting

We started out using foam brushes, which work really nicely on the smooth concrete by our fish pond (The foam can get a little mangled when used on the rougher sidewalks if you aren’t careful).

The paint dries the brightest if you paint slowly and let portions somewhat dry before adding a new color, but try telling that to a little one who is just having a blast with the swirling colors. At their age, they aren’t as concerned with the final result as we might be.

Inevitably, my guys discarded the brushes to do a little sidewalk finger painting.

Tried It Tuesday: Homemade Sidewalk Paint - Finger Painting


And then some body painting.

And some pour-everything-out-and-mix-it-around-with-your-hands-and-feet painting, which actually gave us some pretty cool results.

Yes, they were messy, but as I said, getting messy is part of the fun.

So far, we haven’t had any issues with the paint staining clothes, but I can’t make any promises. We did have two little boys who needed a good soak in the tub afterward, but they were two very happy little boys.

This is definitely something I can see us trying again soon.


YOU MAY ALSO LIKE:

Homemade Play-Dough

Simple Ways to Spark Joy in Your Children

How to Dye Dry Pasta

The Last Time He Called Me, “Mommy”

Tried It Tuesday: Wool Dryer Balls

Tried It Tuesday: Wool Dryer Balls

When I worked in an office, I used to get all nerdy excited when I figured out a new shortcut in a program, such as finding a quicker formula in Excel or learning how to write a new script in Filemaker. With so many things to do in a day, finding easier, more efficient ways to accomplish a task was awesome for me.

Now that I’m a stay-at-home mom, my to-do list for a day is even longer, and my excitement when I find something that helps in even a minuscule way to get something checked off that list is even greater. Instead of nerding out over program shortcuts, I’m seeking out cooking tips, how-to-entertain-your-toddler “life hacks,” creative organizing ideas, and cleaning inspirations. When they work, my super dorky happiness is kind of embarrassing.

I recently tried out a very simple laundry aid, and according to my nephew, I went “all infomercial spokesperson” on my family when I told them about how impressed I was with it.

What was it? The wool dryer ball.

If you’ve visited the land of Pinterest over the last few years and searched for anything laundry related, you most likely have seen a picture or two of what look like yarn balls that people use when they are knitting or crocheting. I’ve seen companies that sell them as well as plenty of DIY pins for making your own. I read about how putting these little wool balls into your dryer with your laundry would help dry clothes faster, prevent wrinkles, and reduce static in addition to acting as a natural, chemical-free fabric softener. (Here’s the link to the site that got me interested in giving this a try.)

Finally I remembered to add “100% wool yarn” to my shopping list, and using the weekly 40-percent off coupon from Hobby Lobby, I picked up a skein of brown & white 100-percent wool yarn for about $3. Following the site instructions, I made three cute little wool balls. (I didn’t have a crochet hook, so I just tucked the ends under other strands until it was completed covered and secure.) As soon as they were washed and dried, I was ready to test them out. And, yes, kind of excited to do so.

Tried It Tuesday: Wood Dryer BallsFrom my first load on, I have loved them.

They do, in fact, shorten my dry time. I know that one cycle is all I need no matter what’s in the load, and most of the time, I can set my dryer to a shorter cycle. The downside to that is that now if I hit the restart button when I can’t fold the clothes right away (or just don’t want to), I kind of feel guilty because I KNOW they are dry.

They also do, in fact, help with wrinkles. Hubby has a particularly annoying pair of pants that love to come out all crinkles and twisted onto themselves no matter what I do. Dryer balls to the rescue! While the pants still have wrinkles, they are far, far fewer, and much more manageable. Yea!!!

Probably the most excited I got was when I realized that they do, in fact, reduce static. With warmer weather finally here, I had one last load with sweaters and such to wash. While I do have some sweaters that I lay out to dry, there are some that can be tumbled dry on low. When I reached in to unload the dryer and didn’t hear the familiar crackle and pop of static or feel the shocks, I was shocked in a whole different way! I actually called my 5-year-old in to see how static-free the sweaters were. Seriously, I did. (He wasn’t as excited as I was.)

Something that wasn’t mentioned as a selling point, but that I will add, my boys love to help me with unloading the dryer now. (No, really. They do.) They like finding the wool balls among the clothes and tossing the balls back into the dryer. It makes a very satisfying “thunk.”

Sadly, since they are made of wool, the balls will shrink over time and eventually wear out. I opened my dryer recently to find a mound of unwound yarn where one of the balls had come apart. It might be because it wasn’t tucked in really well initially. I’m not sure. But it lasted through hundreds of laundry cycles, and the other two are still going strong, so I think it’s been worth the $3 for sure.

So, yeah. Wool dryer balls are a simple, effective aid with my laundry now. I even made some to share with my mother and mother-in-law. I love that it’s something that I don’t have to think about but that makes my life easier. I can get seriously nerdy excited about things like that.