
Growing up with a brother whose birthday is 2 days before Christmas, I learned something: You always keep the birthday and Christmas separate.
Then I married a man who shares his 5-days-before-Christmas birthday with his father, and the separation thing was confirmed as fairly universal for December babies.
And then, of course, I had a baby in December, less than 2 weeks before Christmas. And while last year, I was good and managed to pull off a non-Christmas birthday party theme for our littlest guy that still went okay with our already-up Christmas décor in the house, this year I’m breaking the birthday-Christmas separation rule… at least a little bit!
Isaiah will still get individual presents for both days, and his birthday presents will not be wrapped in Christmas paper (a big pet peeve for some December babies).
But the theme is “The Little Drummer Boy,” which is totally Christmas….but also TOTALLY Isaiah.
(By the way, this post contains affiliate links, which means that at no additional cost to you, I may receive a small commission if you purchase through those links. For more, see my full disclosure.)
From the time he learned to clap, we noticed that our youngest has pretty decent rhythm. At barely a year old, he was mimicking the intro to The Greatest Showman’s “This is the Greatest Show,” complete with well-timed “chhh” sounds for the stomping. He watches the drummer at church closely, and he fights his way into the storage room where his daddy’s older electronic drums are set up. (It was originally for his older brothers, but he pretty much thinks they’re his now.)
The icing on the cake was the day I showed him For King & Country’s version of “The Little Drummer Boy,” and that video overtook his love for “Baby Shark”! Hallelujah!!!!
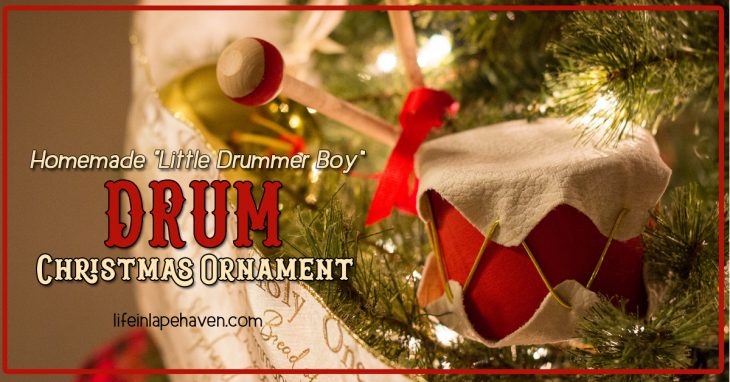
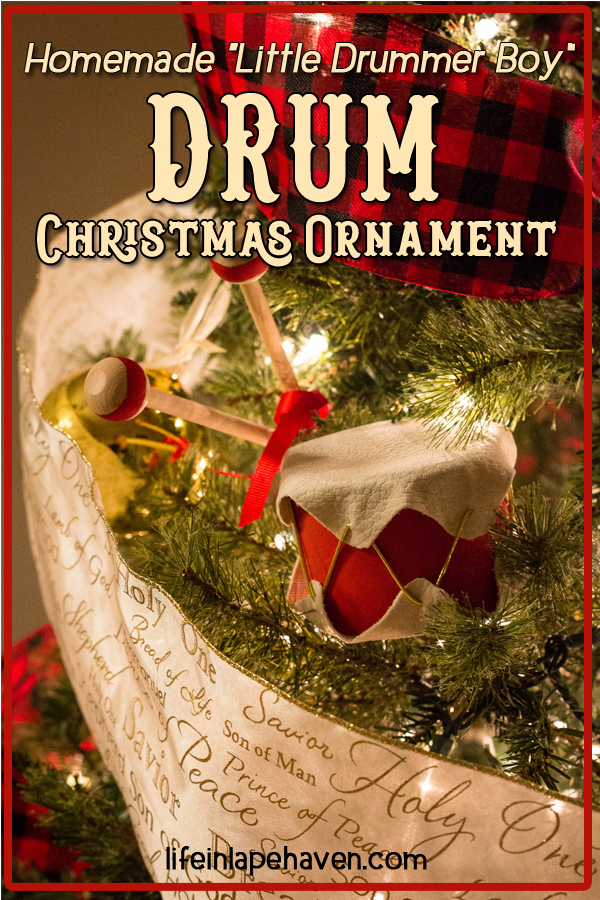
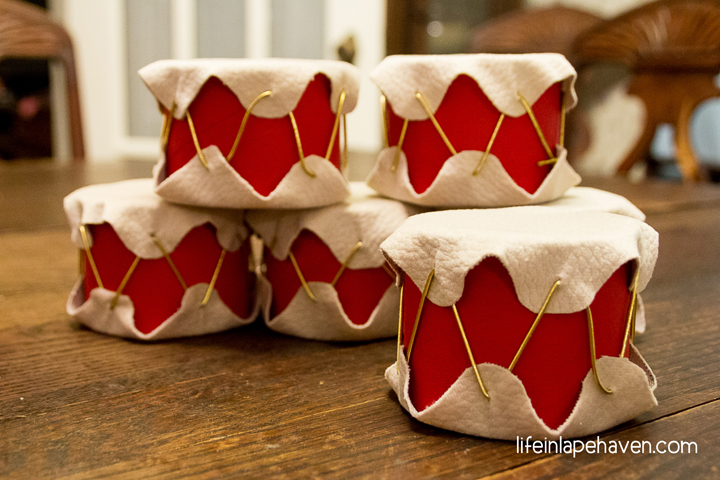
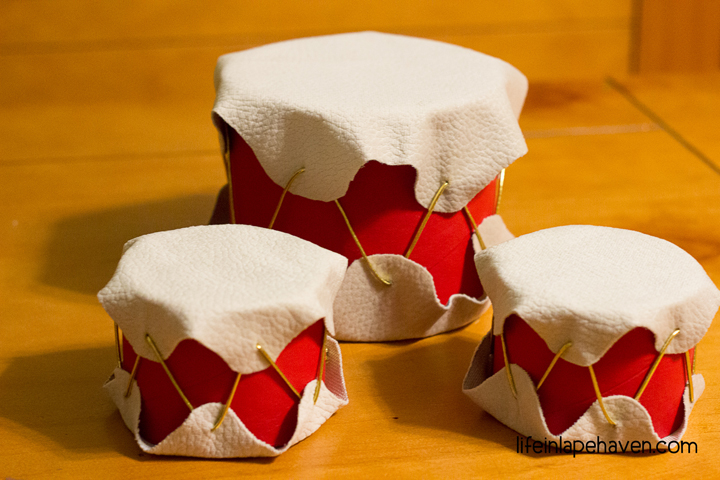
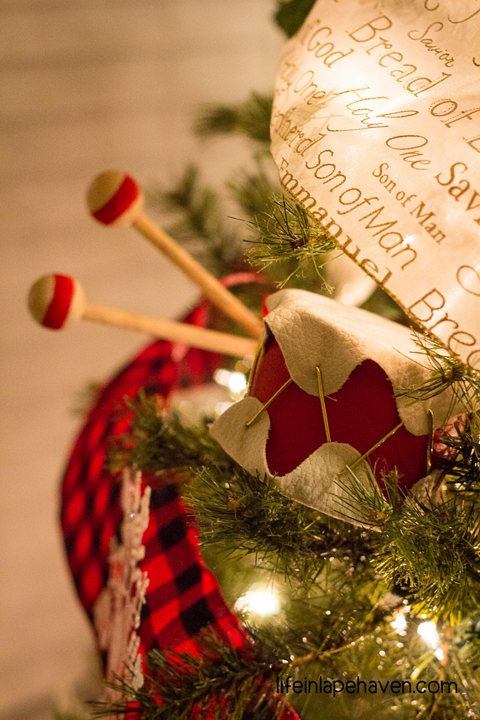
So, to help tie the party theme in with all our regular Christmas decorations, my mom and I put together some super cute little drum ornaments and drumsticks to add to our tree. I also made a slightly larger drum to use as additional decoration and for Isaiah to play with.
Since they turned out so well and were not hard at all once we figured out a process, I knew someone else out there would like to know how we did it. So here you go.
LITTLE DRUMMER BOY
DRUM CHRISTMAS ORNAMENTS
WHAT YOU’LL NEED
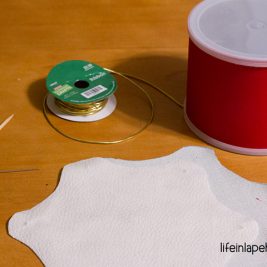
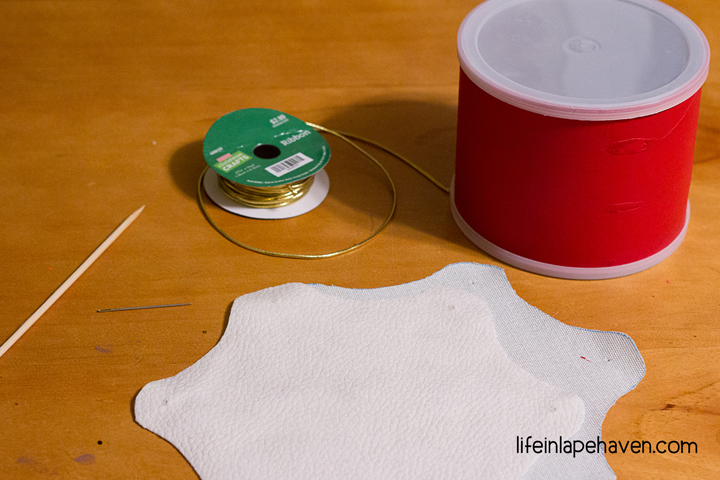
SUPPLIES
Round Cardboard Tube (the sturdier the better)
Red Acrylic Paint (Or whatever color you want)
Fabric
Gold Elastic Ribbon (Or similar rope or tie material)
TOOLS
Ruler
Pencil
Paper
Box Cutter or Hacksaw (depending on tubing thickness)
Paintbrushes
Scissors
Needle
Skewer, Nut Pick, or Equivalent “Tool” 🙂
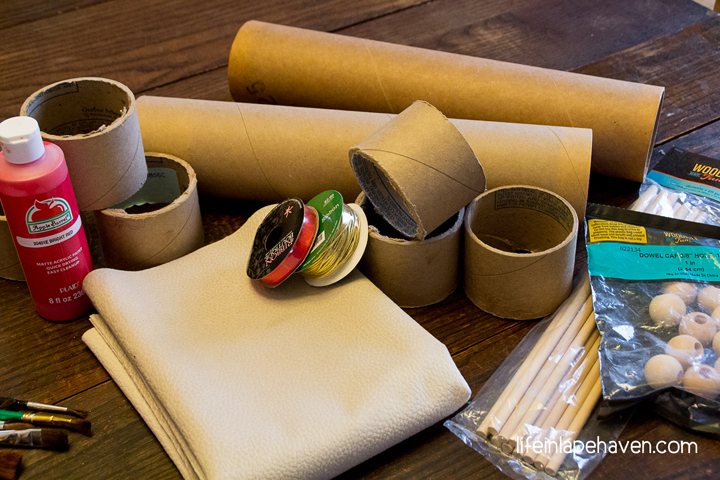
The true idea for the drums came from my mom, who’d saved some industrial cardboard tubes from my grandpa’s screen printing shop a couple of weeks ago. While she’d originally planned some other craft for the tubing, she decided that making drum ornaments were a better use for them. (Thanks, Mom!)
So, while you probably don’t have access to the cardboard tube we used, you could use mailing tubes, an oat box, or even paper towel tubes. However, remember the sturdier the material, the longer your ornament will last – especially with kids around!
The fabric we bought was in the upholstery section and has kind of a suede-y feel. We wanted something strong enough to not rip once holes were poked in it and the ribbon was tied through and pulled taut. We also wanted it to look like something a drum head would be made of, obviously. Thankfully the material was on sale, and we only bought half a yard. Depending on how many drums you’re making, you really don’t even need that much. (So far, we’ve made 6 drum ornaments and one larger drum with plans for at least 4 more ornaments for my nephews and niece).
HOW WE MADE THEM
1. Cut the tubing into drum size
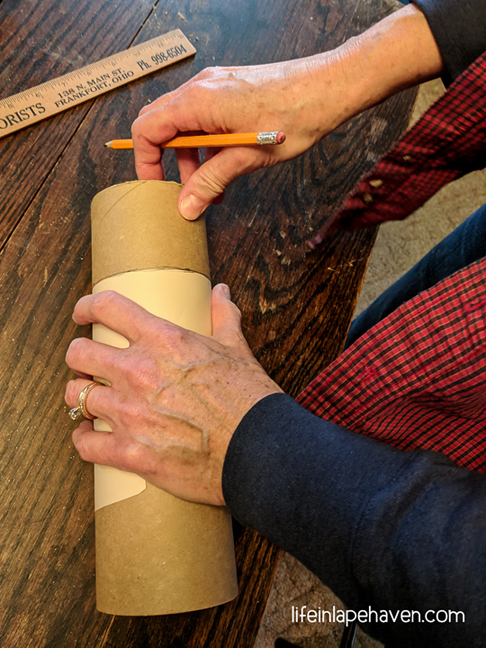
Our drum ornaments were 2-1/2 inches tall. The larger oat box drum was 4 inches. Depending on the size of your tube, decide how tall your drum needs to be. Then, using a ruler, measure the height you want, and make a pencil mark. Turn the tube, and add another mark at the same height. Once you’ve gone around the entire tube, you can use a piece of paper wrapped around the tube to connect your marks and draw a complete line all the way around. You can repeat that process for each additional drum down the tube.
Using a box cutter or hacksaw or similar sharp tool, carefully cut along your lines.
-
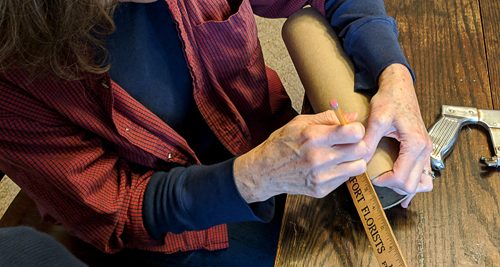
- Measure & mark at points all the way around.

-
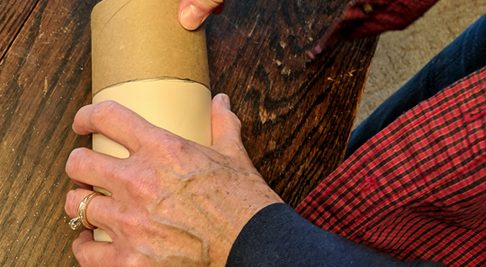
- Use a piece of paper wrapped around to draw a straight line.
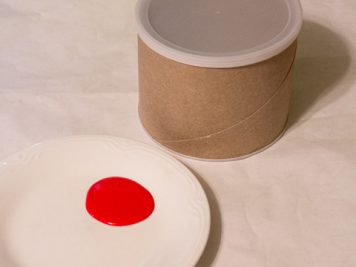
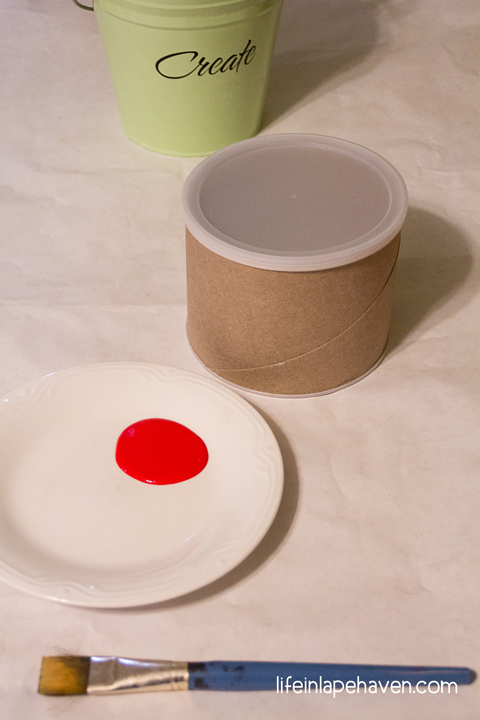
2. Paint your drums
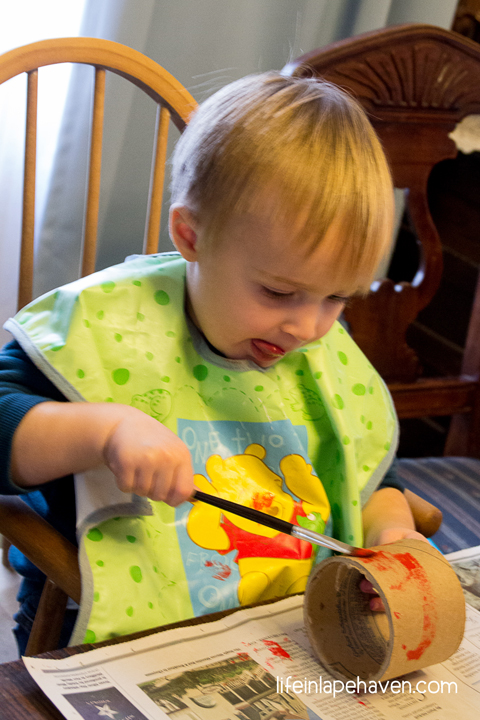
We used acrylic red paint and paint brushes that we already had and painted the drums, making sure to keep the strokes on the same direction. We even let all three boys help us, and their drums turned out just fine. It only took two coats for the ornaments to be fully covered.
-
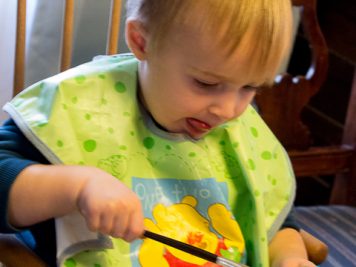
- Paint your drums.
-
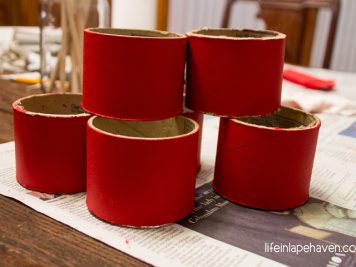
- Let them dry. They may need a couple of coats.

-
- Getting ready to paint the larger, oat box drum.
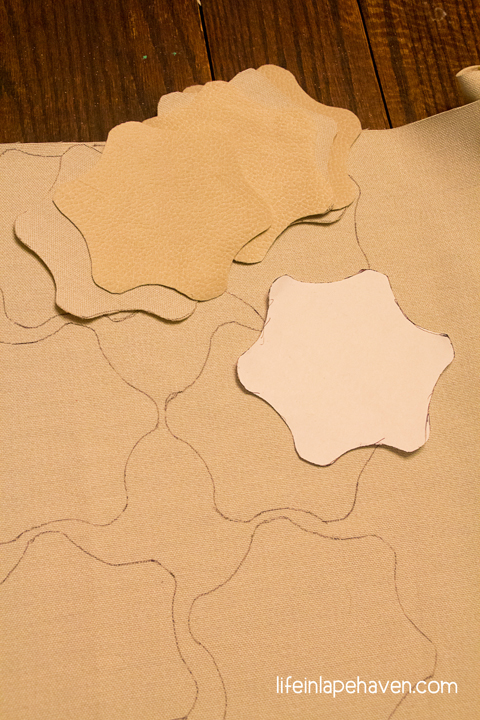
3. Cut out the drum head
This was, by far, the trickiest part of the process, as we needed to figure out the right shape and size. We settled on a rounded hexagon shape, and then my mom cut it down more to a slightly sheriff’s badge shape. 🙂
To save you time, I’ve scanned our pattern, so you can download it and resize as needed. This is the size we used for the ornaments, and this is the size I used for the larger drum.
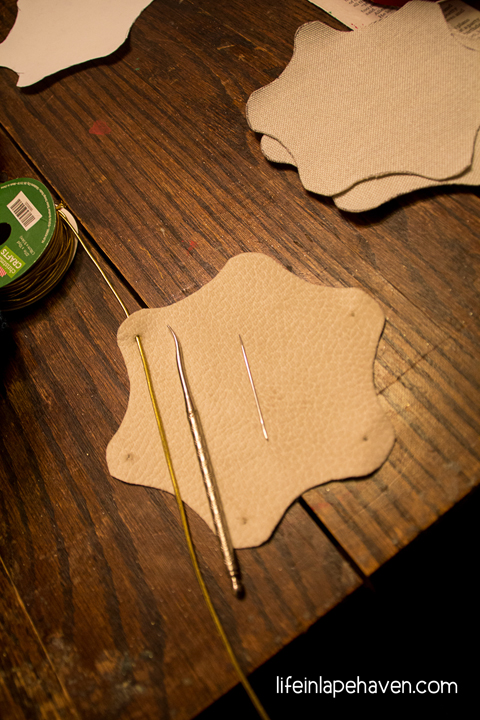
Just trace the pattern on the backside of your fabric, and cut it out. You’ll need two drum heads for each drum you’re making.
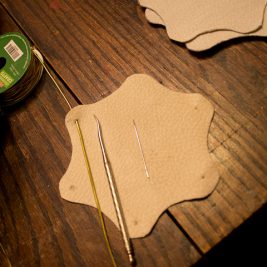
4. Lace your drum heads together
On the underside of each drum head, use a needle to poke a small hole in the center of each of the six points, leaving a little fabric so the tab won’t rip easily.
To make the holes large enough for our gold elastic ribbon to go through, we widened them using a nut pick or wooden skewer, because that’s what we found worked. 🙂
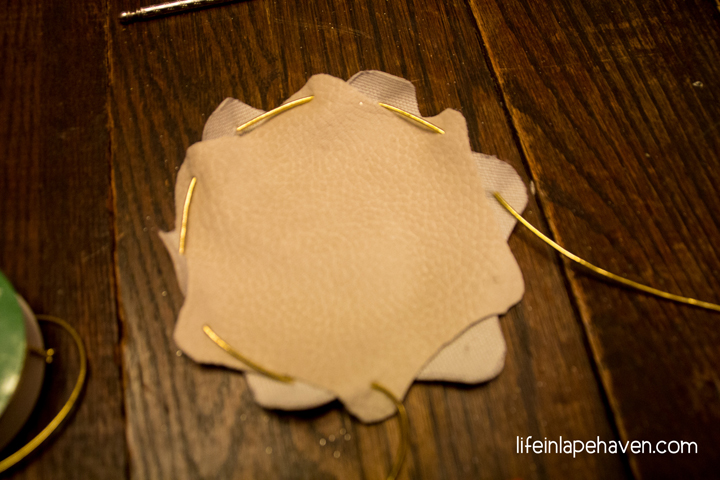
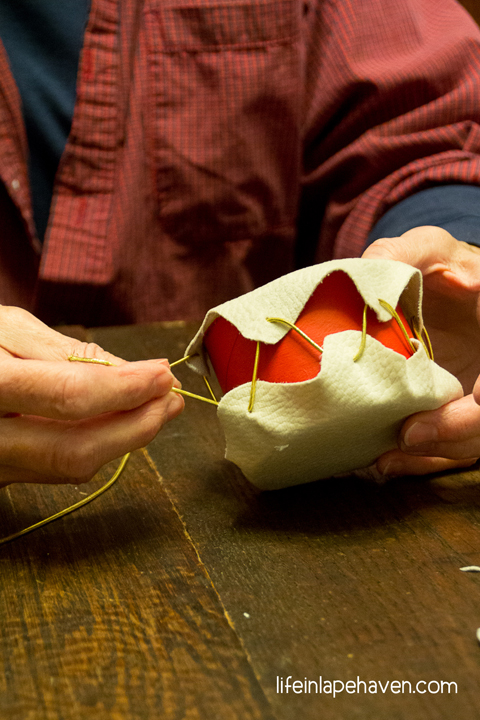
Once you have two drum heads with ribbon holes, lay one top-side down and place the other on it, top-side up, but so that the points are staggered, not directly aligned. Then lace them together, taking your ribbon through the top side of each. Stitch them until you have only two or three holes left. Don’t pull the ribbon too tight, as you’ll want enough ribbon to stretch over the sides of the entire drum.
We didn’t measure and the cut the ribbon. We just worked from the spool, leaving extra length on the end to be tied off later.
-
- Poke holes in each point. We used a needle & a nut pick.
-
- I also used a wooden skewer.
-
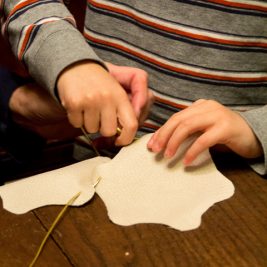
- Lace together two drum heads.

-
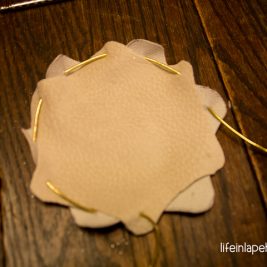
- Ready for the drum.
5. Put the drum heads on the drum
Separating your laced drum heads, slide them over the (dried) drum. Once it’s all together, adjust the drum heads so that they are centered and even on the drum. Then adjust the ribbon to be spaced neatly and taut.
(Note: On my larger drum, I used two of the plastic oat box lids on the top and bottom of my drum – cut from an oat box- to give it more stability since I knew Isaiah would be handling it.)
To finish it up, lace the last sections together, adjust your ribbons, cut it from the spool, tie the ends together, trim them, and tuck them under one of the points of the drum head.
-
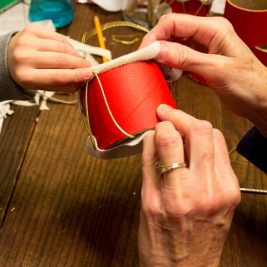
- Slide drum between drum heads.

-
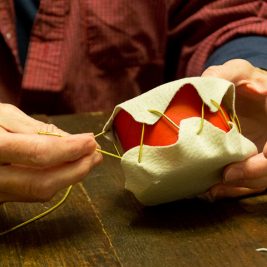
- Center drum heads, then tighten and adjust ribbon.
-
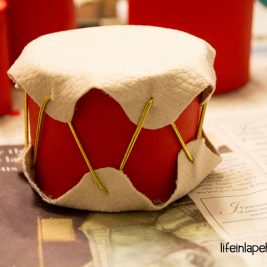
- Tie ends and tuck them up under the drum head.

-
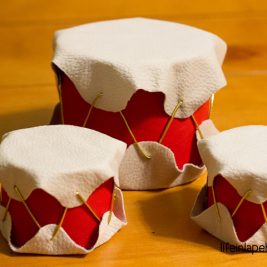
- Large drum with ornament-size drums.
TO HANG THE DRUM ORNAMENTS
You could either just set the drums in the branches of your tree (which is what I did), or you can attach an ornament hook to one of the ribbons.

BONUS: Drumsticks!
For our little drummer boy, we couldn’t have drums without some drumsticks! So here’s how we made some simple drumsticks for the tree.
WHAT YOU’LL NEED
Dowel Rods (matched to fit into the knob – ours were .312 in diameter)
Wooden Knobs (ours were a 3/8” hole)
Paint
Glue
Ribbon
HOW MAKE A DRUMSTICK
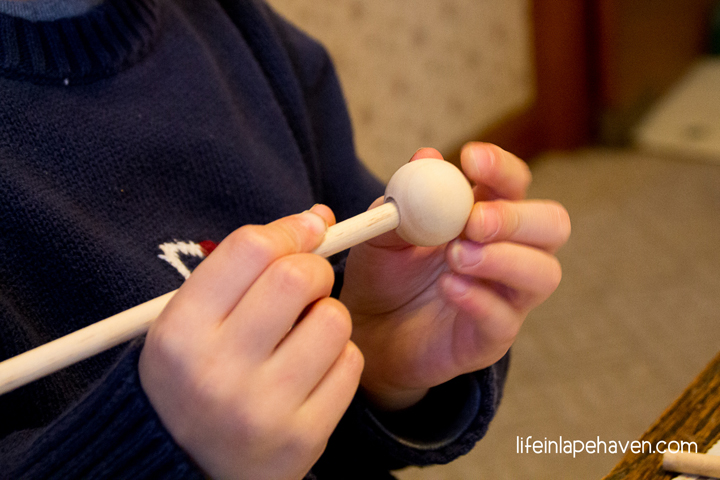
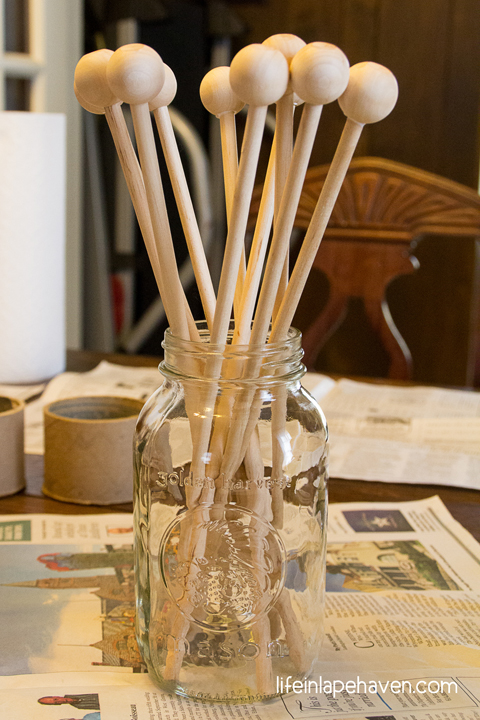
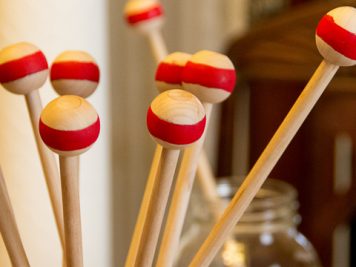
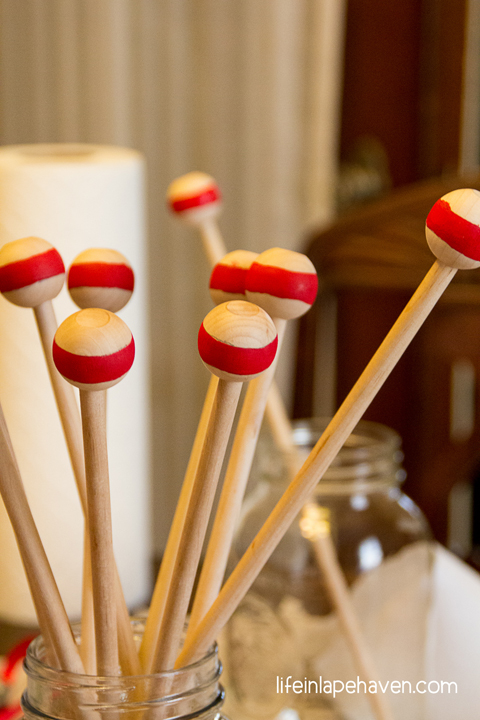
1. Glue a wooden knob onto the end of a dowel rod. We just squirted glue into the knob hole and put the dowel in. Apply a little pressure, then set it aside to dry. You could also use hot glue. We placed ours in a Mason jar while they dried.
2. Once the glue dries, trace a ring around the center of the knob. We used a piece of ribbon that was the right thickness. Just wrap it around the knob, and trace with a pencil.
3. Paint the ring. Again, we put them in the jar as they dried. Then we erased any showing pencil mark.
4. Criss-cross two drumsticks slightly and tie them together (around and between) using a ribbon.
5. Stick them in the tree or on top of a larger drum.
-
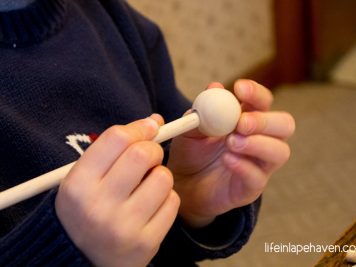
- Glue the knob on the dowel.
-
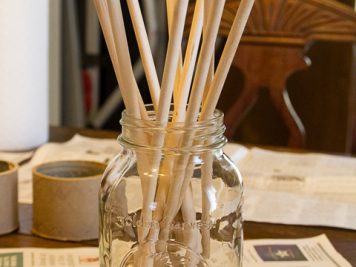
- Let the drumsticks dry.
-
- Paint & let dry. Then tie together.
There you go! Cute little drum ornaments and drumsticks for your Christmas tree or other holiday decorating.
Get more ideas & encouragement from this real-life mom as I experience God’s faithfulness through the joy and chaos of motherhood.
Join my email list!
YOU MAY ALSO LIKE:
Inexpensive Crafts that Make Great Christmas Gifts for Grandparents
10 Homemade Family Costume Ideas & How We Made Them