

Some days I actually manage to get on top of all the craziness of life and check enough things off the to-do list that I feel accomplished and able to relax. Some days my boys are sweet and cooperative, I am focused and ambitious, and we have a really great day.
This was such a day. One Tuesday when Josiah (my middlest) was about 2 years old. I’d managed to straighten the house, vacuum AND mop the floors, and spend time with my littlest guy before he had a good nap. Josiah even managed to wake up on his own from his nap (instead of me having to wake him) so that we could go pick up Elijah from school. Elijah had had a great day at school – he’d taken in a story that he’d “written” and got to “read” it to his class. Plus the weather was nice enough that we even spent a little while at the playground, which my boys always love.
Everyone was having a fabulous day.
So when we got home, I felt like making something special for us. We do a lot of brownies and cookies around here, so I decided to veer a little off our beaten path and make cinnamon rolls.

I have a really easy recipe that my mom found years ago that is delicious. In theory, it shouldn’t take more than two hours from start to finish, with lots of down time while the dough is either rising or baking. My house was fairly clean, my boys were happy, and dinner was already made (leftover Beef, Barley, & Veggie soup). I could do this. No problem.
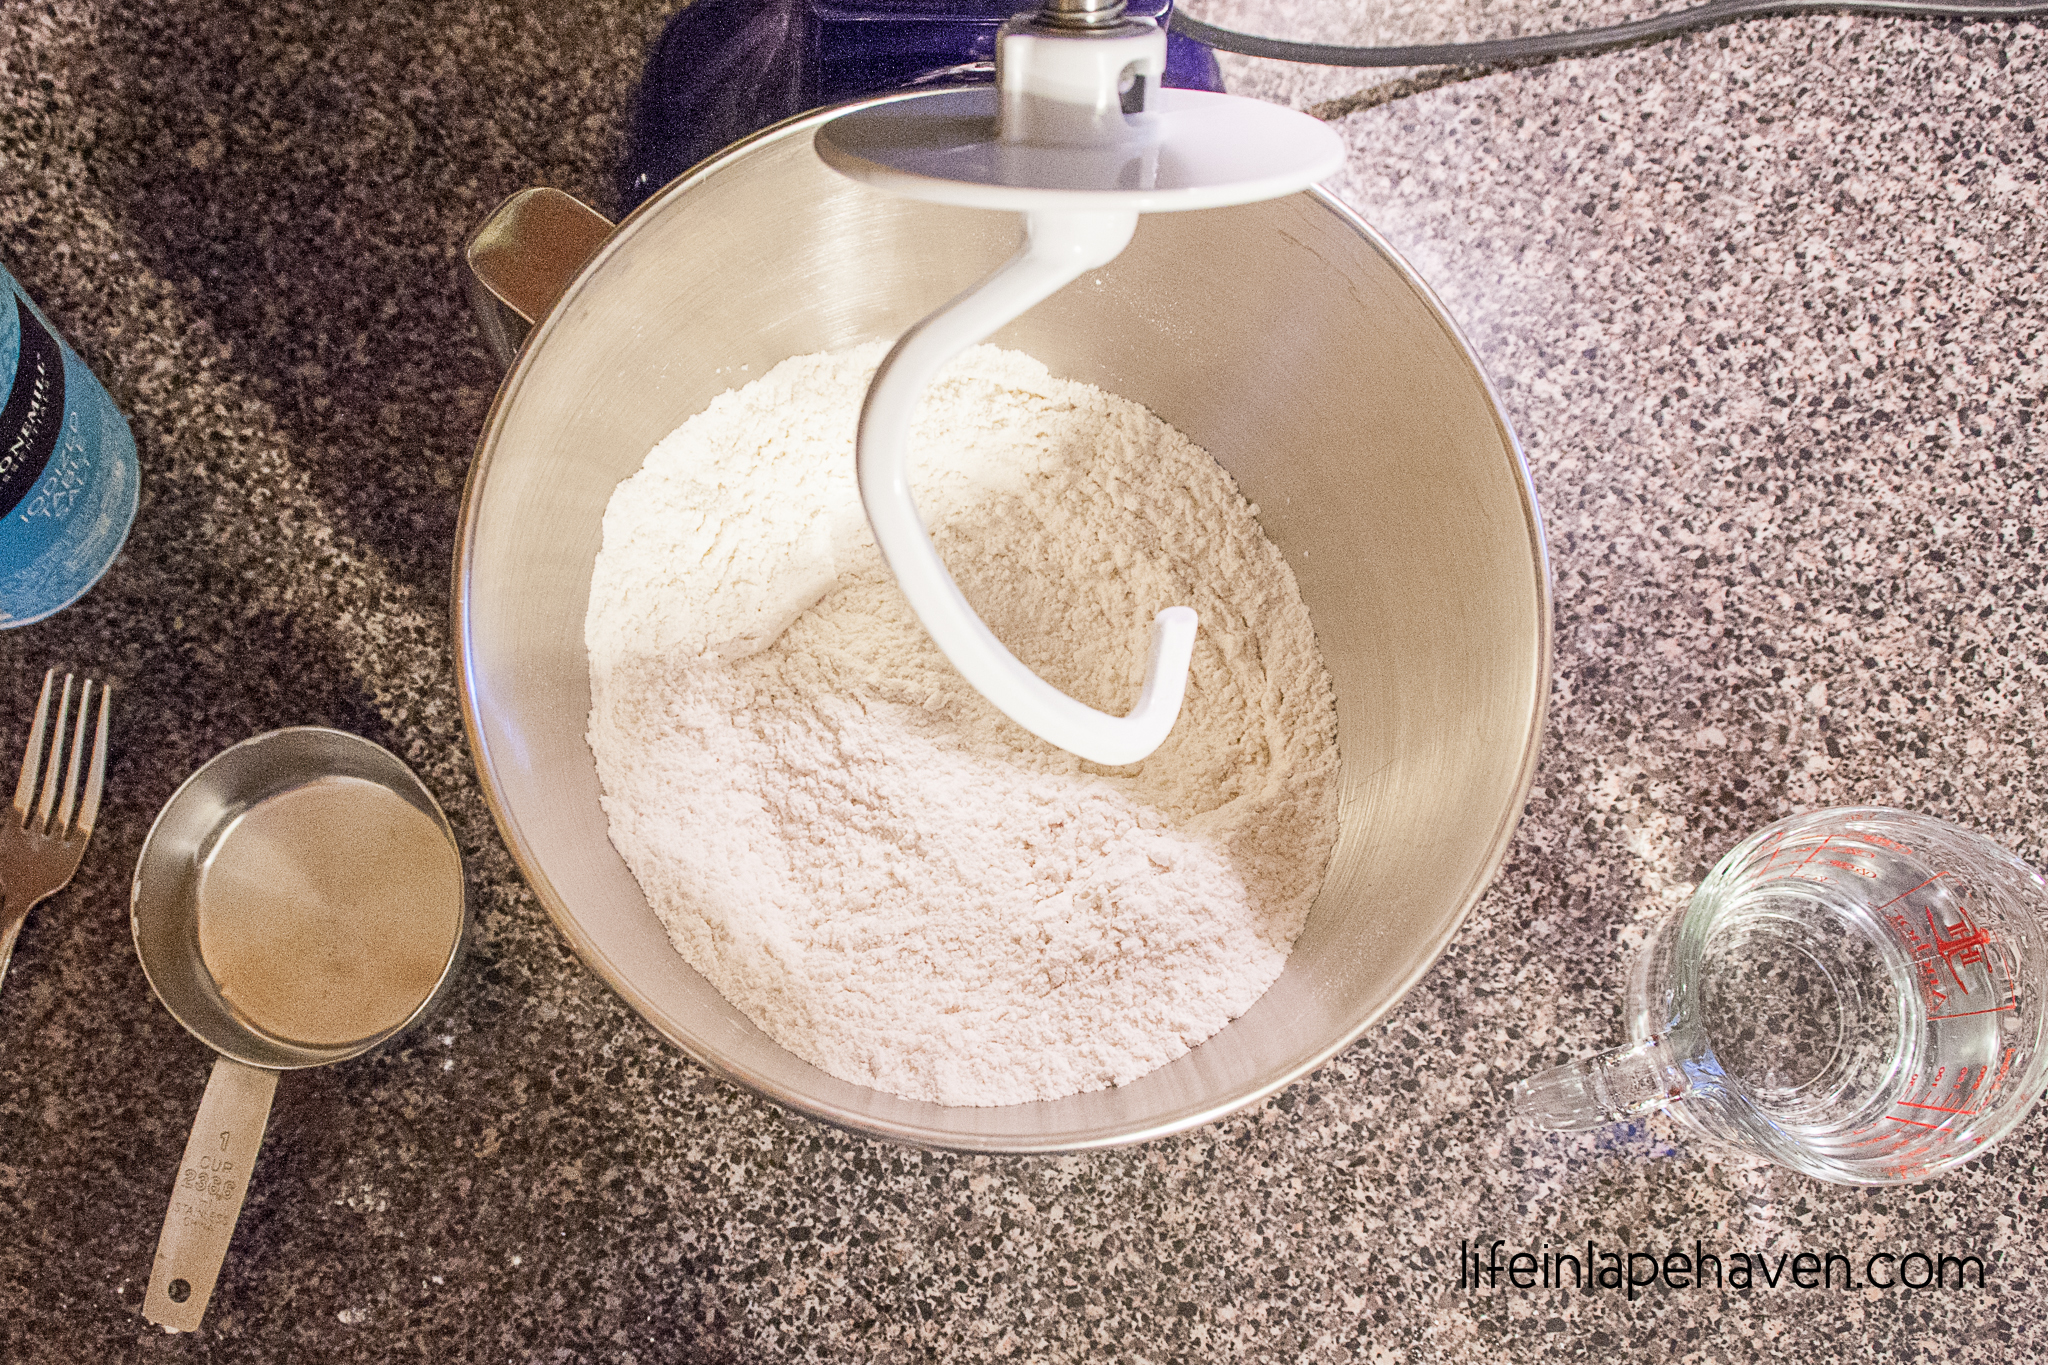
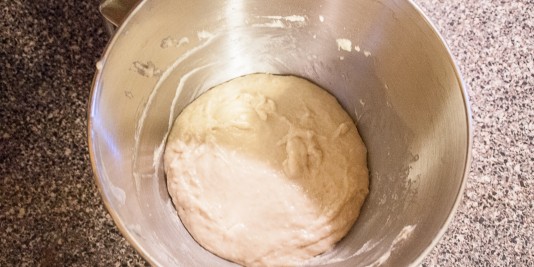
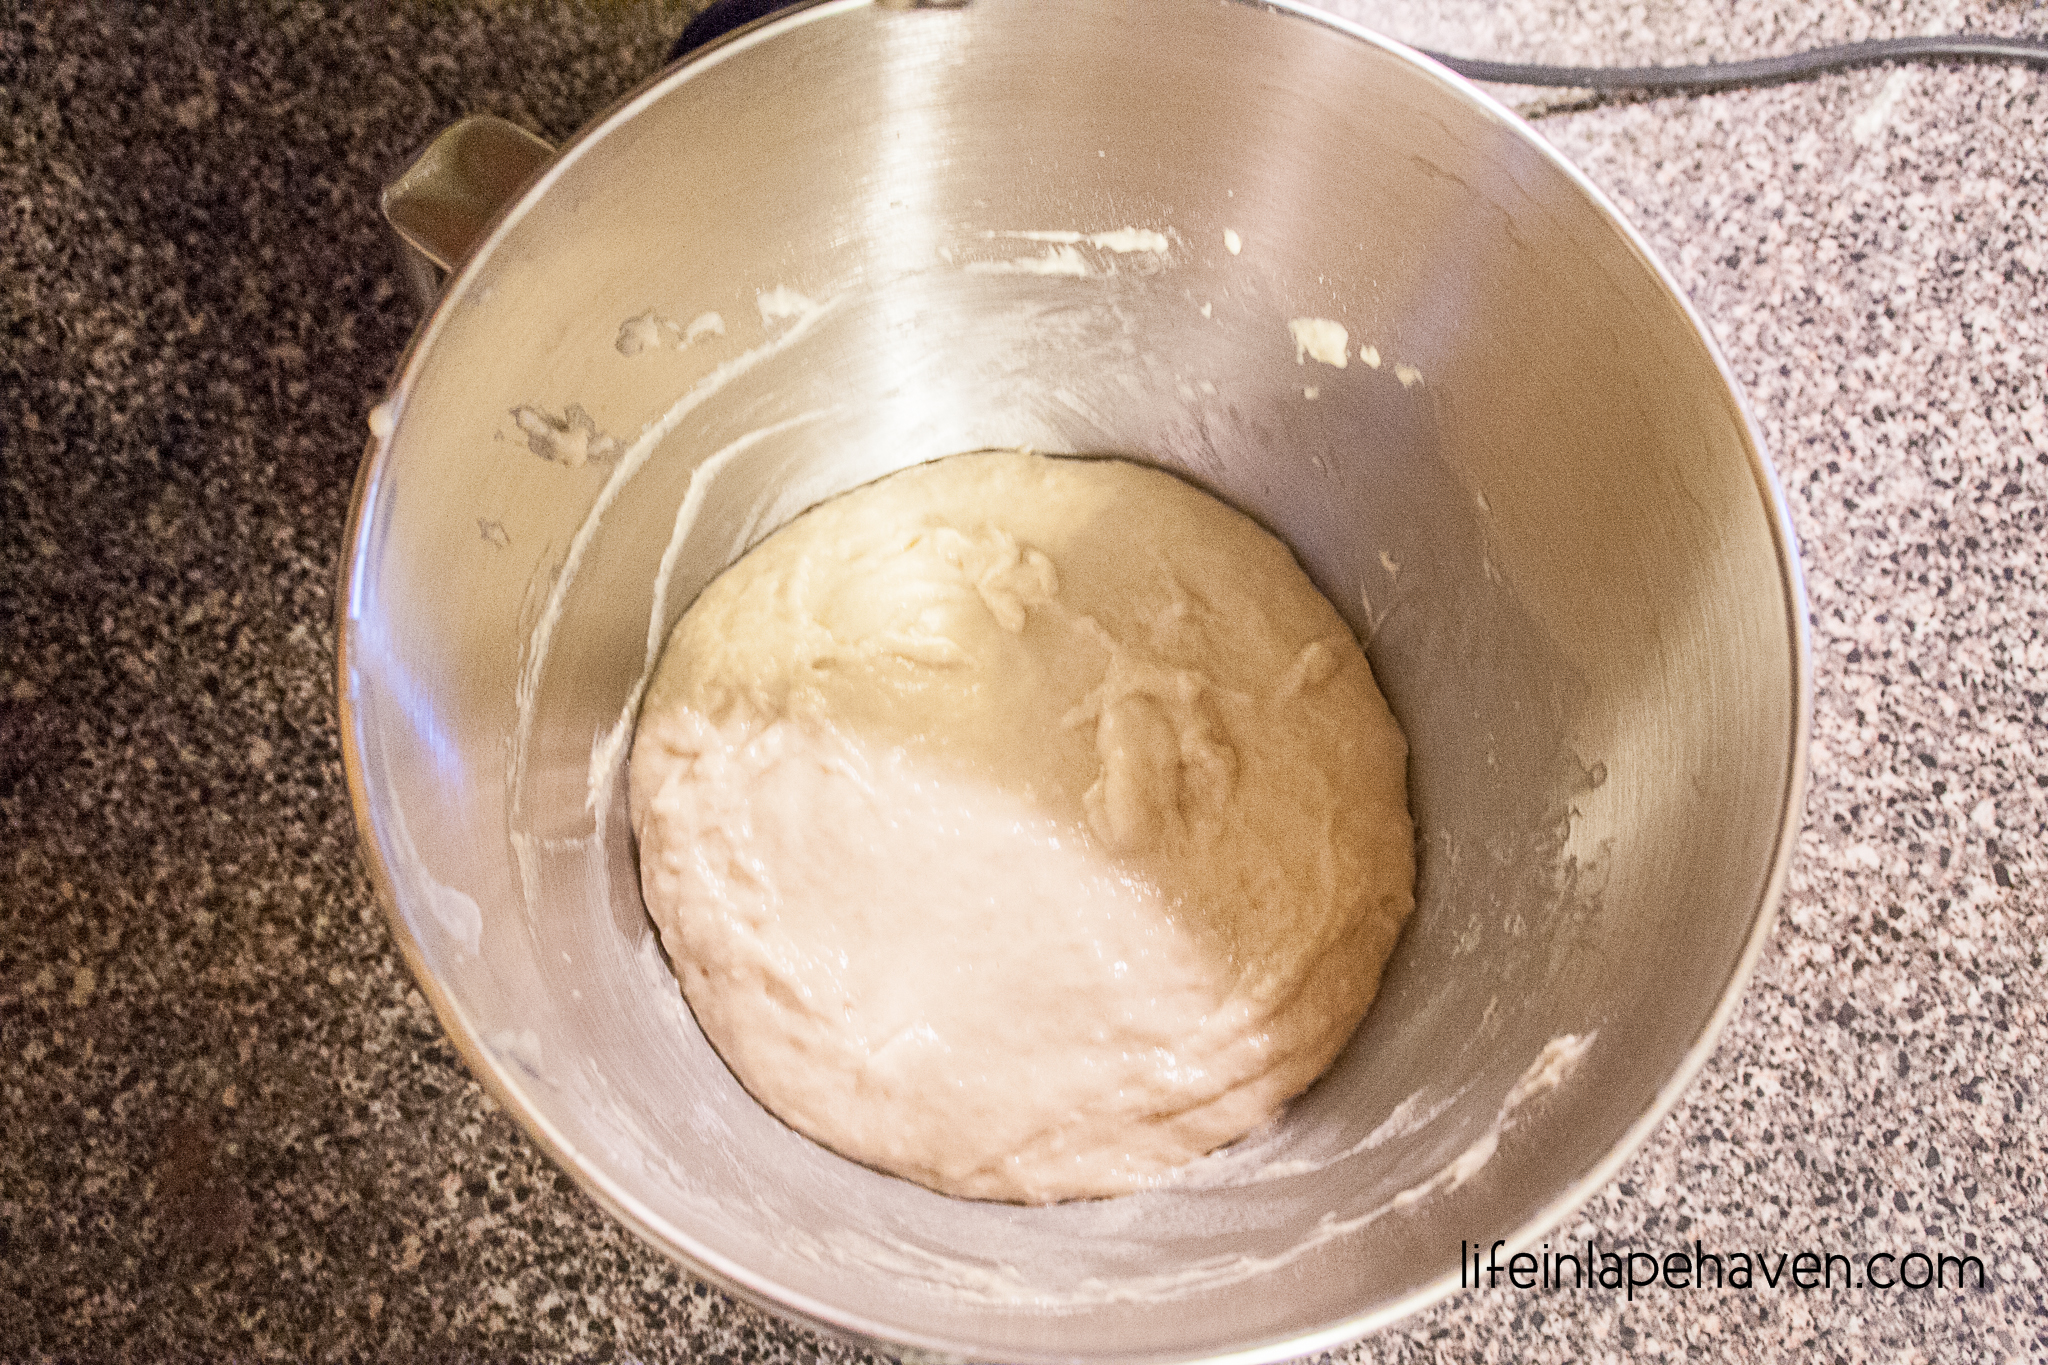
Mixing up the dry ingredients went well. Adding the water, butter, and egg was simple. Letting it rise the first time was actually so easy that I let it go a little longer than 30 minutes. My boys were happily playing together, and things were good.
-
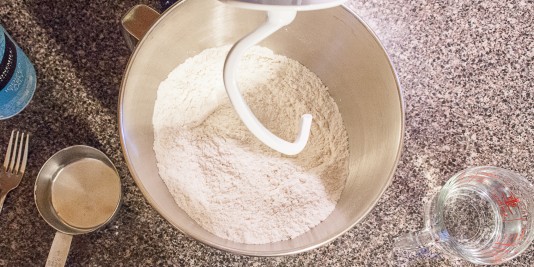
- Combine flour, sugar, yeast, & salt.
-
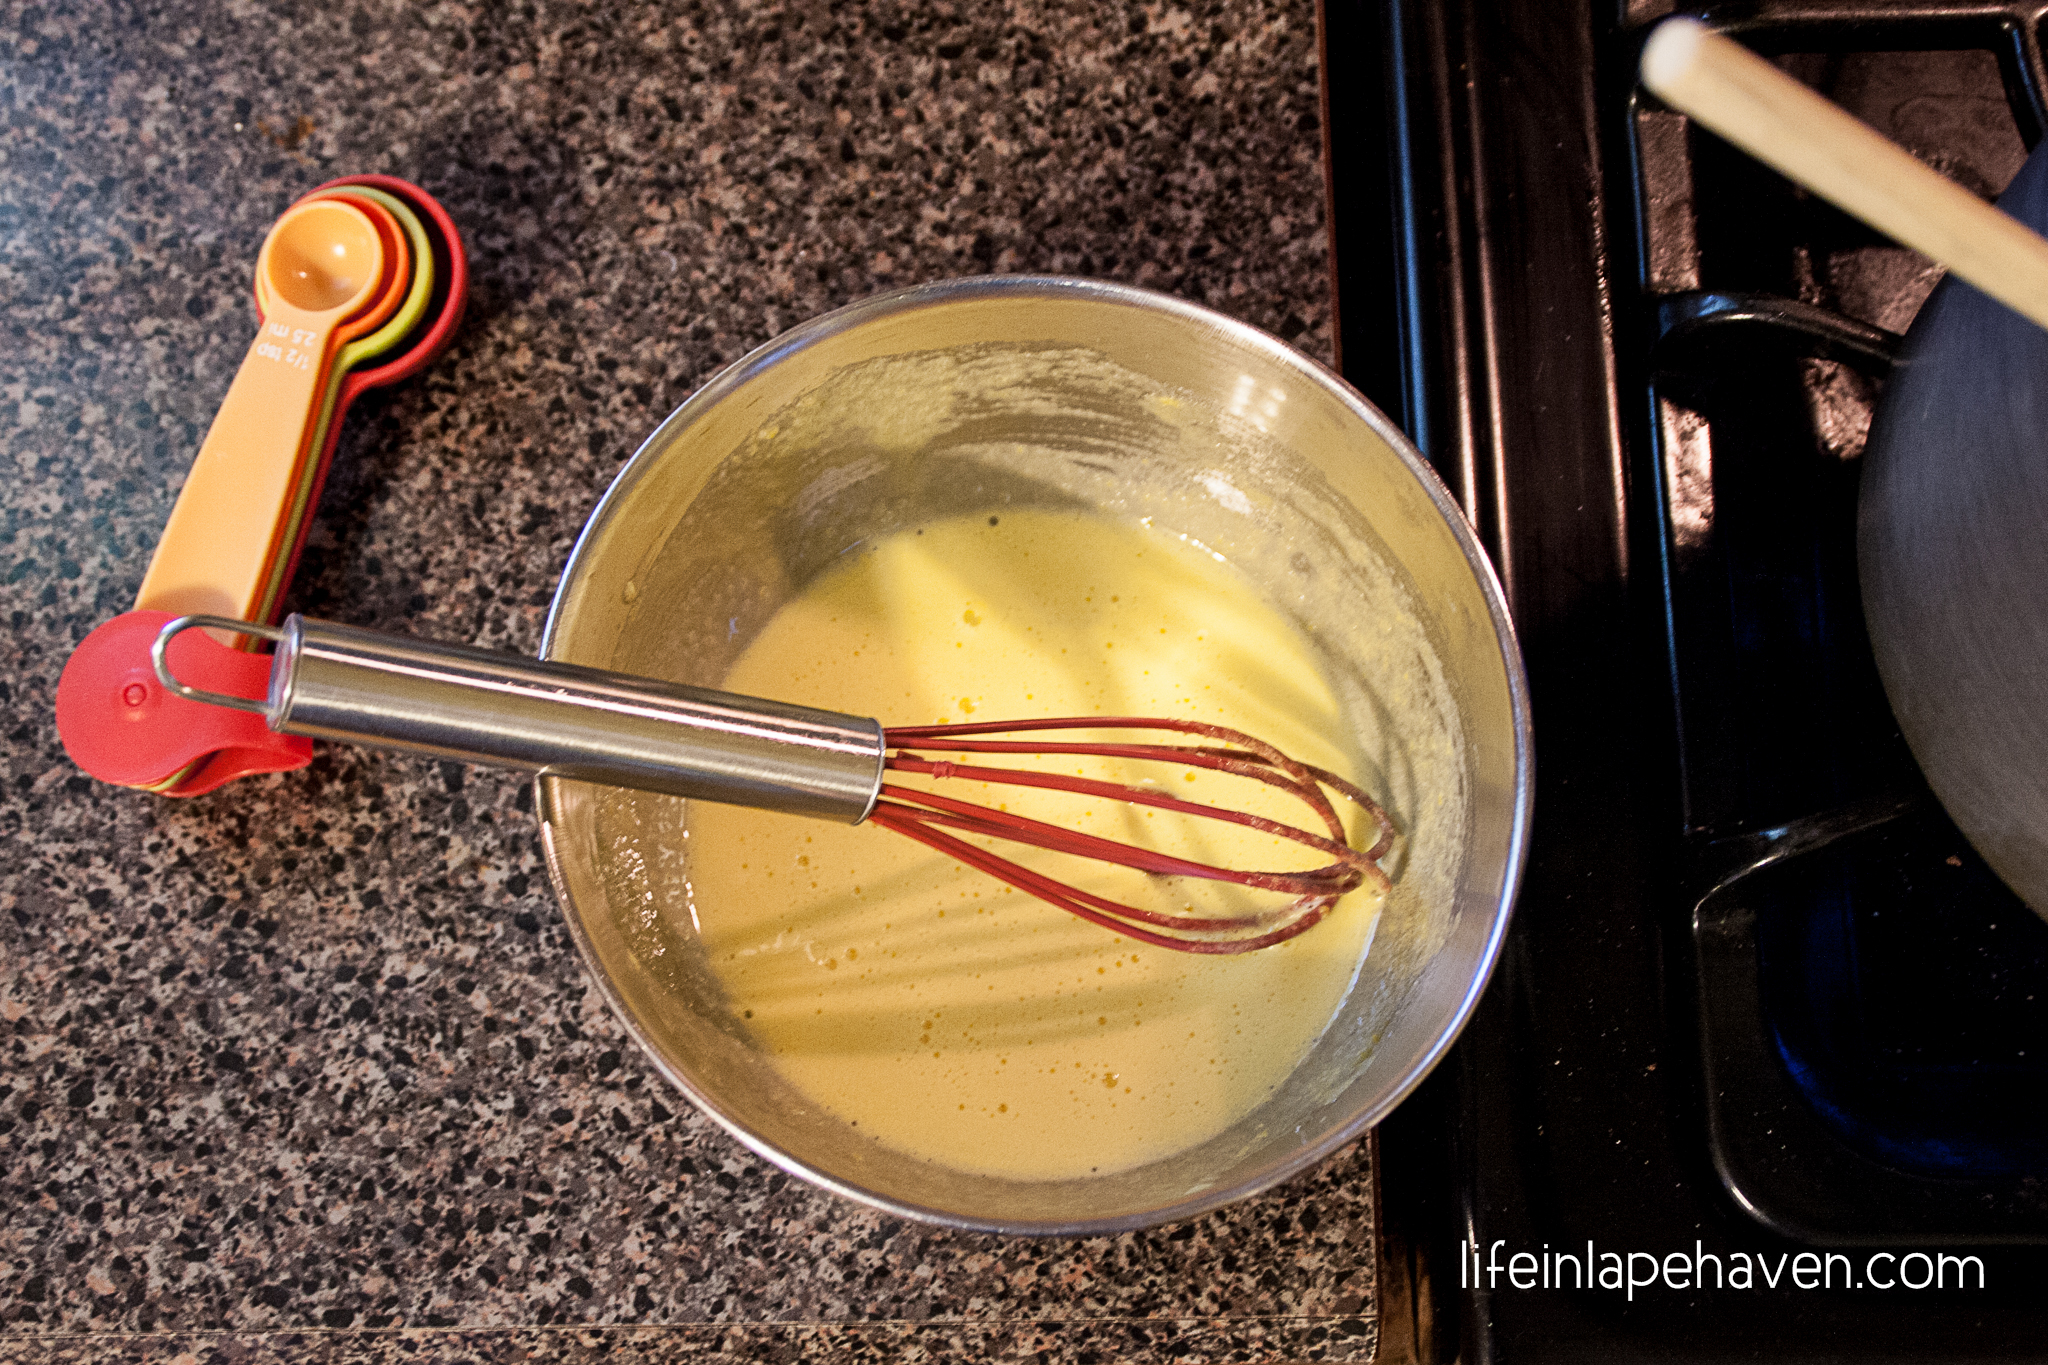
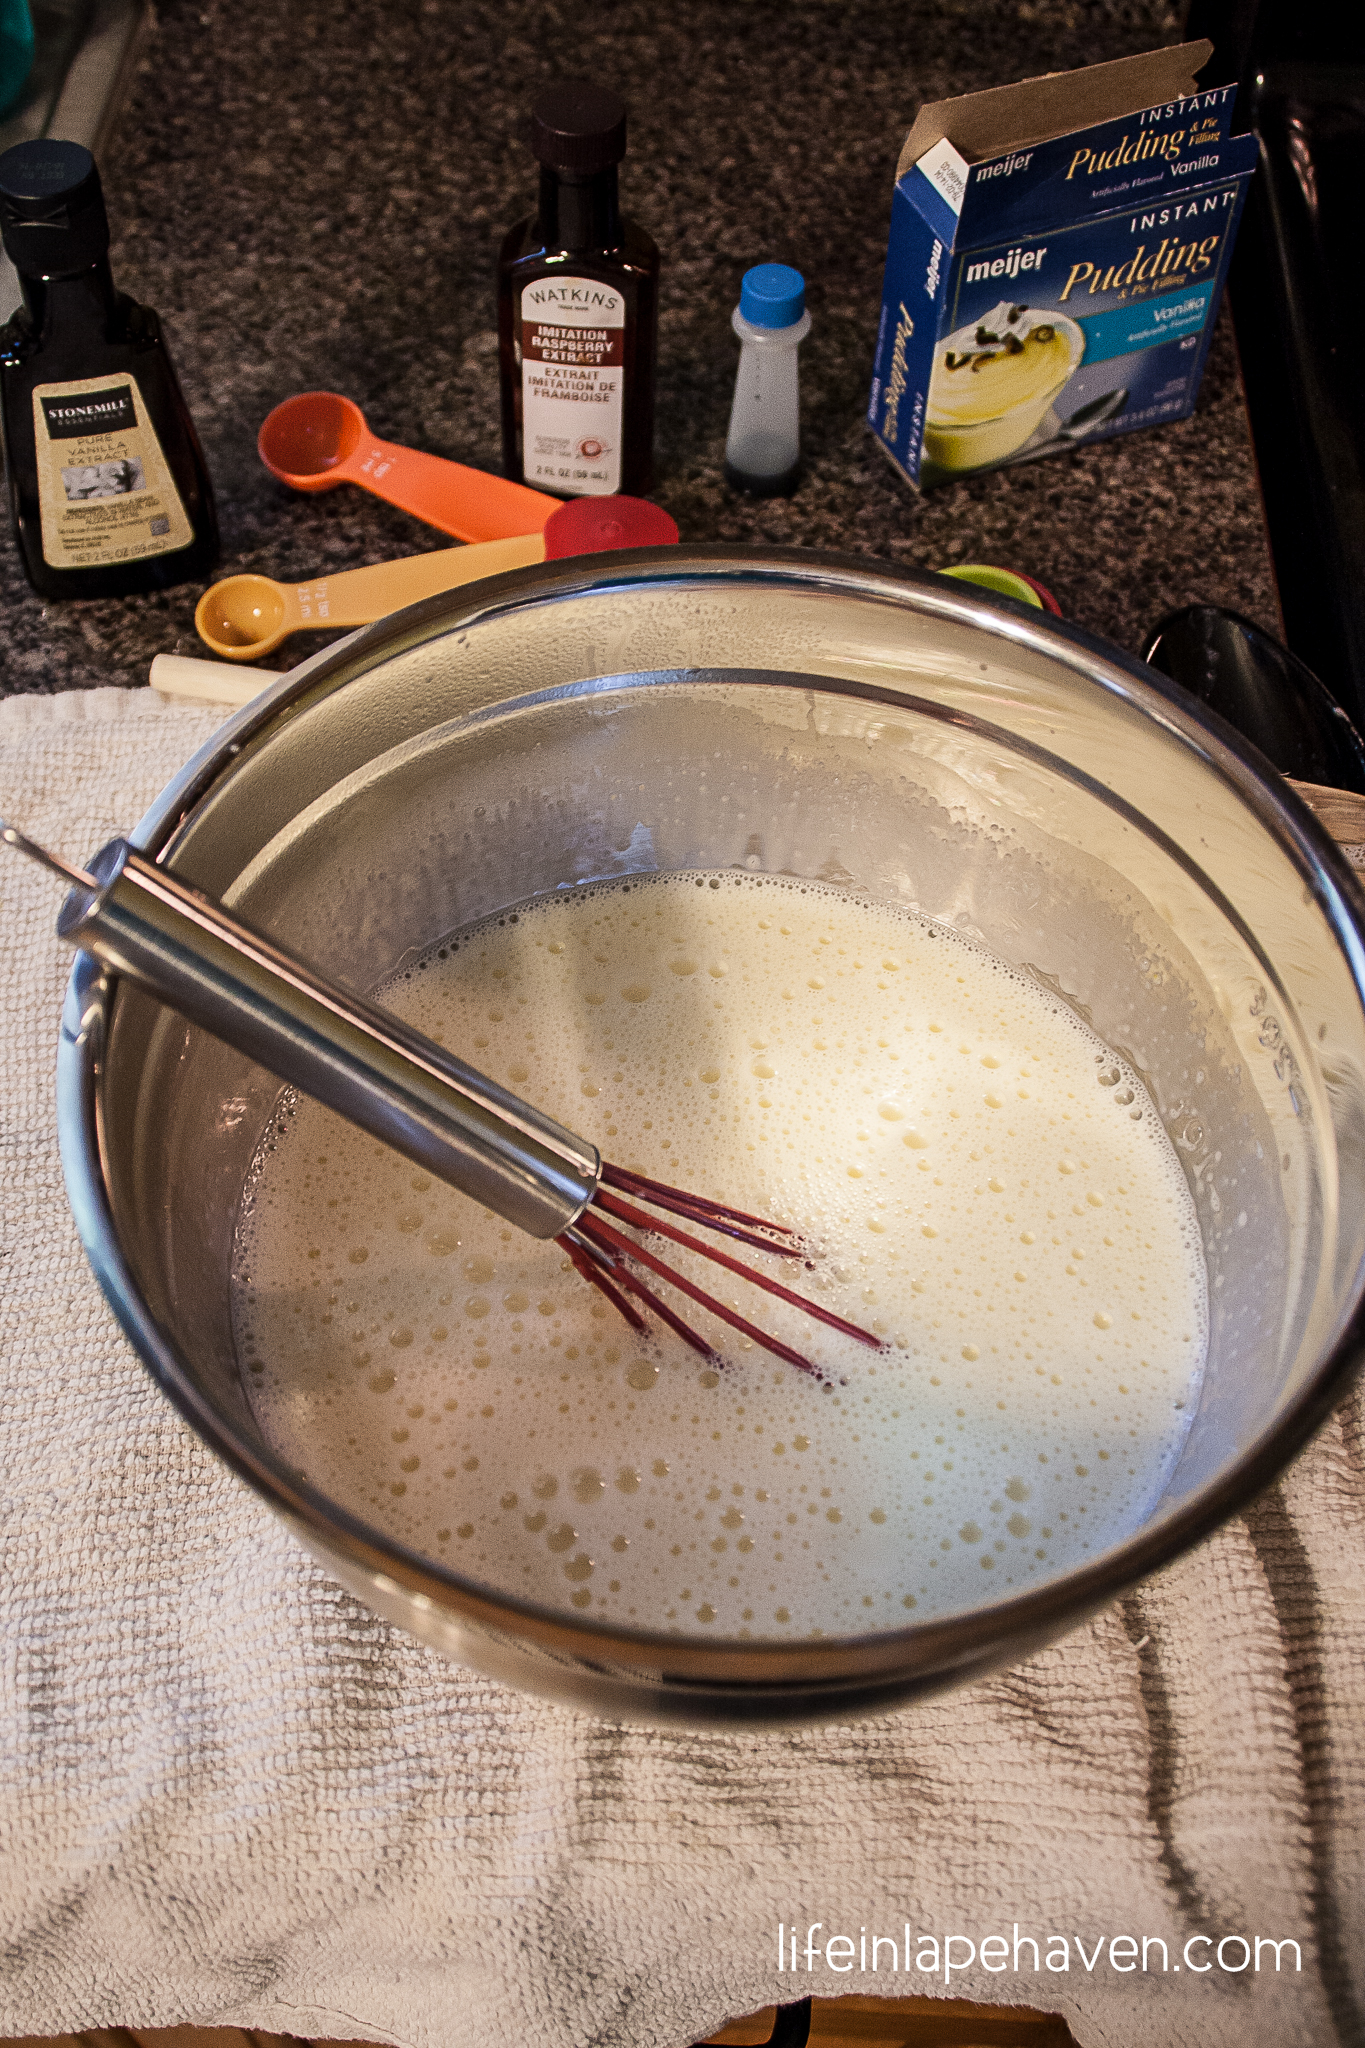
- Stir in water, butter, & eggs. Combine until smooth.
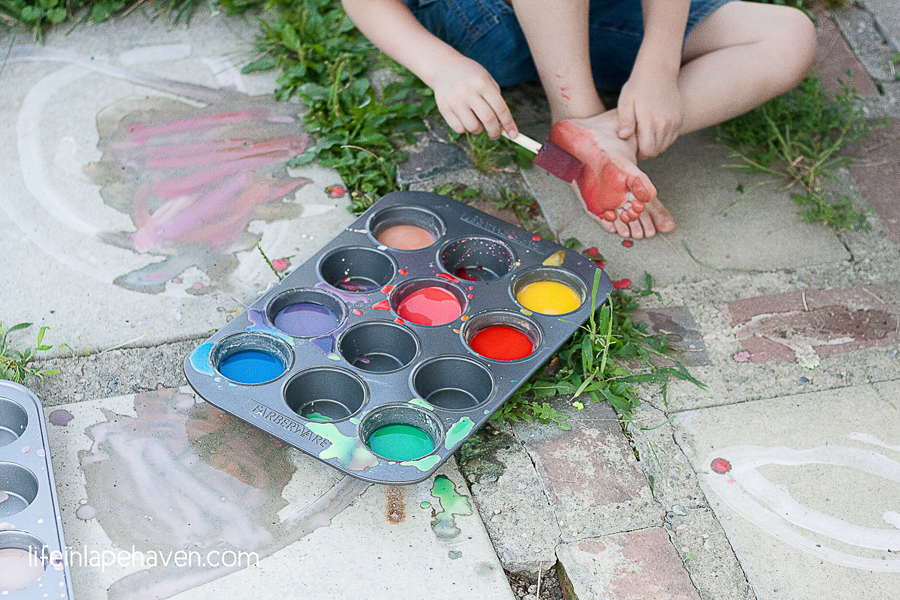
And then it came time to roll out the dough, and my boys volunteered to get in the way and make a mess while they ignored my directions help. Whatever playing they had been doing since we got home seemed to have amped them up to busy levels too fidgety to be truly helpful with the dough. After getting out unnecessary utensils, rearranging the mail on the counter, getting into the flour one too many times, and someone shoving someone else AGAIN, they were sent upstairs to play so that I could use just a few minutes to spread out the dough, smear butter on it, and top it with cinnamon and sugar before rolling it all up together into a happy little tube of deliciousness. It would take me 10 minutes tops.
Josiah must have known the perfect moment that Mommy’s hands would be covered in melty butter, cinnamon, and sugar and busy wrangling stickier-than-normal dough into a long tube.
That’s when I heard the squeal-meets-laugh from Elijah and his yell of, “Josiah is trying to flush stuffed animals down the potty!”
-
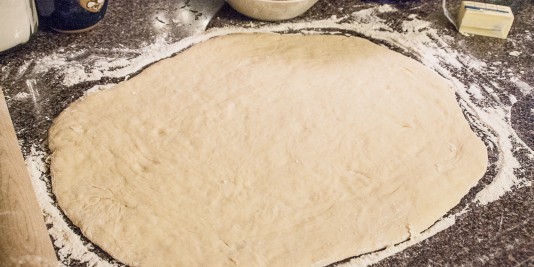
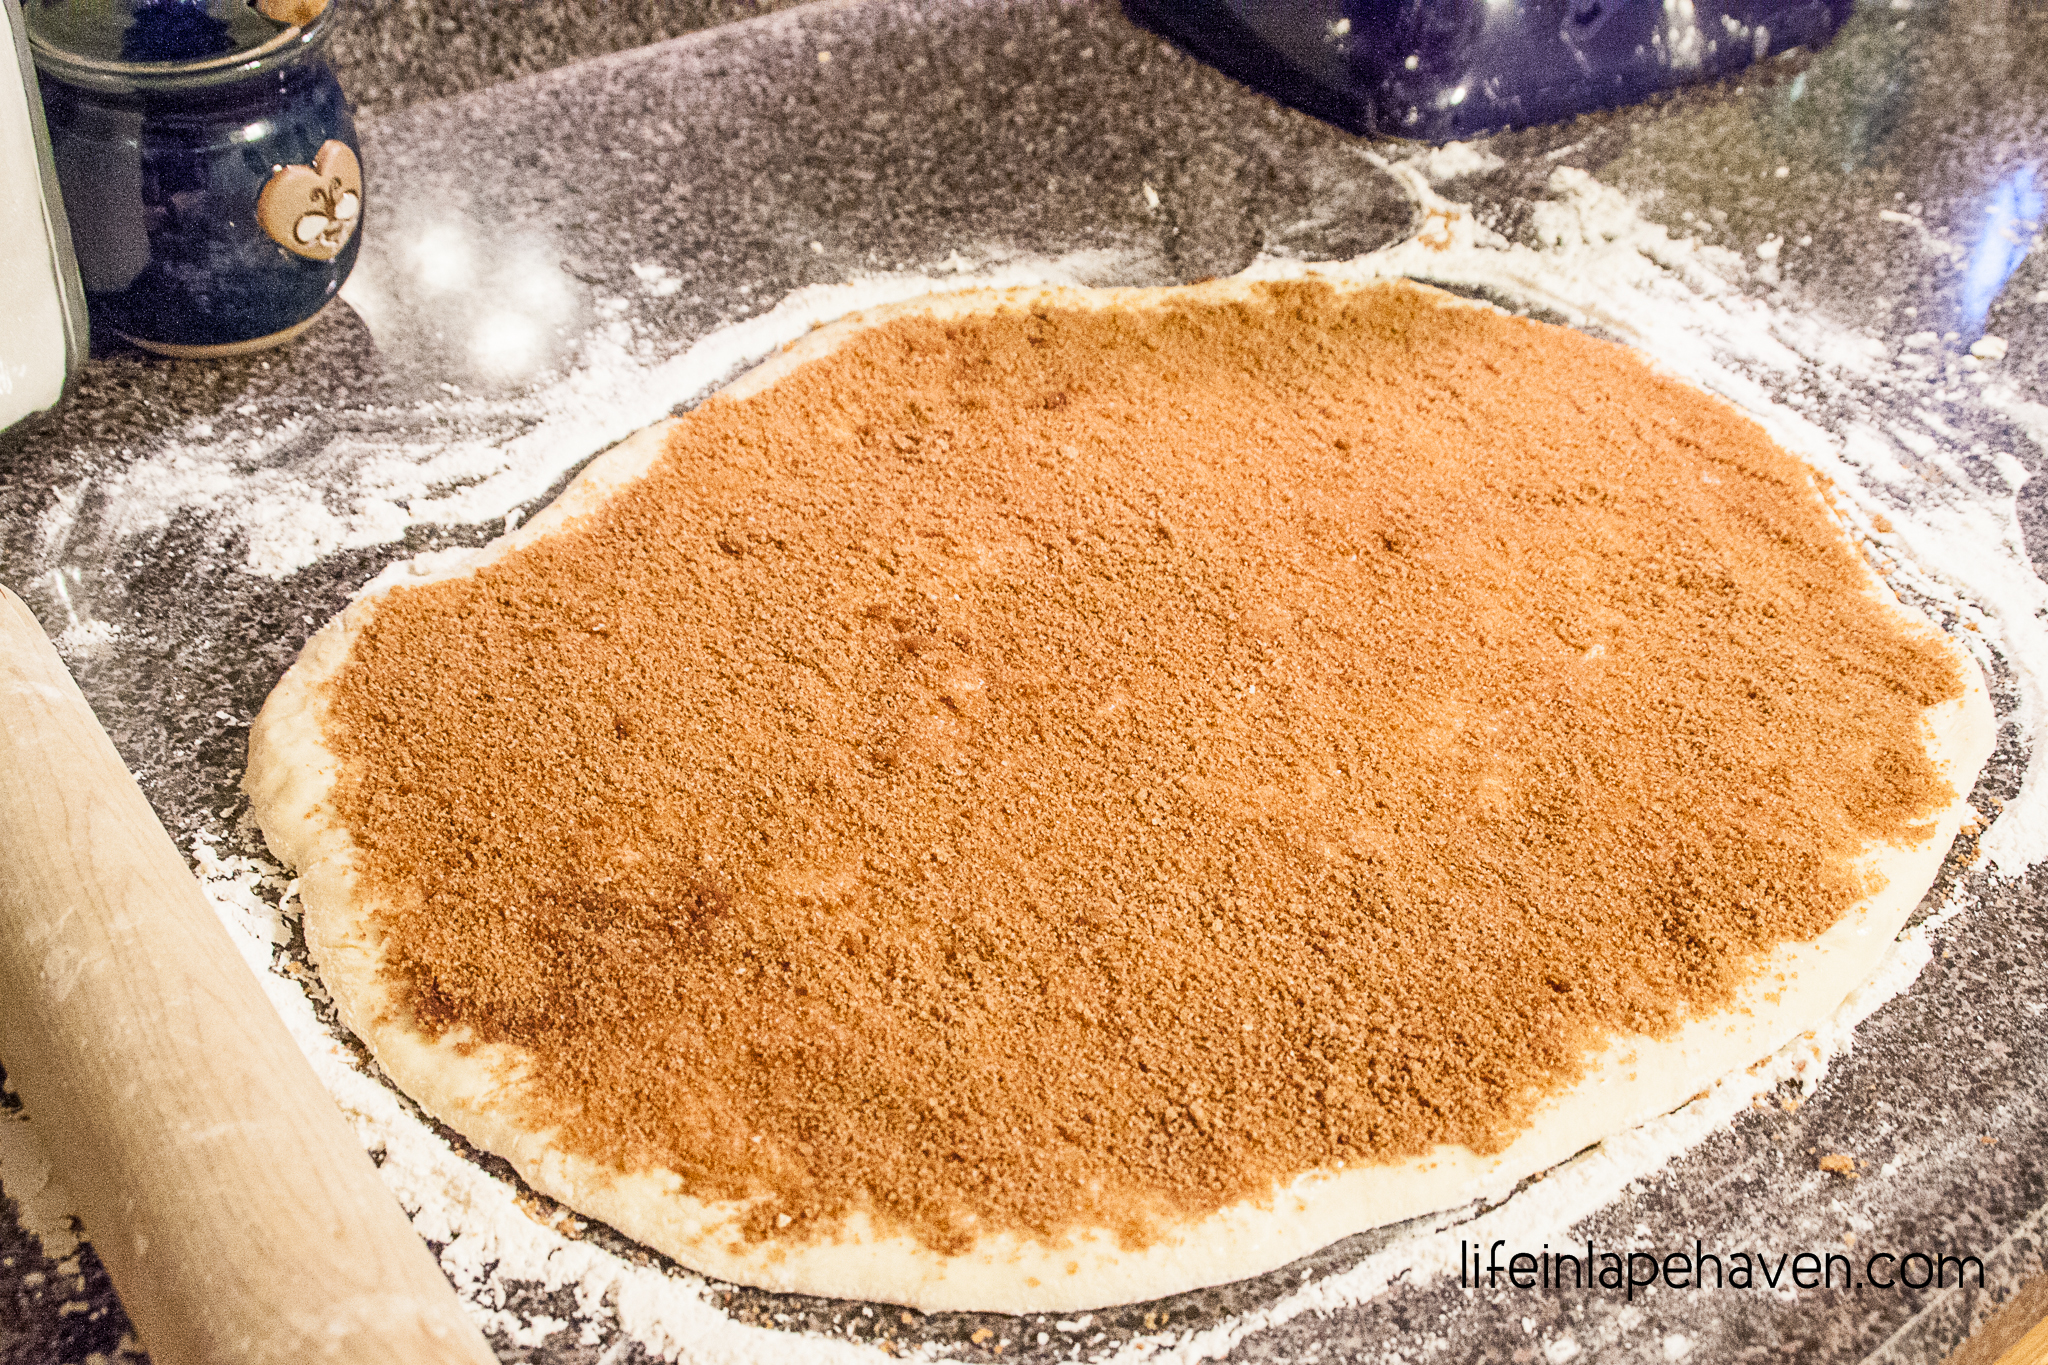
- After dough has risen, roll dough out on floured surface.

-
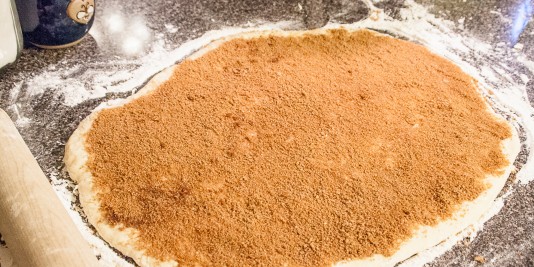
- Spread with butter, then sprinkle cinnamon-sugar mix over it all.
So, I had to leave my cinnamon half-rolls, hurriedly rinse my hands, and sprint to the bathroom to rescue a random toy from a swirly. I was bit too late – when I got there, Elijah was giggling while holding a dripping, soggy Cookie Monster over my just-mopped-this-afternoon floor, and Josiah was standing with his hand on the toilet handle, excitedly waiting to flush it again.
Josiah was “firmly informed” that playing in the toilet is not allowed. After wiping up my bathroom floor with a disinfectant wipe, I “adamantly requested” that my boys take all the other stuffed toys piled in the hallway – How did all these get downstairs? – back upstairs and put them away (there were at least a dozen of them). Elijah was stationed on the couch, punished as an encouraging accomplice. Josiah was relocated to the high chair in the kitchen where I could keep an eye on him while I somewhat discouragedly finished rolling, cutting, and moving cinnamon rolls to the pan.
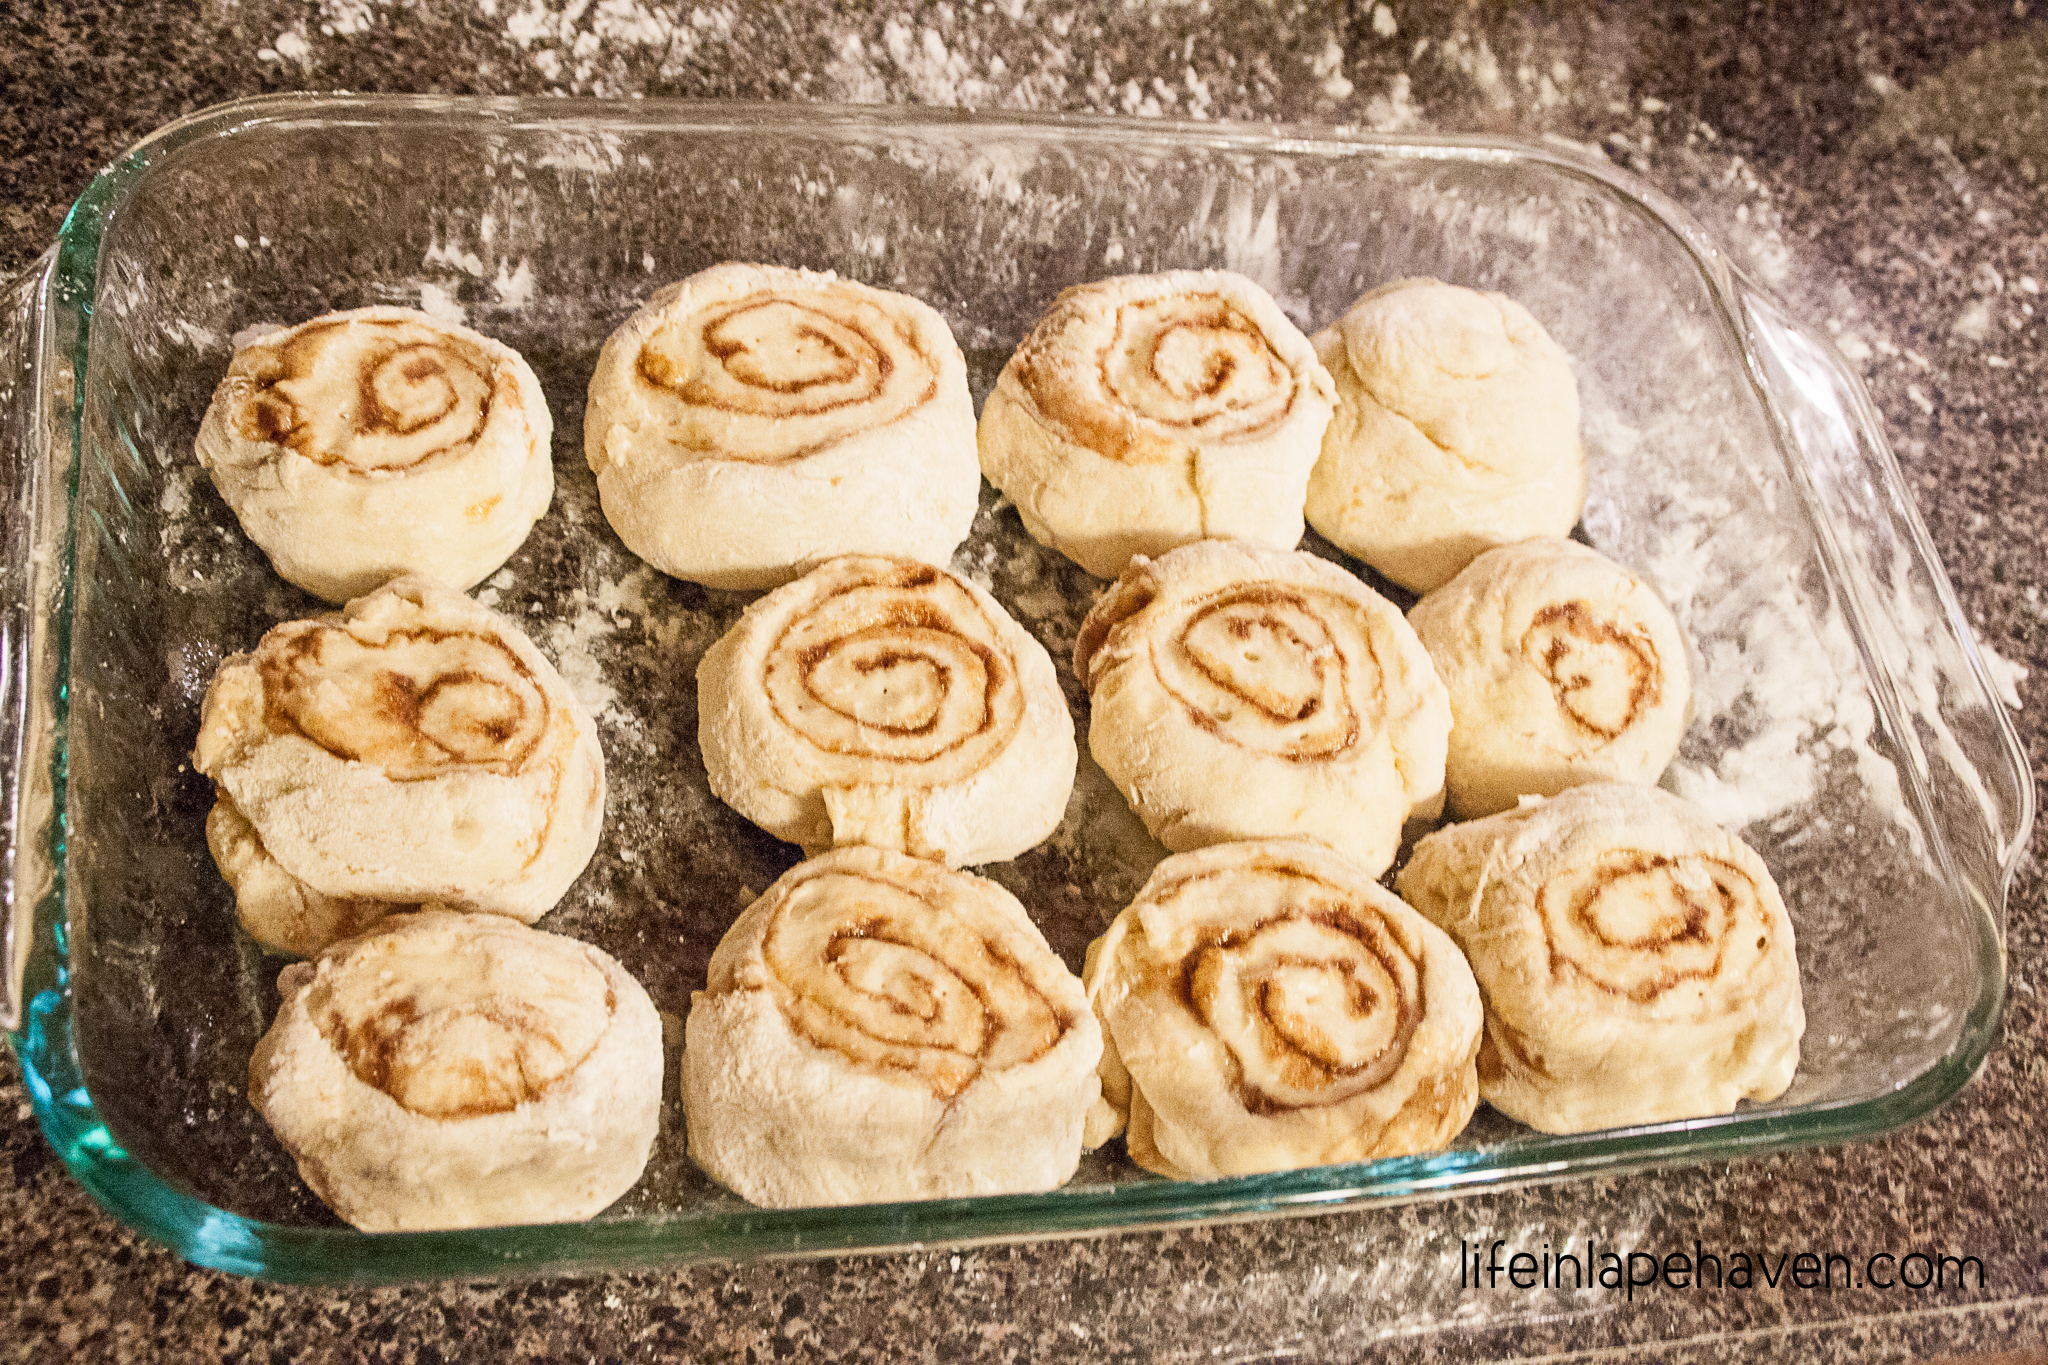
With a sigh, I put our “treat for having such a good day” into the oven.
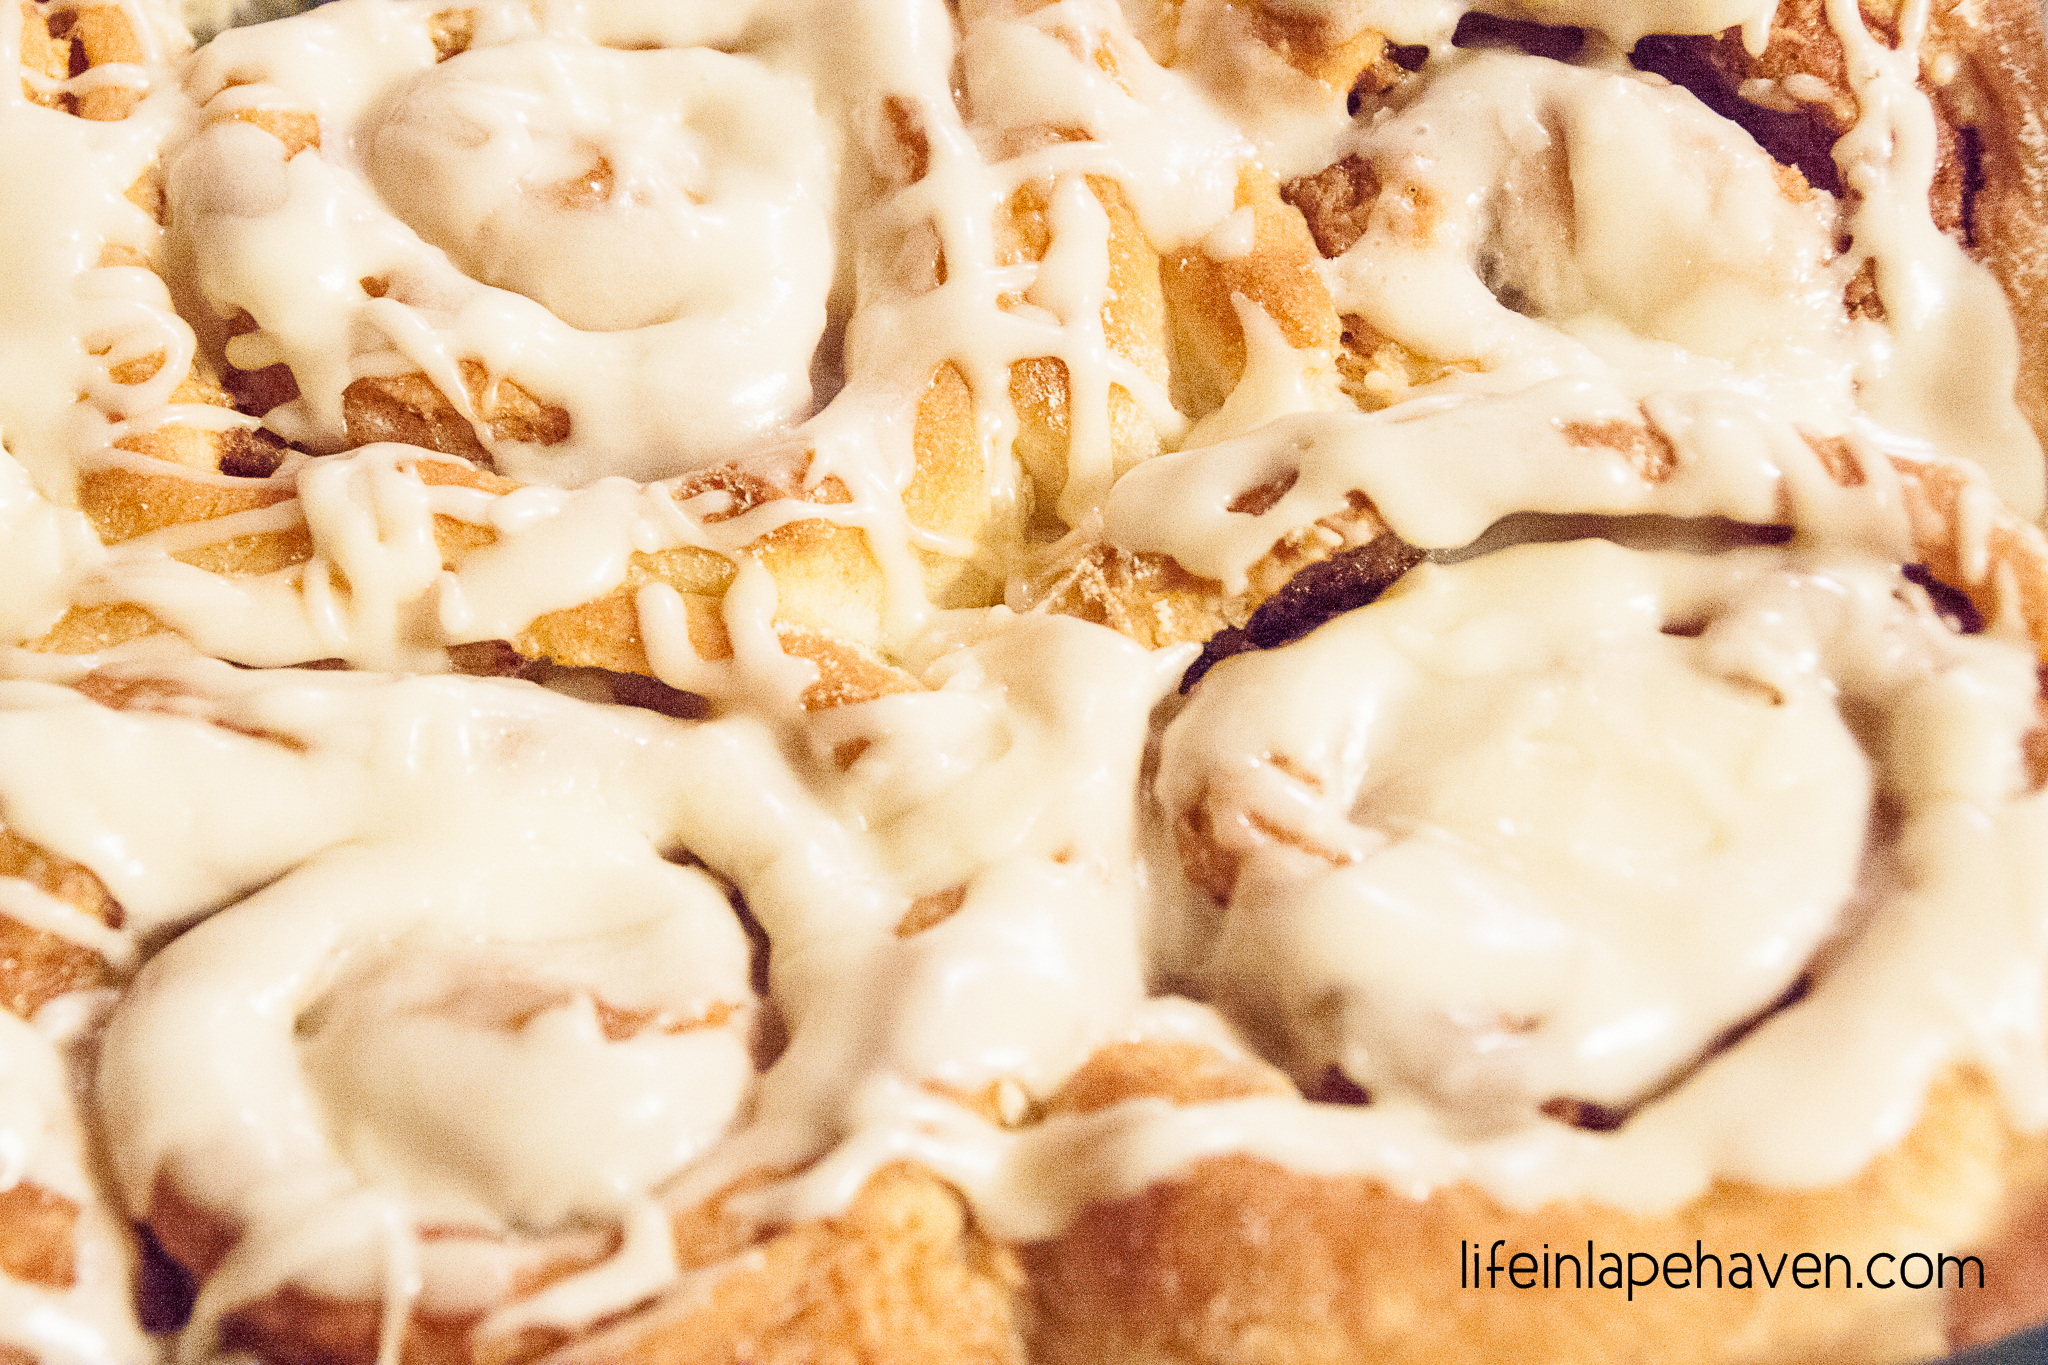
By the time the rolls were baked, cooled, and covered in icing (I adapted a recipe for icing from here), all warm, gooey, and cinnamon-y, the boys were behaving better, finishing their dinner, and regaling Daddy with tales all about their day.
They told him about going to the playground, Elijah reading his story at school, Josiah doing puzzles with Mommy that morning.
They left out getting in trouble for fighting, playing in the flour, and flushing Cooking Monster (okay, well, Elijah made sure to mention that, but not his part in it).
They only focused on the better parts of the day.
I had had time to get over my frustrations with curious, active boys who can go quickly from sweet and cooperative darlings to mess-making tornadoes with a tendency to argue and fight with each other. I decided to follow their example and focus on the better parts of the day. When I revisited it, the nice things definitely outweighed the bad, and it was still a pretty good day.
For that we all should celebrate. Thankfully, I’d made just the thing.
Here’s the recipe for those special days when you need a little reward.
Easy recipe for delicious homemade cinnamon rolls.Get more recipes, ideas, & encouragement from this real-life mom as I experience God’s faithfulness through the joy and chaos of motherhood.
Join my email list!
YOU MAY ALSO LIKE:
Easy, Chewy Peanut Butter Cookies